Motormouth, Marvel's young British character whose device turns her voice into shockwaves capable of destroying steel, presents a fascinating technical challenge for VFX artists. The key lies not only in modeling the character but in simulating the physics of a realistic sonic shockwave that interacts with metal structures. This article breaks down the technical pipeline for recreating this effect in Houdini and Blender, from wave generation to material destruction.
Particle Simulation and Fluid Dynamics 💥
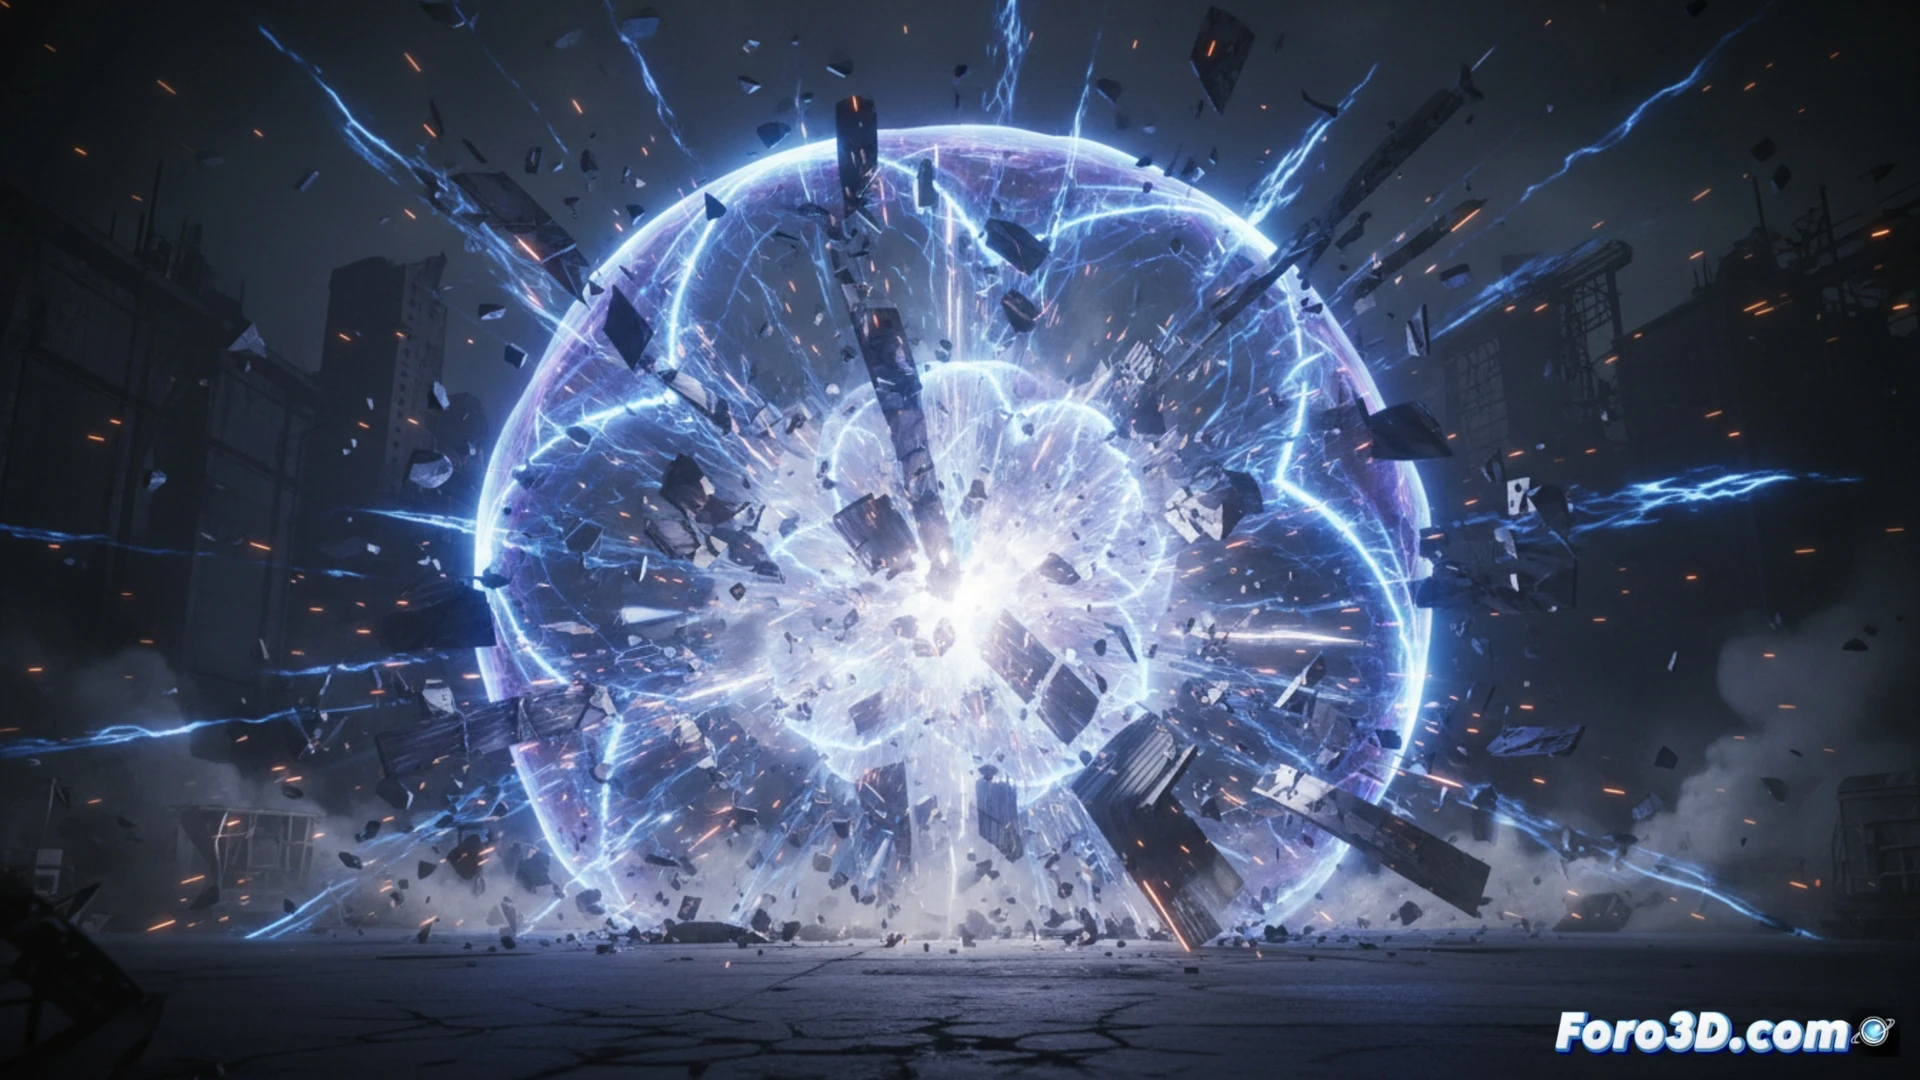
To generate the shockwave, the ideal starting point is a fluid solver like FLIP in Houdini or Blender's smoke simulator. A spherical emitter must be created that expels a high-speed, low-viscosity burst, mimicking air compression. Interaction with steel requires a material fatigue fracture solver: in Houdini, the RBD (Rigid Body Dynamics) system combined with a force field that applies cyclic pressure to the geometry. By detecting the wave's resonant frequency, stress points break. For greater realism, secondary particles (sparks, fragments, and metallic dust) are added using a limited-lifespan point system that activates at the moment of impact.
Rendering and Post-Production of Chaos 🎨
The final render must capture the transparency and distortion of compressed air. In Blender, a volume shader with Voronoi noise and a dynamic refraction node can simulate the wave's lens effect. In Houdini and Mantra, a density VDB with a color ramp (from white to violet-blue) is recommended for the explosion's core. Lighting should be dramatic: a central point light that flickers in rhythm with the wave, and side lights reflecting off steel fragments. In post-production, a diffuse glow and slight motion blur on small particles will seal the effect's realism.
How to model the dispersion and feedback of metallic particles when simulating the impact of a destructive sonic wave against a steel structure in a real-time rendering engine
(PS: VFX are like magic: when they work, no one asks how; when they fail, everyone sees it.)