A common error that ruins first layers is omitting the automatic leveling command. Many users configure their printer to do the Home (G28) at the start, but forget to activate the mesh sensor or probe. The result is prints that detach or have poor adhesion due to an unlevel bed. The solution is simple and is in your start G-code: make sure the G29 command always runs immediately after the G28. This small step ensures that the printer probes the surface before starting the print.
Function and syntax of the G28 and G29 commands 🔧
The G28 command moves all axes to their endstop positions, the so-called "Home". It is essential for the printer to know its reference point. However, G28 by default usually disables any active leveling compensation. This is where G29 comes in. This command orders the printer to probe the bed according to its sensor configuration (BLTouch, CR-Touch, inductive probe, etc.), creating a height map. The correct sequence is G28 followed by G29. You must add these commands in the "Start G-code" section of your slicer software (Cura, PrusaSlicer, etc.). A basic example would be: G28 ; Home all axes. G29 ; Start automatic bed leveling.
A simple habit to improve consistency ✅
Incorporating G29 systematically after G28 is a habit that eliminates a critical failure variable. Bed leveling can change due to temperature, stresses, or movements. Relying on a probe before each job ensures that the printer compensates for these minor misalignments automatically. Don't assume that a bed leveled yesterday is level today. Including this command in your start code is a two-second investment that will save you hours of frustration, filament waste, and ensure perfect first layers consistently.
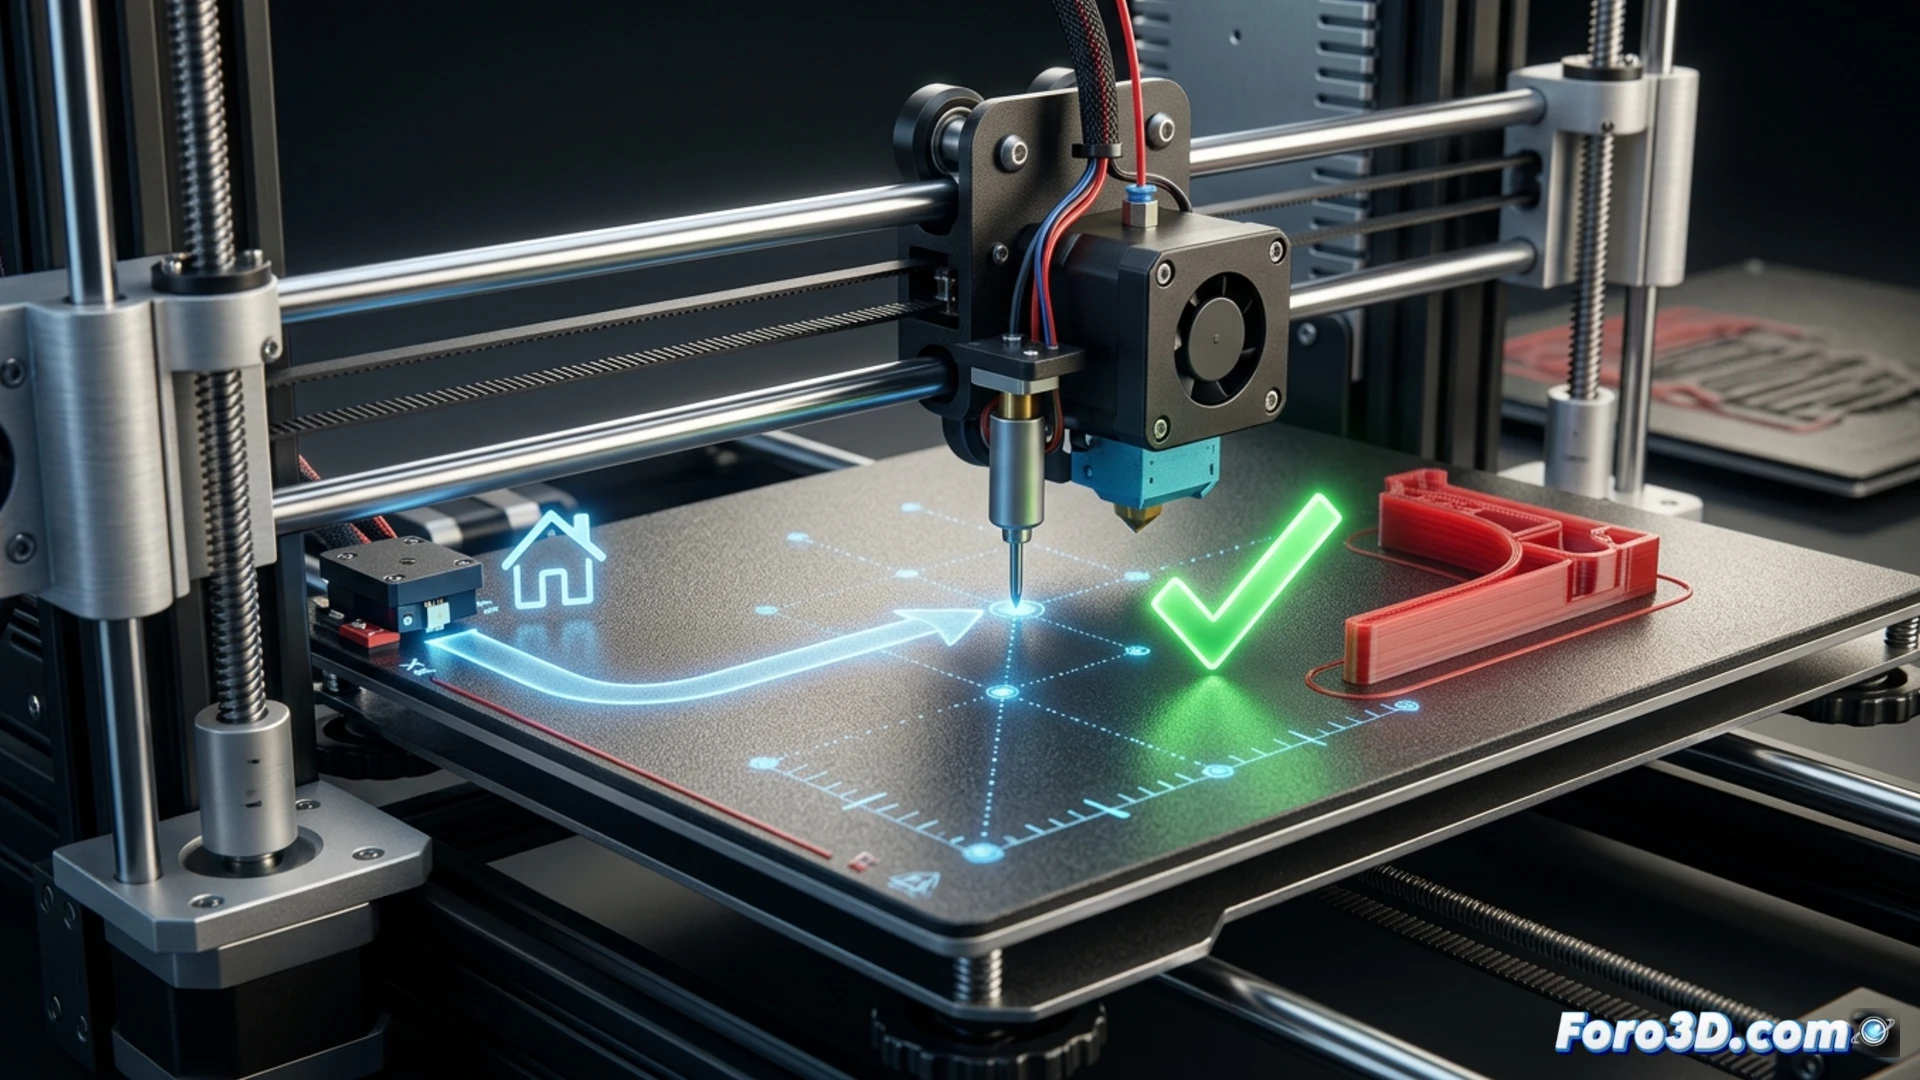
Why is the G29 command crucial after a G28 to ensure bed leveling on your 3D printer? 🤔
(PS: A good printable model is like a good friend: it doesn't need supports.)