Why Hollow Resin Parts Swell or Crack During Curing
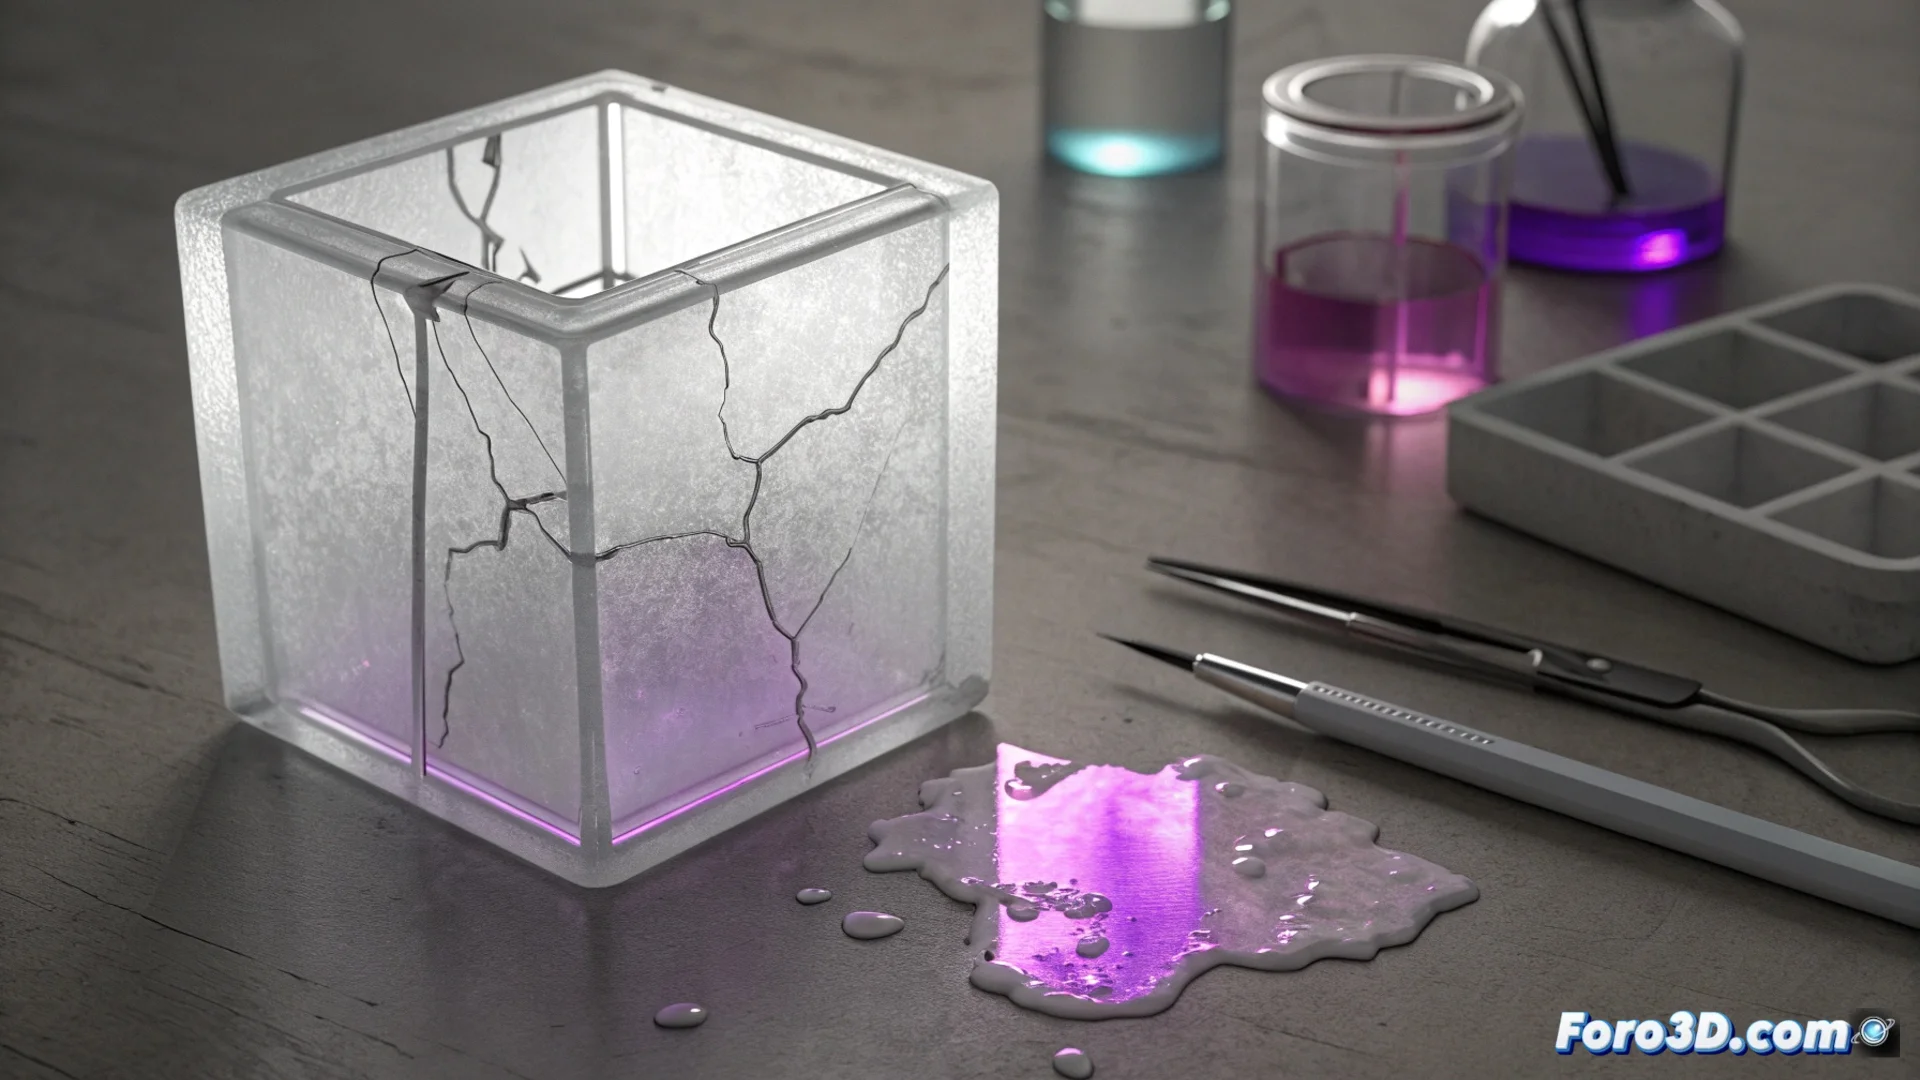
A common problem when post-curing hollow resin parts is that they deform, split, or even burst. This happens mainly because uncured liquid resin remains trapped inside the cavity. When the part is exposed to the UV lamp, the generated heat causes that residual liquid to expand, creating internal pressure that can exceed the strength of the already solidified walls. 🧪
Main Cause: Internal Pressure from Trapped Resin
The mechanism is simple: the residual liquid resin heats up and expands. If it has nowhere to escape, the accumulated pressure seeks the weakest point in the cured structure, causing cracks or swelling. This effect can also intensify if the part is cleaned with isopropyl alcohol for too long, as the solvent can soften and weaken the partially cured resin, reducing its structural integrity.
Factors Contributing to the Problem:- Trapped liquid resin in internal cavities without an escape route.
- Excessive and localized heat during UV curing, which causes rapid expansion.
- Prolonged washing with alcohol that softens the part's surface.
- Too thin part walls that cannot withstand internal pressure.
A model with well-planned drainage holes is more reliable than one that appears perfect but is sealed. Sometimes, a few strategic holes prevent your creation from exploding during a curing session.
Key Strategies for Proper Design and Washing
The most effective solution starts in the design and printing phase. It is essential to incorporate enough drainage holes into the part. These holes serve a dual purpose: they allow uncured resin to exit during washing and vapors to be released in a controlled manner during curing.
How to Implement Effective Washing and Drainage:- Place at least two holes in opposite points to facilitate complete flow and avoid air pockets.
- Thoroughly wash the part with isopropyl alcohol, gently shaking it so that the liquid enters