When Particles Decide to Turn into Fog
Point Density in Blender is one of those tools that seems magical until you try to use it and everything turns into an chaos of invisible particles and ghost volumes. The frustration is understandable when you've tried all possible combinations and the result is still... nothing. This special texture is designed to convert particle systems into volumetric density fields, but it requires a very specific setup that is not intuitive for most users.
The main problem usually lies in the connection between three separate systems: the particle system, the Point Density texture, and the volumetric material. If one of these elements fails, the entire system collapses silently.
Essential Particle System Setup
The first critical step is to have an active and visible particle system. In the particle properties, go to the Render tab and make sure it's set to Object or Group - Do not use Halo or None. Point Density only works with particles that have real geometry. The number of particles also matters: you need at least 1000-5000 particles to start seeing decent results.
In the Field Weights tab, check that the particles are not being affected by forces that take them too far from the area you want to fill. For initial tests, use a simple system with Emitter and zero gravity, so the particles stay in place.
- Render Type: Object or Group (not Halo)
- 1000-5000 particles minimum
- Field Weights adjusted for position control
- Sufficient Lifespan for persistent particles
The perfect Point Density is like a good soup: it needs enough ingredients and the right fire
Point Density Texture Setup
In the Shader Editor, add a Point Density texture and connect it to a volumetric material. This is where most people get lost: in the texture properties, you must select the specific particle system you want to use. Having particles in the scene is not enough - you must explicitly tell the texture which system to use.
The critical parameters are Radius and Resolution. The Radius controls how large the "cloud" is around each particle, while the Resolution determines the volume quality. Start with Radius 0.5-1.0 and Resolution 100-200, then adjust as needed.
- Select specific particle system
- Radius between 0.5 and 1.0 to start
- Resolution between 100 and 200 for basic quality
- Space: World (more stable) or Object
Volumetric Materials and Nodes
To make Point Density visible, you need a volumetric material. In the Shader Editor, add a Principled Volume node and connect the Point Density texture to the Density socket. This is the most crucial step - without this connection, you won't see anything.
Adjust the Principled Volume parameters: Density around 1.0-5.0, Anisotropy at 0.0 for dense clouds or positive/negative values for more translucent materials. You can control the color by connecting a ColorRamp node between the Point Density and the volume's Color socket.
- Material with Principled Volume shader
- Point Density → Density socket connection
- Density between 1.0 and 5.0 initially
- ColorRamp for color and transparency control
Optimization and Troubleshooting
If the render is too slow or the volume doesn't look good, adjust the volume quality in the render options. In the render properties, go to Volumes and increase Step Size (0.1-0.5) and Max Steps (64-256). Lower values give better quality but are slower.
For artifacts or empty patches issues, check that the particles are evenly distributed and that the Point Density Object is large enough to contain all the particles. The volume is only generated within the object assigned to Point Density.
- Step Size: 0.1-0.5 for quality/speed balance
- Max Steps: 64-256 depending on complexity
- Point Density Object covering all particles
- Uniform particle distribution
Verified Step-by-Step Workflow
Start with a simple cube as a particle emitter. Set up 2000 particles rendered as small spheres. Then create a volumetric material with nodes: Texture Coordinate → Point Density → ColorRamp → Principled Volume. Finally, assign this material to the cube and tweak parameters until you get the desired look.
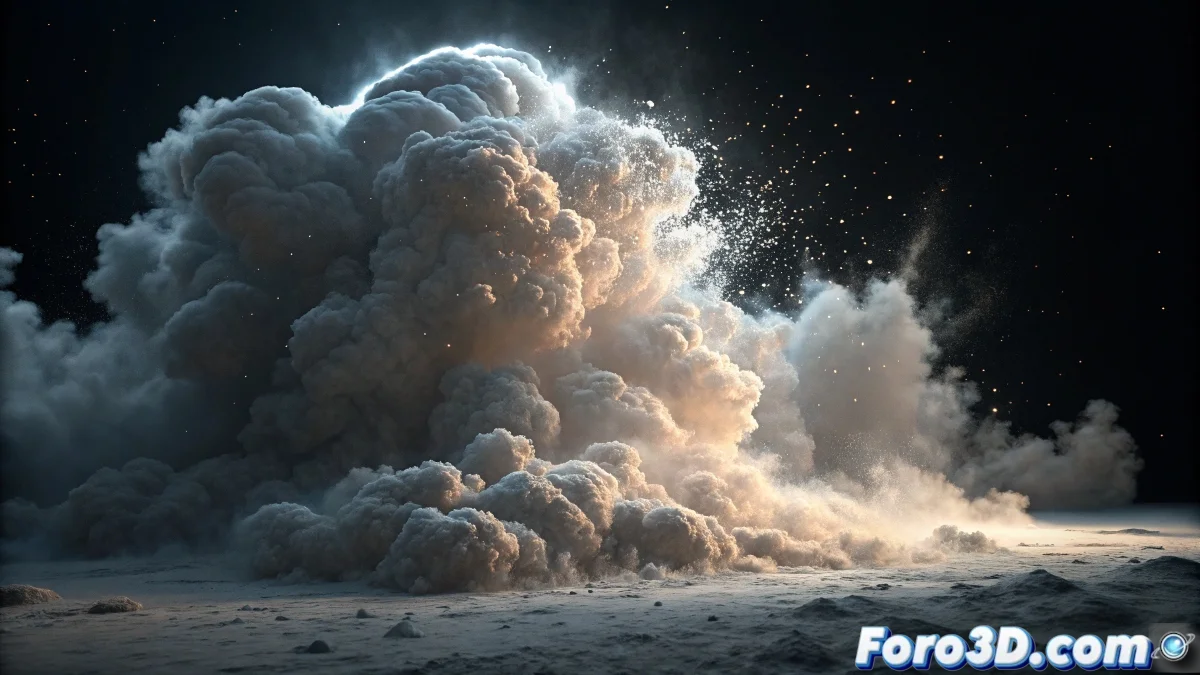
For more advanced effects, experiment with particle animation and different Point Density settings. You can create anything from static clouds to growing explosions or dissipating smoke.
- Simple cube as initial emitter
- 2000 particles as small spheres
- Specific node setup for volumetrics
- Iterative parameter adjustment
Mastering Point Density will open the doors to spectacular volumetric effects that would be impossible with traditional techniques. Because in Blender, even the simplest particles can learn to turn into clouds, smoke, or explosions with the right node setup 😏