The Challenge of Wearing Someone Else's Animations
Finding a perfect animation in PSA format, originally designed for 3ds Max's Biped system, and wanting to apply it to your character with a custom rig is like finding the perfect coat... but in someone else's size 🧥. The PSA format, native to Unreal Engine, expects a specific bone hierarchy and nomenclature that rarely matches that of a hand-made rig. The solution is not to struggle with direct import, but to employ smart retargeting and mapping techniques to adapt the movement to the new skeleton.
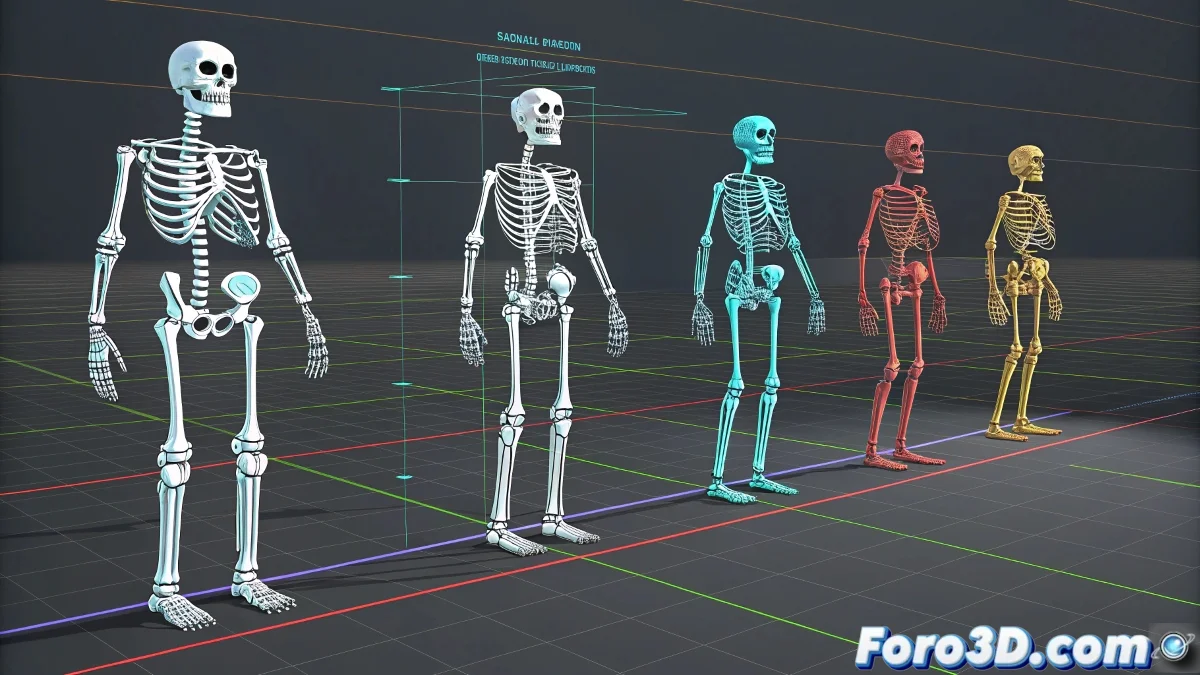
The First Step: Bone Audit
Before any import attempt, perform a forensic inspection of both rigs. Open the PSA animation in an empty scene to study the exact Biped bone hierarchy it uses—names like Bip01 L Thigh or Bip01 R Forearm. Then, meticulously compare this list with the bone hierarchy of your custom character. Do the names match? Is the parent-child chain identical? Almost always the answer is no, which means you'll need a translator or intermediary for both systems to understand each other.
Trying to apply a PSA directly to a custom rig is like speaking Spanish to someone who only understands Japanese; an interpreter will be needed.
The Translator: Retargeting Techniques
The most powerful tool for this task is 3ds Max's Motion Mixer, or specialized retargeting plugins. These act as intermediaries: you import the PSA animation onto an auxiliary Biped or a "bridge" rig that has the expected structure. Then, using constraints or animation transfer tools, you map the movement from that Biped to the bones of your custom rig. It's a two-step process where the animation "plays" on a substitute actor and then is copied to the main actor.
Creating a Bridge Rig as a Practical Solution
For characters that frequently use PSA animations, an efficient strategy is to create a temporary bridge rig. This is a standard Biped character that lives in your scene and whose sole function is to receive the PSA animation. Once the animation is correctly loaded onto this Biped, you use Position/Rotation Constraints or scripts to link each bone of your custom rig to the corresponding bone on the Biped. When the Biped moves, it drags your custom character along with it. It's a bit of initial setup work, but it saves enormous time on adjustments for each new animation.
Final Adjustments: The Magic is in the Details
Even with successful retargeting, you'll almost certainly need manual adjustments. Differences in proportions between characters can cause feet to sink into the ground or hands to not reach an object. This is where the following come into play:
- Global scale adjustment: adapt the animation scale to your character's size.
- Animation curve corrections: manually edit rotation and position curves for problematic bones.
- IK/FK blending: for specific poses, temporarily switch to FK for absolute control and then return to the retargeted animation.
- Animation layers: use non-destructive layers to add corrections over the imported base animation.
Mastering this workflow will open up a gigantic library of Biped and PSA animations for your custom characters. And remember, a bit of manual tweaking is what gives your final animation that unique and polished touch. After all, even the best-tailored suit needs some adjustments to fit perfectly 😉.