Update the Firmware of the Creality Halot-X1 Printer
Keeping the firmware of your 3D printer up to date is key to optimizing its performance and accessing new features. In the case of the Creality Halot-X1, this procedure is straightforward if the correct steps are followed and basic precautions are taken. 🛠️
Prepare the Files and USB Drive
The first step is to obtain the most recent official file. Go to the Creality support portal and look for the specific section for your Halot-X1 model. Download the compressed package and extract it on your computer to locate the main file, which usually has the .bin extension. For the transfer, you will need a USB drive with reduced capacity, ideally 8 GB or less. This drive must be formatted with the FAT32 file system. Copy the .bin file directly to the root of the flash drive, without placing it in subfolders. 📂
Key steps to prepare:- Obtain the firmware from Creality's official website.
- Extract the .bin file from the downloaded compressed package.
- Format a small USB drive with FAT32 and copy the .bin to its root.
Never interrupt the power supply during the writing of the new firmware; it is the most critical moment for the machine's electronics.
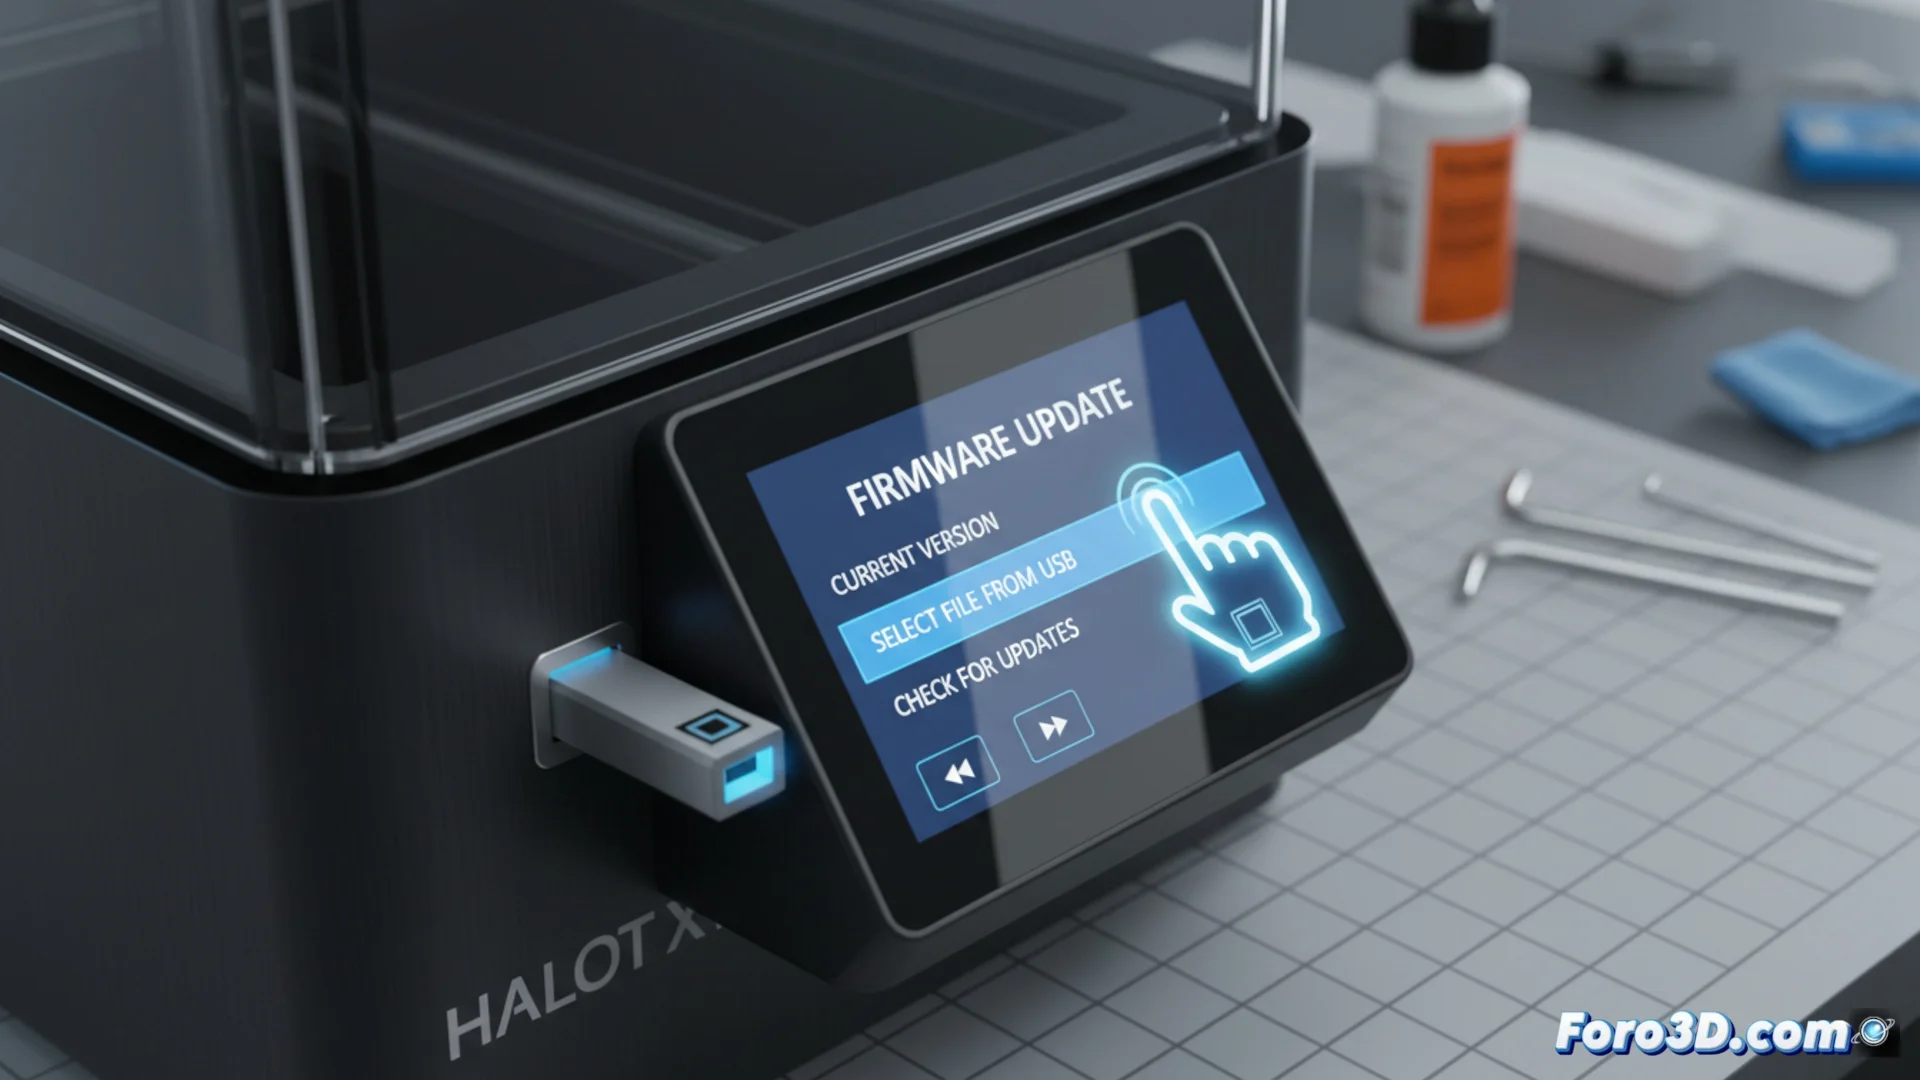
Execute the Installation on the Printer
With the file ready on the USB, proceed to the physical installation. Make sure the Halot-X1 is completely turned off. Insert the USB drive into the corresponding port on the printer. Turn on the equipment and, using the touch screen, access the settings menu. There, select the option to update the firmware. The interface will show the detected file; confirm that you want to continue. 🔄
Installation sequence:- Connect the USB with the printer turned off.
- Turn on and navigate through the touch menu to the update option.
- Select the .bin file and confirm to start the process.
Complete the Process Safely
Once confirmed, the update will begin automatically. The screen may show a progress bar. It is imperative not to manipulate the printer at this moment: do not turn it off, do not disconnect the USB, and above all, avoid power outages. Wait for the system to restart on its own and return to the usual home screen. Only then can you remove the USB drive and use the printer normally. For added safety, avoid performing the update during storms or with high-consumption devices connected to the same circuit. ✅