Update the Firmware of the Creality Ender-3 V3 SE Printer
Updating the firmware of your 3D printer is a simple operation that can improve its performance and add new features. For the Creality Ender-3 V3 SE, the method is quick and based on using a memory card. 🛠️
Obtain the Files and Prepare the Medium
The first step consists of downloading the appropriate firmware version. You must visit Creality's official website and select the exact model of your equipment. It is essential to use a microSD card formatted in FAT32 and not exceeding 32 GB capacity so that the system recognizes it without issues.
Key Initial Steps:- Obtain the .bin file from Creality's official source.
- Format a microSD card (up to 32 GB) with the FAT32 file system.
- Copy the firmware file to the root of the card, without altering its original name.
Patience is essential: during the update, the screen may go black for a few seconds. Do not touch any buttons or turn off the machine.
Execute the New Firmware Installation
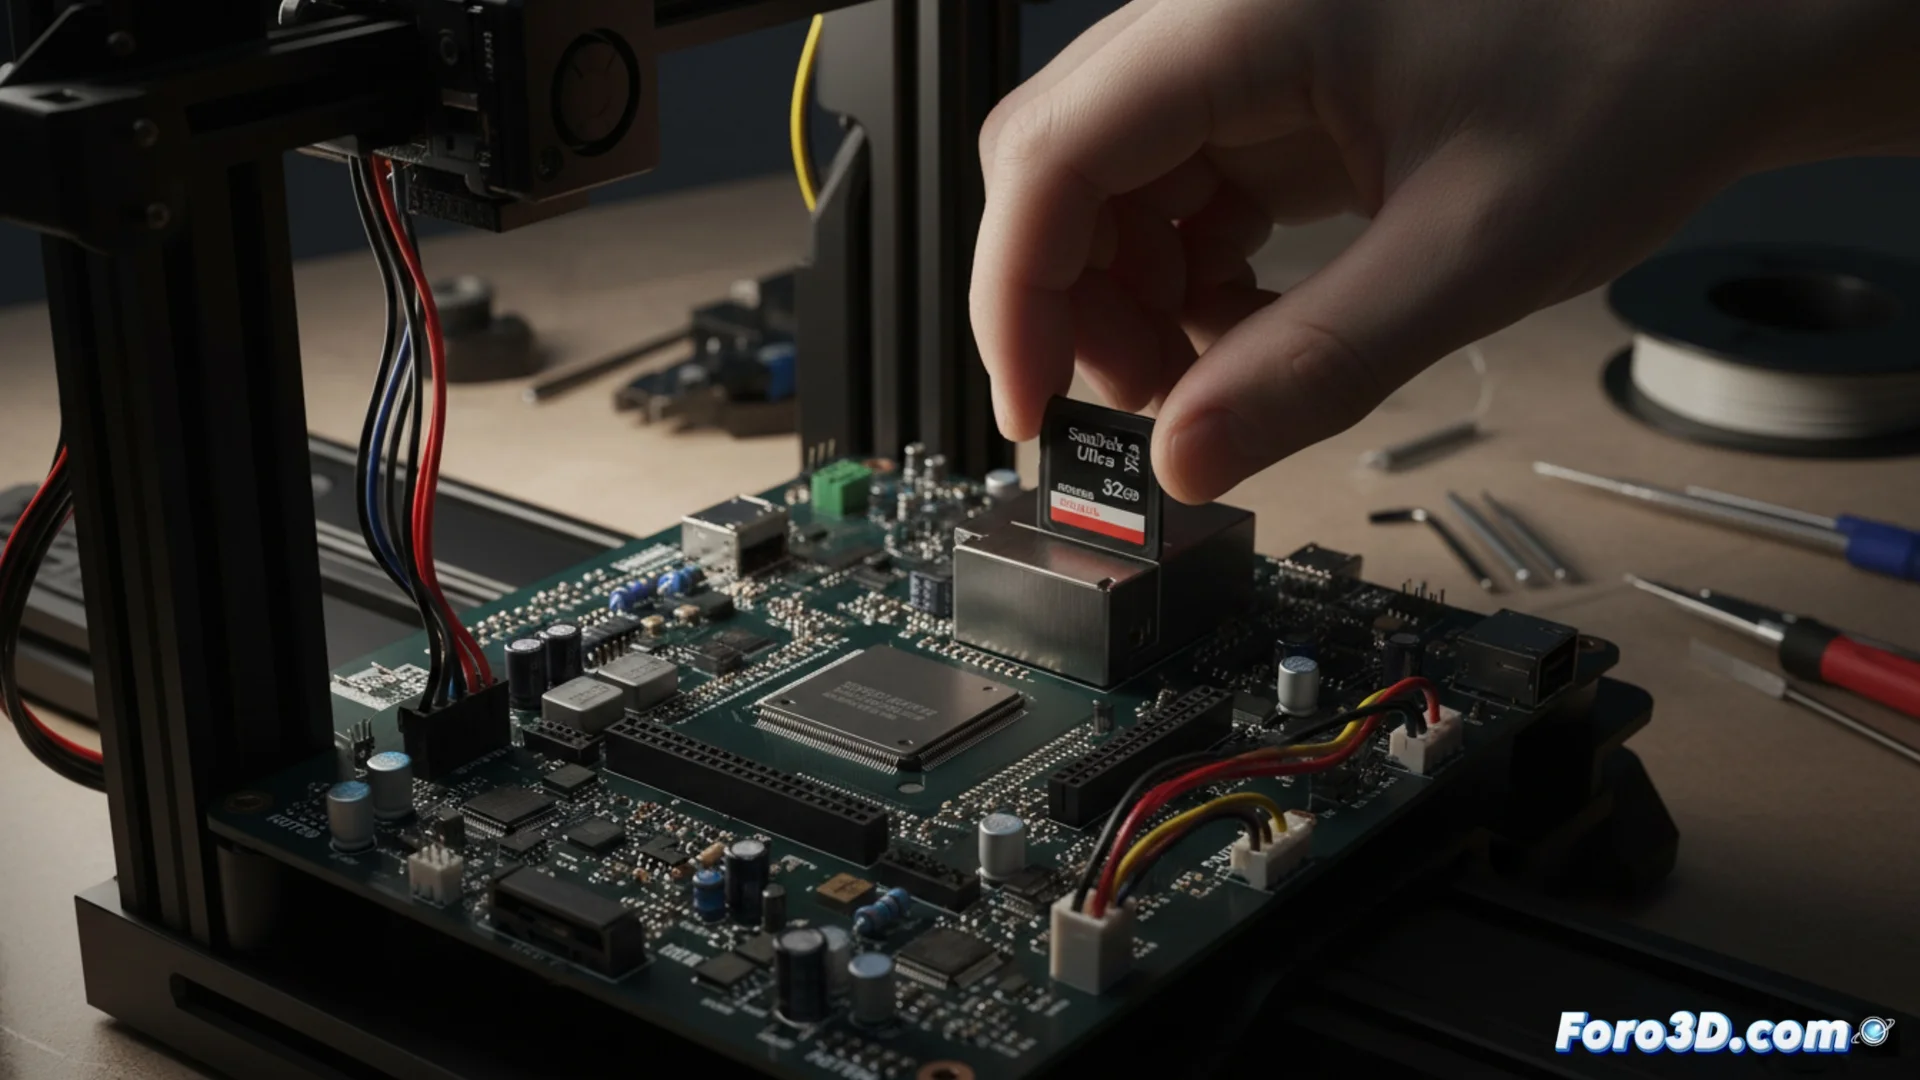
With the file on the card, safely eject it from your computer. Then, with the printer completely turned off, insert the microSD into the motherboard slot. Now turn on the equipment. 🔄
Update Process:- Upon turning on, the screen may appear black or with a fixed logo while the system reads the file.
- The flashing process takes between one and two minutes. Under no circumstances should you disconnect the power.
- When finished, the screen will restart automatically and display the usual user interface.
Finalize and Verify
Once the normal interface is visible, you can turn off the printer. Remove the microSD card and delete the .bin file from it. This prevents the printer from attempting to reinstall the same firmware the next time you turn it on. The biggest challenge is often resisting the temptation to intervene during those moments of apparent screen inactivity. ✅