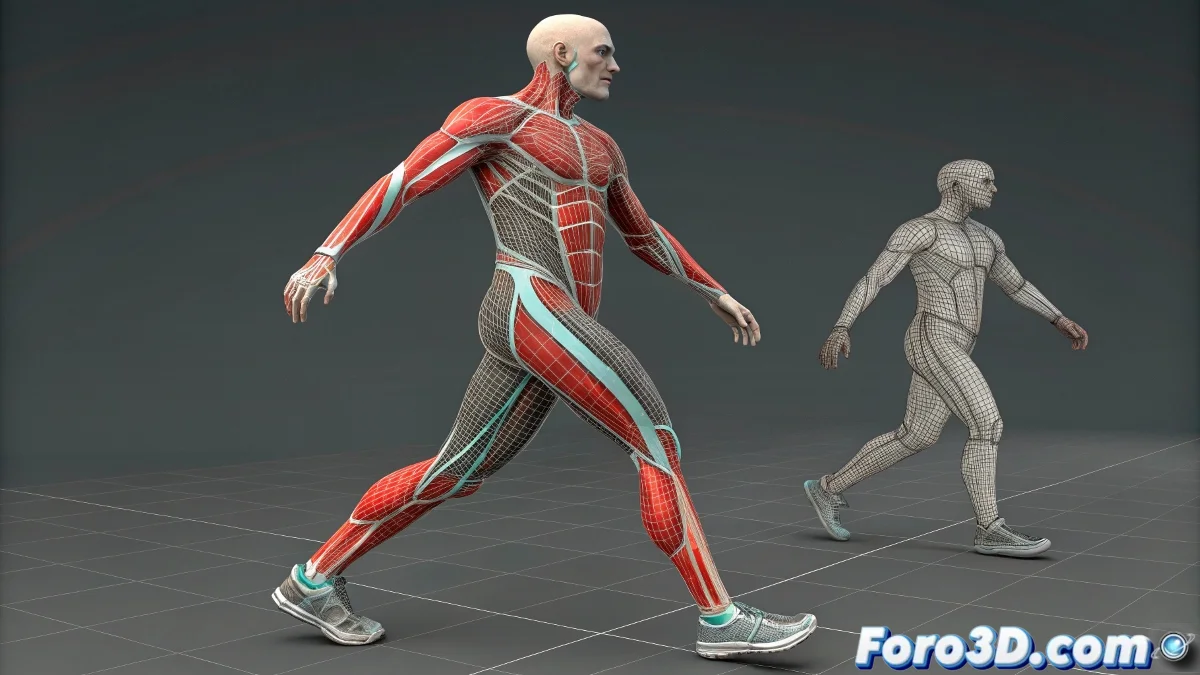
When Your Skin Behaves Like a Rebellious Teenager 🙄🦴
The Skin modifier in 3ds Max can be your best ally... or turn into that nightmare where you move bones and nothing happens. But before cursing Autodesk, follow this guide to resolve the most common issues like a professional.
"Good skinning is like a good tattoo: if not applied properly, it hurts when you move it" — Experienced rigger.
Troubleshooting Checklist
- Basic Verification:
- Is the bone added to the Skin's Bones list?
- Do the vertices show influence in Envelope mode?
- Is Always Deform enabled on the bone?
- Manual Weight Assignment:
- Select vertices in Vertex mode
- Assign weight 1.0 to the corresponding bone
- Use Paint Weights for fine adjustments
Advanced Errors and Solutions
- Selection Issues:
- Enable Ignore Backfacing
- Use Backface Cull in orthographic views
- Select by Ring or Loop when possible
- Modifier Order:
- Skin must be above Edit Poly/TurboSmooth
- Try collapsing the stack if there are conflicts
- Avoid Symmetry below Skin
Professional Tips
For perfect skinning:
- Test with two basic bones first
- Use Weight Tool for precise values
- Enable Show No Envelopes to see unassigned areas
- Save envelope presets for reuse
When Nothing Works
Drastic measures:
- Restart 3ds Max (the classic "turn off and on")
- Create a new Skin modifier from scratch
- Export/import the mesh as FBX
- Try Physique as an alternative
Remember: perfect skinning requires patience. As veterans say: "I'd rather paint weights for hours than explain why my character has a crease in the armpit". 💪✨
P.S.: If after everything your mesh still won't move, check that you haven't tried skinning a 2D plane. It happens more than you think.