When Your Biped Bones Rebel Against the Laws of Physics
Setting up Float Limit in Biped should be as easy as putting limits on a child... but sometimes it seems like the system has a mind of its own. 🦴 Here's the complete guide to taming those uncontrolled rotations in your character.
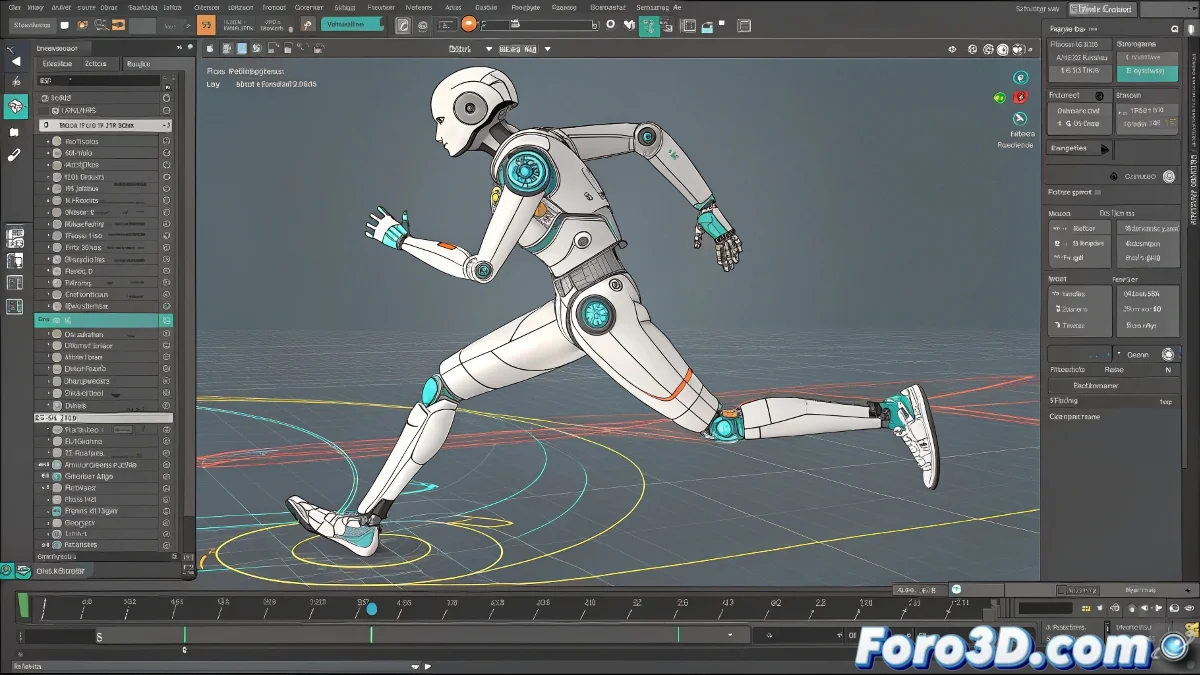
Foolproof Step-by-Step Procedure
- Select the Biped segment (e.g., thigh or leg)
- Go to Motion Panel > Biped SubAnim
- Access Biped Rotation List > Available
- Assign Euler XYZ if not present
- In the Z channel of Euler XYZ, apply Float Limit
- Adjust min/max values (e.g., -30 to 30 degrees)
A well-configured Float Limit is like a good personal trainer: it allows natural movement but prevents digital injuries.
Typical Values Table by Joint
| Joint | Recommended Z Range |
|---|---|
| Knee | -5° to 120° |
| Elbow | 0° to 150° |
| Neck | -45° to 45° |
5 Reasons Why It Fails (and How to Fix It)
- Conflicting controllers: Remove existing animations first
- Wrong axis: Check local coordinate system
- Transformation inheritance: Review the Biped hierarchy
- Extreme values: Do not exceed ±360 degrees
- Figure mode active: Deactivate it to animate
Pro tip: 90% of Float Limit problems are solved by resetting the controller (Remove > Reassign). The remaining 10% requires reviewing each keyframe like a detective. 🔍
Now that you master this technique, your Biped won't do impossible twists... unless you're animating a contortionist, of course. For those cases, better use a custom rig and save the Float Limit for more normal movements. 😉
Bonus tip: For complex joints, create a visual controller that changes color when approaching the limits. Your animators will thank you!