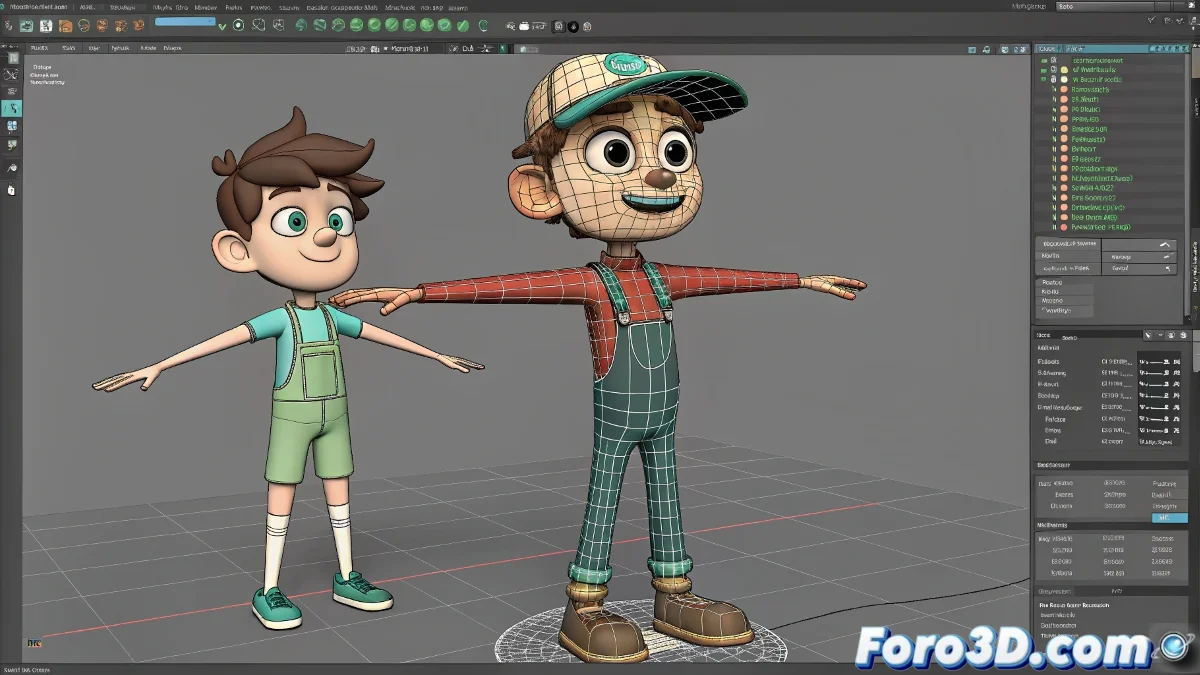
When Your Characters in Maya Start Fighting (and You Lose) 🤼♂️💥
You were animating peacefully until you added that second character and now it looks like a horror scene: joints stretching like taffy, torsos spinning 360°, and faces melting. Relax, this drama has a solution.
The Origin of the Problem: the Namespace War
Maya treats all objects by their name, and when two rigs share:
- Identical names for joints/controls
- Similar hierarchies without differentiation
- Mixed references without organization
The result is like putting two actors on stage with the same name - the poor director (Maya) doesn't know who to address.
Definitive Solution Step by Step
1. Smart Import
- Use File > Reference instead of Import
- Enable Use Namespaces (automatic unique names)
- Assign clear names (e.g.: hero_, enemy_)
2. Verification in Outliner
- Look for prefixes in names (you should see something like char1:spine_01)
- If there are no namespaces, use Namespace Editor to create them
3. Keyframe Cleanup
- Check the Graph Editor for ghost keys
- Use Select All Keyframes per character
- Delete any key on the wrong character
Common Mistakes That Make the Situation Worse
- Auto Key enabled when selecting multiple characters
- Transformations on the rig root
- Editing referenced rigs directly
- Mixing Maya versions when exporting/importing
"A good multi-character setup in Maya is like a party: everyone must have their personal space defined to avoid conflicts"
Professional Workflow
- Prepare each rig with unique names from the origin
- Import as reference with namespace
- Group each character in its own hierarchy
- Animate with Auto Key disabled by default
- Use selection sets to avoid wrong clicks
Crucial Tip: If the problem persists, try File > New Scene and import only the problematic characters to isolate the conflict. Sometimes Maya needs a "relationship reset".
And remember: when those characters behave like rebellious teenagers, take a deep breath. Even AAA studios go through this... they just don't admit it in public. 😅