The Challenge of Taming Rebellious Vertices in Physique
Setting up the Physique modifier in 3ds Max so that a character deforms elegantly is a rite of passage for any rigger 🦵. The frustration comes when, after applying the modifier and assigning the bones, parts of the model—like a leg or an arm—refuse to move, staying stiff as a block while the rest of the skeleton dances. This problem almost always boils down to a simple but critical issue: the problematic vertices are not receiving instructions from any bone because they are outside its zone of influence or have a weight of zero.
The Heart of the Problem: Envelopes and Weights
Physique works through a system of envelopes. Each bone has an envelope that defines a volume of influence around it. Any vertex within this volume will move with the bone, with an intensity (weight) that decays from the center of the envelope toward its outer edge. If a vertex is outside all envelopes, it becomes a digital orphan that won't move with anything. Similarly, if a vertex is on the far edge of an envelope where the influence is nearly zero, its movement will be negligible, creating the illusion that it doesn't move.
A vertex without weight is like a soldier without a general; it doesn't know who to follow in battle.
The Solution: Diagnosis and Manual Adjustment
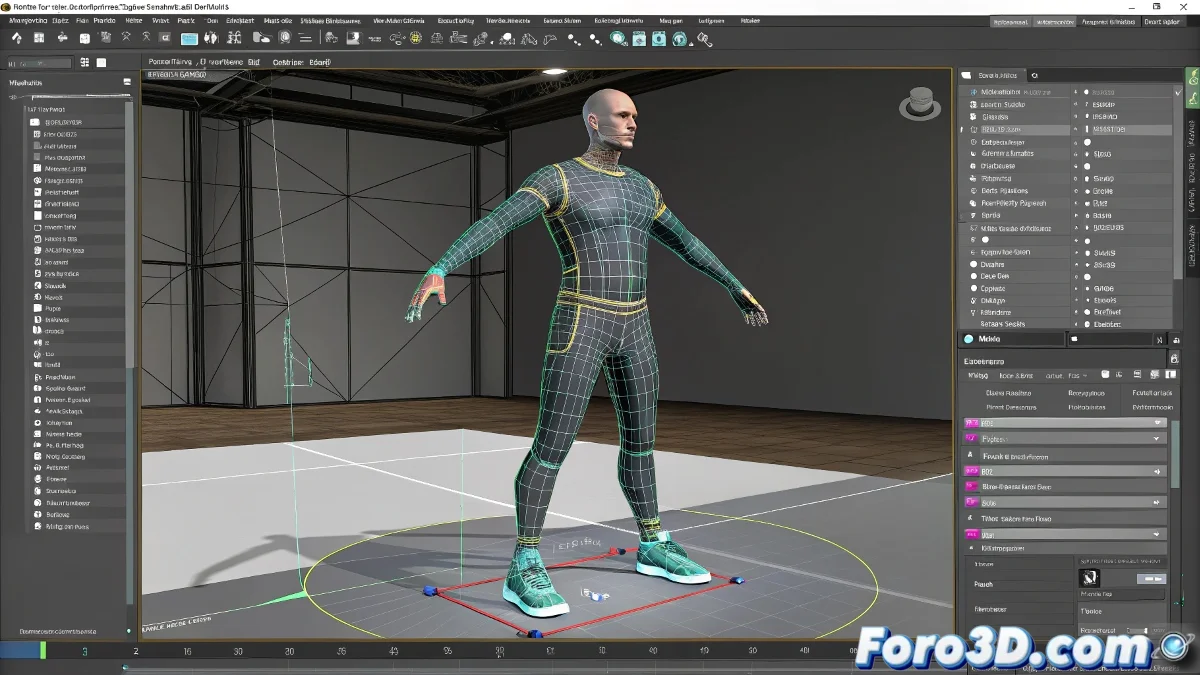
The solution requires a surgeon's approach. Select the model, go to the Physique modifier in the stack, and go up to the Envelope sub-level. When selecting a bone, you'll see its envelope represented as a double-layer structure (red and brown) around it. Problematic areas usually reveal themselves by moving the bone and seeing which vertices are left behind. To fix it:
- Adjust the envelopes: select a bone and use the manipulators to enlarge (Scale) or reposition (Move) its envelope until it fully covers the vertices that should be influenced.
- Paint the weights: switch to the Vertex sub-level and use the Paint Weights tool. Select a bone and paint over the problematic vertices to manually assign influence to them.
- Rigid vs Soft mode: for areas that shouldn't deform (like armor), select those vertices and assign them to the bone with a Rigid assignment type instead of Deformable.
Auxiliary Tools for an Efficient Workflow
Physique offers tools beyond basic manual adjustment for complex cases:
- Bulge Editor: allows defining how musculature deforms when a bone bends at a specific angle.
- Link Settings: adjusts cross-section parameters to control how influences blend between adjacent bones.
- Select by Link: quickly selects all vertices influenced by a specific bone for batch adjustments.
Workflow for Robust Skinning
To minimize problems, follow an orderly process:
- Initial Assignment: after applying Physique and assigning the bones, use the Initialize option for a base automatic assignment.
- Deformation Test: move the bones to extreme poses (arms up, legs bent) to identify problematic areas early.
- Envelope Adjustment: first adjust the envelopes globally to cover the entire mesh, without excessive overlaps.
- Fine Weight Painting: refine the deformation by painting weights in critical areas like shoulders, hips, and elbows.
- Final Test: animate a full walk cycle and review the deformation in motion, not just in static poses.
With patience and this methodology, you'll transform your static model into a character ready for animation. And when that arm bends perfectly without pinches or stretches, you'll know the effort was worth it 😉.