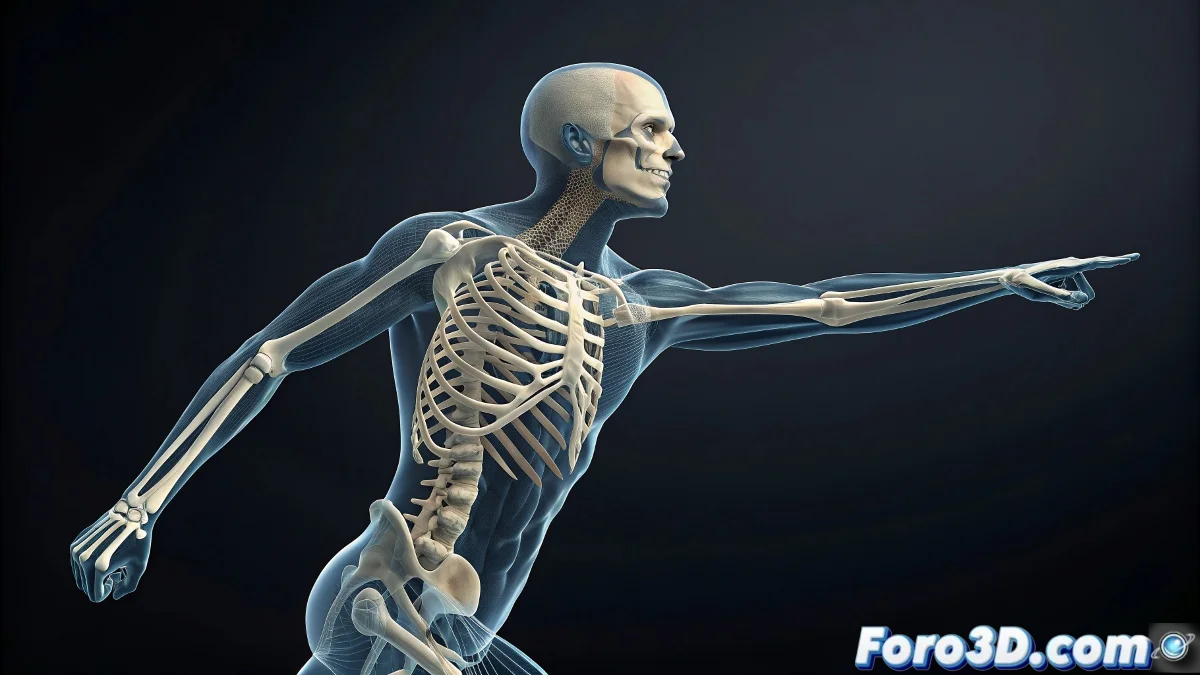
When Cloned Bones Rebel in 3ds Max 🦴
Cloning bones in 3ds Max using Bones Pro should be a piece of cake, but sometimes it seems like the bones have a mind of their own. If the forearm ends up deforming the biceps, it's not that your character is doing extreme yoga, but something went wrong with the orientation or pivots. 😅
The key is that the cloned bones maintain the same structure as the originals, or Bones Pro will misinterpret the weights.
Cloning Without Drama (or Almost)
To prevent the bones from getting messed up like socks in a washing machine, follow these steps:
- Use Local Transformation or Pivot in World when cloning.
- Make sure the bone names don't cause conflicts (nothing like Bone_01_copy_copy_final_v2).
- Clean the transformations before applying Bones Pro. 🧹
Order is Key: Bones Pro Goes Last
Applying Bones Pro too early is like putting whipped cream on a cake that's still raw. First:
- Clone and align the bones.
- Adjust pivots and hierarchy.
- Only then apply Bones Pro.
This way you'll avoid the system getting confused and applying weights where it shouldn't. 🎯
The Finishing Touch: Weight Review
After the whole process, use the Weight Tool or the Vertex Weight Editor to manually adjust the rebel vertices. A small tweak can save your model from strange deformations.
And remember: if all else fails, you can always say your character has an abstract style. 🎨😉