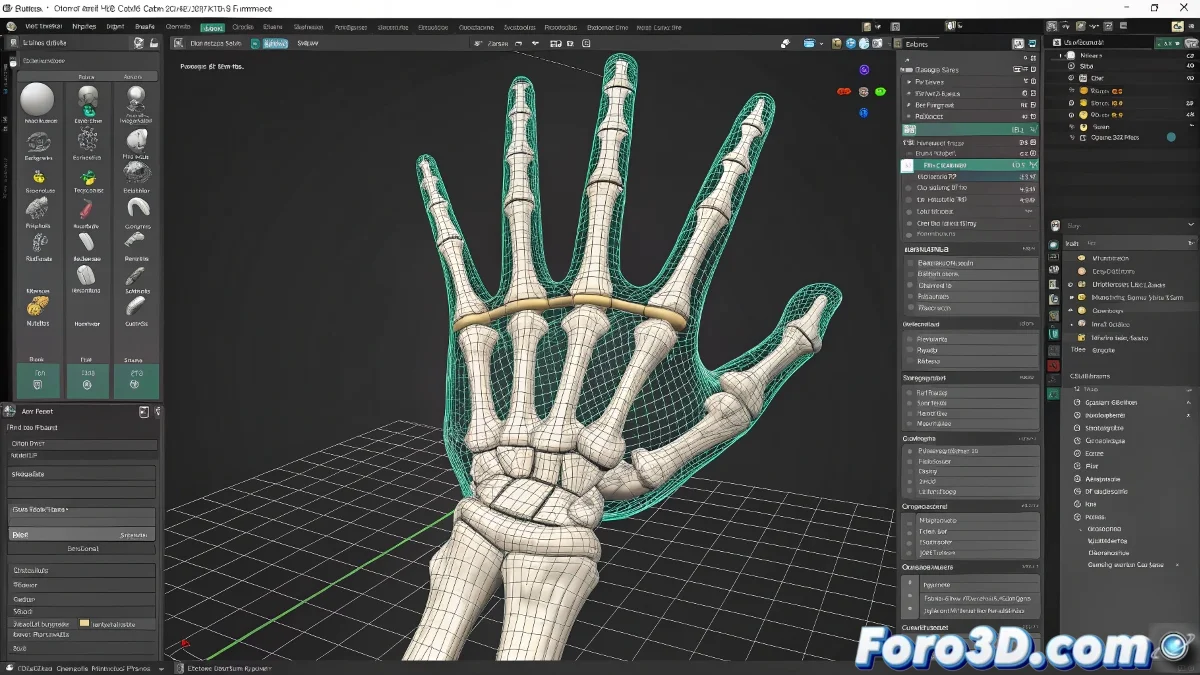
When Your 3D Model Decides to Do Yoga Without Warning 🧘
In the fascinating world of rigging in 3ds Max, there's a curious phenomenon: applying the Skin modifier and discovering that some bones and the mesh get along as poorly as a mother-in-law and son-in-law. Especially funny when a hand decides to dance flamenco while the rest of the body remains serene.
In rigging, as in love: perfect alignment is a matter of patience and several failed attempts.
The Mystery of the Rebellious Hand
When the Biped and the Skin don't agree, the usual culprit is that treacherous companion called accumulated transformation. The mesh may look well placed, but it harbors previous transformations inside like an elephant harbors grudges.
To tame this digital rebellion, there's a three-step magic ritual:
- Apply a Reset XForm (the favorite button of the frustrated)
- Collapse the stack like the hopes of finishing soon
- Reapply the Skin with renewed faith ✨
Survival Kit for Novice Riggers
If after the ritual the hand is still doing a handstand, check these key points:
- That the assigned bones are the correct ones (lest the hand be controlled by a toe)
- That no vertex has escaped to other bones like a teenager at a party
- That the skeleton hasn't grown or shrunk like by magic
The weight painting tool will be your best ally, even if sometimes it seems to paint with its eyes closed. 🎨
Golden Tip (or at Least Gold-Plated Copper)
Before losing your sanity checking vertex assignments, try:
- Freeze the Biped's transformations
- Verify that all bones are in Figure mode
- Pray to your favorite 3D deity (Polygonus, the god of clean meshes)
And remember: if all else fails, you can always say it's an artistic style and present it as avant-garde innovation. Digital abstract art pays the same. 😉