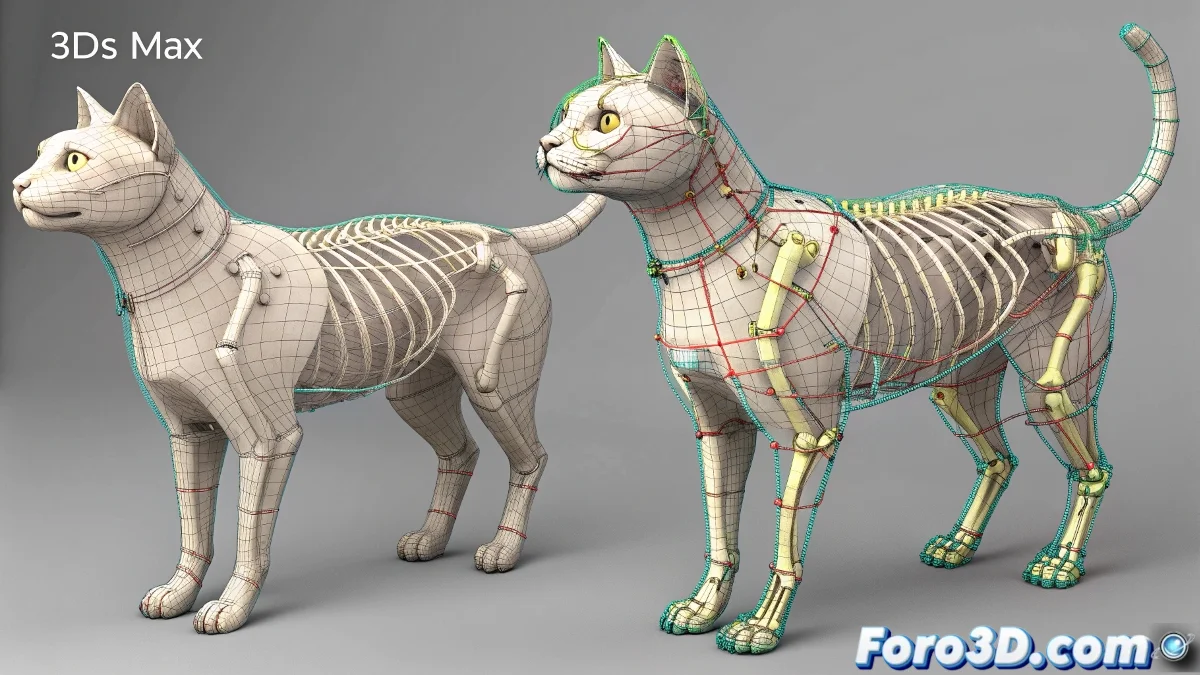
The Challenge of Sharing Animations Between Non-Twin Models
In an ideal world, you could take the perfect animation from one character and apply it instantly to another, regardless of their differences. In the reality of 3ds Max, this is like trying to make a person's suit fit perfectly on someone of a different size—it requires adjustment and tailoring 🧵. The fundamental problem is that the animation doesn't live in the mesh, but in the rig—the bone and controller structure. If two models don't have identical rigs or at least structurally equivalent ones, the animation simply won't have anywhere to go or will cause catastrophic deformations.
The Safest Route: Export and Replicate the Structure
The most robust strategy is to treat the animation as an independent asset. If the source model is animated with Biped, export its animation to a .BIP file. If it uses a CAT system, use the Motion Mixer to export the animation clips. This file contains only the bone transformation data, not the geometry. Then, in the destination model, your mission is to build a rig—whether Biped or CAT—that has exactly the same bone hierarchy and names as the original rig. It doesn't have to be perfect, but it needs to be similar enough for the rotation and position data to have a clear destination.
Transferring animation between different rigs is like passing a cooking recipe between chefs; the ingredients (bones) must be the same for the dish (animation) to taste the same.
The Bottleneck: Skin Assignment
Even if you manage to load the BIP file onto the new rig, the biggest hurdle remains: the Skin Modifier. The animation will move the bones, but if the new mesh's vertices aren't correctly assigned to those bones, the result will be a deformation disaster. Here, topological consistency is queen. If the new mesh has the same topology—the same number and flow of vertices and polygons—as the original, you can use scripts or tools like Skin Wrap to transfer the skin weights from one mesh to another. If the topology is different, you're doomed to paint the weights manually from scratch on the new model.
Step-by-Step Workflow
To maximize your chances of success, follow this pipeline:
- Analysis of the Source Rig: open the model with the animation. Note the exact bone names of the Biped or CAT and its hierarchical structure.
- Creation of the Destination Rig: in the new model, create a Biped or CAT rig. Name the bones and set up the hierarchy to match the source.
- Skin Application: apply the Skin Modifier to the new model and assign the bones. If the topology is similar, try transferring weights with Skin > Weight Tool > Copy/Paste or plugins.
- Animation Import: load the .BIP file or animation clip onto the new rig using Motion Panel > Biped > Load File or the CAT Motion Mixer.
- Adjustment and Correction: the animation probably won't look perfect right away. Use Animation Layers or curve editing to correct offsets and deformations.
When Direct Transfer is Impossible
For cases where the models are radically different, abandon the idea of a direct transfer. Instead:
- Use the Animation as Reference: play the original animation in a viewport and manually animate the new character over it, like a rotoscoping animator.
- Retargeting with Middleware: consider exporting both scenes to an engine like Unity or Unreal Engine, which have more advanced animation retargeting tools between different skeletons.
- Motion Capture: if the animation is very valuable, you could re-record it with motion capture targeting the new character.
In the end, transferring animation between different models is an art of precision and patience. And when you get it to work, it's as satisfying as making a custom suit that fits perfectly 😉.