Tips for Your First Human Animations in Maya
Moving from moving cubes or cameras to bringing characters with anatomy and weight to life is always a significant step. From what you mention, you are in the full learning phase of a Higher-Level Vocational Training in 3D Animation, so this entire process of trial and error is part of the journey.
Key Aspects You Can Improve in Your Human Animations
Here are some common points where we all struggle when starting, especially in Maya or any other 3D software like Blender or 3ds Max:
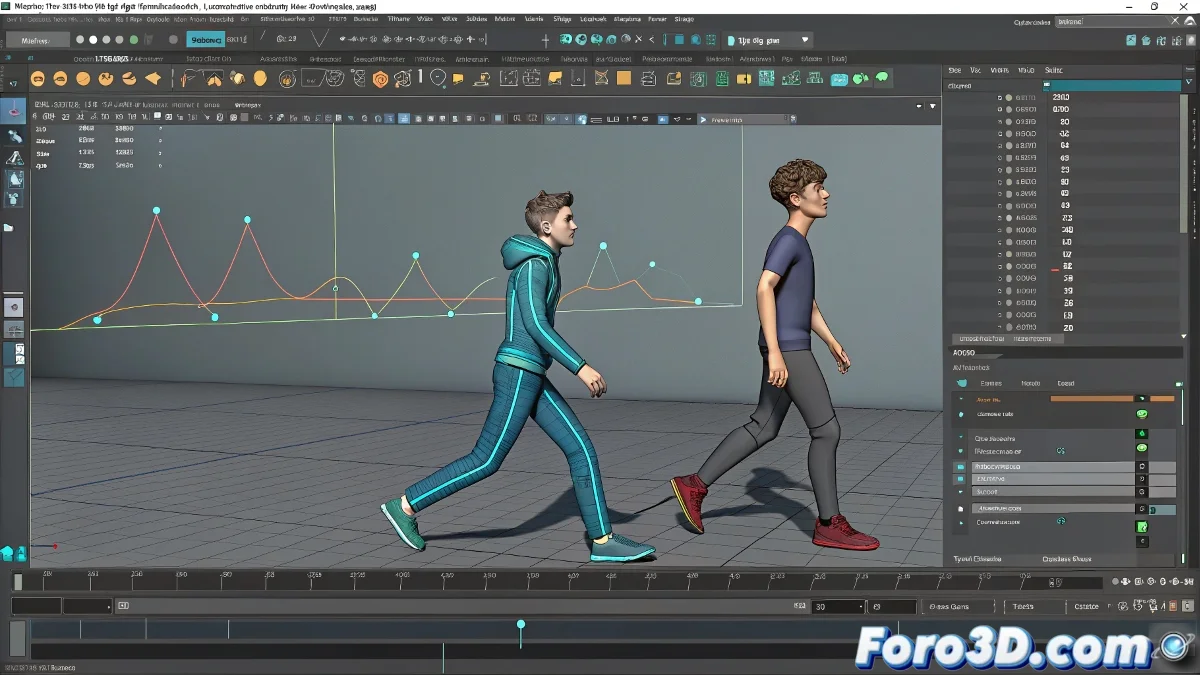
- Timing and Spacing: Make sure movements are neither too slow nor too fast. A common mistake is for transitions between poses to feel mechanical. You can use Maya's Graph Editor to smooth curves and better control acceleration and deceleration.
- Anchor Points and Body Weight: Check that the character conveys a sense of weight when stepping, sitting, or moving. Observe real video references and compare them with your animation.
- Anticipation and Overlapping: Don't forget to apply principles like anticipation before a strong movement or overlapping so that body parts like arms or head react with a certain delay.
Lines of Action
Check that the poses have a clear silhouette. A good line of action gives more visual strength to the animation.
Beware of Floaty Motion
In human characters, floaty movement without weight is one of the most obvious mistakes in early animations.
Specific Tips for Maya and Learning Environments
Since you are using Maya, take advantage of tools like Auto Tangents in the Graph Editor to improve interpolations. You can also rely on educational rigs like Ultimate Bony or Azri Rig, which are designed for students. If you switch to Blender in the future, Grease Pencil can help you plan key poses before animating in 3D.