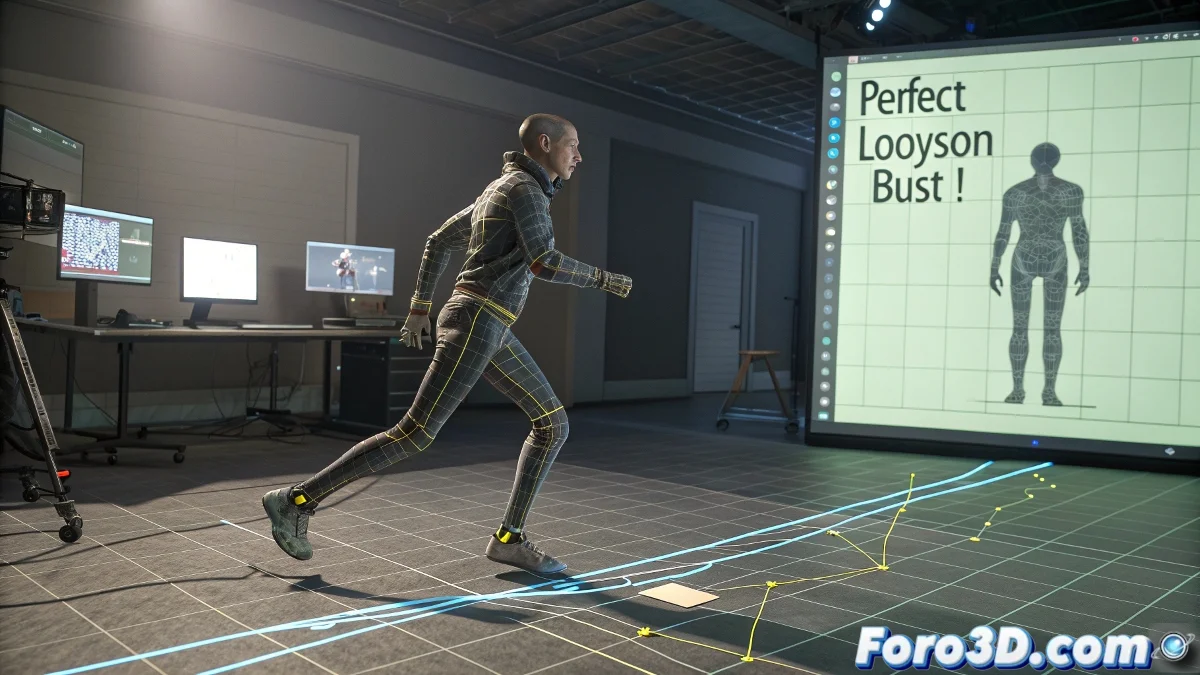
Tips for Achieving Perfect Foot Placement in Biped Cycles
One of the most common challenges when working with cyclic animations in 3ds Max using Biped is getting the initial and final positions of the limbs (especially the feet) to match exactly. This is crucial for the cycle to repeat without unexpected jumps or sliding in space.
How to Ensure the Same Foot Position in Biped
The tool you need to know and love (or at least tolerate) is the Biped Workbench, within the Motion Panel. The key here is not to use pose copy/paste as many think, but to work with the Trajectories option to verify the foot's path and ensure it starts and ends at the same point in space.
Basic Steps to Avoid Hating Your Own Animation Cycle
- Activate Footstep mode: If you want to work with predefined steps, or stay in Freeform if you prefer to do it manually.
- Check the trajectory: Go to the Trajectory panel, select the Biped's foot, and review the trajectory. Here you can see graphically if the foot ends out of position.
- Manually adjust the position: Manually adjust the position of the last key for each foot so it matches the first one numerically. You can easily do this by copying the exact XYZ position value from the first key and pasting it into the last one.
As an extra tip, activate Planted Key in the last position if you want to make sure the foot doesn't move on the Z axis while the cycle plays.
The trajectory view isn't just for feet. You can do this process for any part of the Biped, such as hands, head, or even the pelvis if you want to control the entire character's displacement.
And remember, the copy pose button is not for making perfect cycles, but for copying the current pose to another frame, which is useful but not magical. They say the Biped system programmers created the Copy Pose button just so users would have something to click on while cursing the key interpolation... And the truth is, it makes sense! 😄