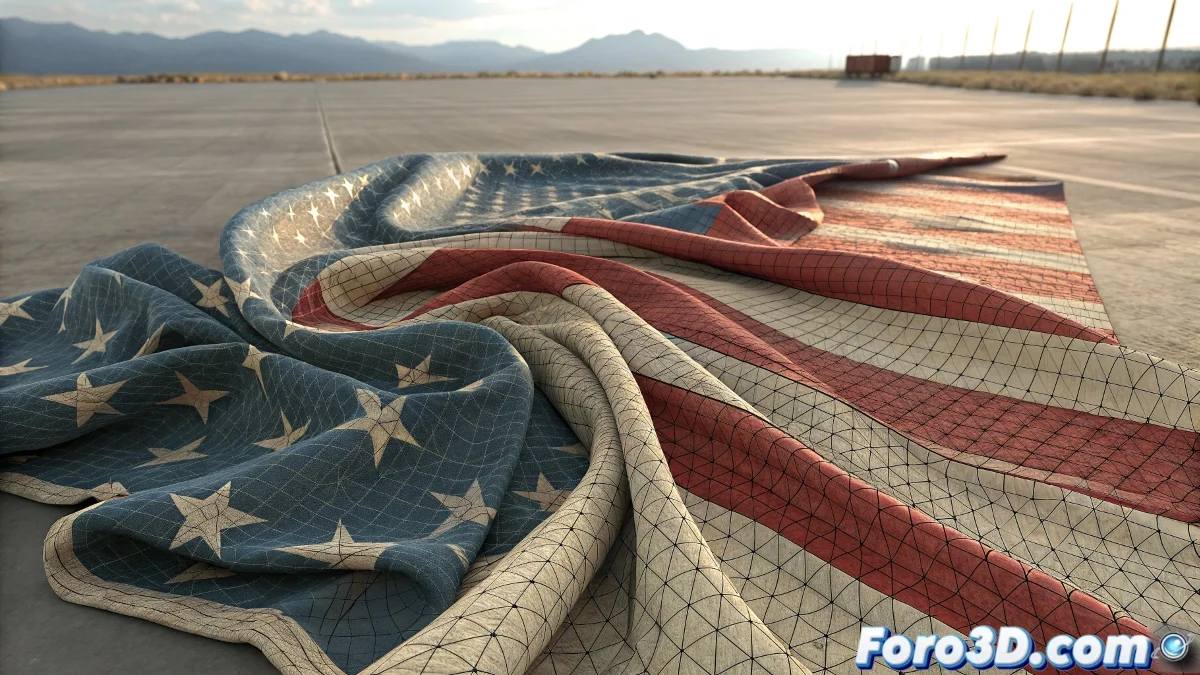
When the cloth decides to turn into an accordion
The problem of excessive deformation in Reactor Cloth is one of those classics that turns even the simplest model into a digital wrinkle mess. What should be a smooth flattening turns into a mountainous landscape of folds and distortions. The frustration is understandable, especially when this technique used to work perfectly for you and now only produces catastrophic results.
The problem usually lies in a combination of poorly adjusted parameters rather than a single factor. Reactor Cloth is extremely sensitive to the initial configuration, and small changes in the mesh or default values can trigger that rebellious accordion behavior you describe.
Essential configuration for stable flattening
The first critical step is to check the stiffness parameters. When using Cloth for unfolding, you need extremely high values for Stretch and Bend - think 500-1000 for Stretch and 200-500 for Bend. This prevents the cloth from behaving like silk and instead acts like a rigid surface that maintains its shape.
The Density parameter is also crucial. For unfolding, use low values (0.1-0.3) to reduce the simulation inertia. High density makes the cloth react exaggeratedly to forces, creating those chaotic deformations you experience.
- Stretch Stiffness: 500-1000
- Bend Stiffness: 200-500
- Density: 0.1-0.3
- Friction: 0.5-1.0
A good unfolding with Cloth is like digital ironing: it requires the right temperature and lots of virtual starch
Constraints and strategic anchors
The lack of adequate constraints is the most common cause of the "wrinkles". You need to anchor multiple strategic points of the mesh to guide the flattening. Start with the extreme points and add additional constraints in problematic areas. Use Vertex Selection to choose specific points instead of relying on automatic constraints.
For complex models, consider using a progressive anchoring system: start with few constraints, run a partial simulation, add more constraints where you see deformation, and repeat. This iterative approach gives better control than trying to solve everything in a single simulation.
- Anchor extreme points first
- Add constraints in problematic areas
- Use manual vertex selection
- Iterative approach with multiple steps
Mesh preparation and initial setup
The mesh topology greatly influences the results. A mesh with irregular triangles or excessively long polygons will cause deformations. Before applying Reactor Cloth, ensure the mesh has a uniform polygon distribution and apply a Relax modifier if necessary.
The scene scale is also critical. Reactor works best with real-world units. If your model is very small or very large compared to the default scale, adjust the World Scale in Reactor properties or rescale the entire scene to realistic dimensions.
- Uniform and clean topology
- Relax modifier before Cloth
- Realistic scene scale
- World Scale adjusted if necessary
Alternative methods when Cloth fails
If Reactor Cloth persists in its rebellious behavior, consider alternative methods for unfolding. The Unwrap UVW modifier with Flatten Mapping can give similar results without the complications of physical simulation. Although it offers less control than Cloth, it is much more stable and predictable.
For absolute control, use specialized scripts like UV Packmaster or Roadkill. These tools are specifically designed for unfolding and usually produce superior results to manual or physics-based solutions.
- Unwrap UVW with Flatten Mapping
- Specialized unfolding scripts
- Third-party plugins for UV mapping
- Combination of methods according to needs
Mastering this art of digital flattening will turn you into the official 3D mesh ironer, capable of taming even the most rebellious geometry. Because in the world of UV mapping, even the most persistent "wrinkle" can become a perfectly flat surface with the right adjustments 😏