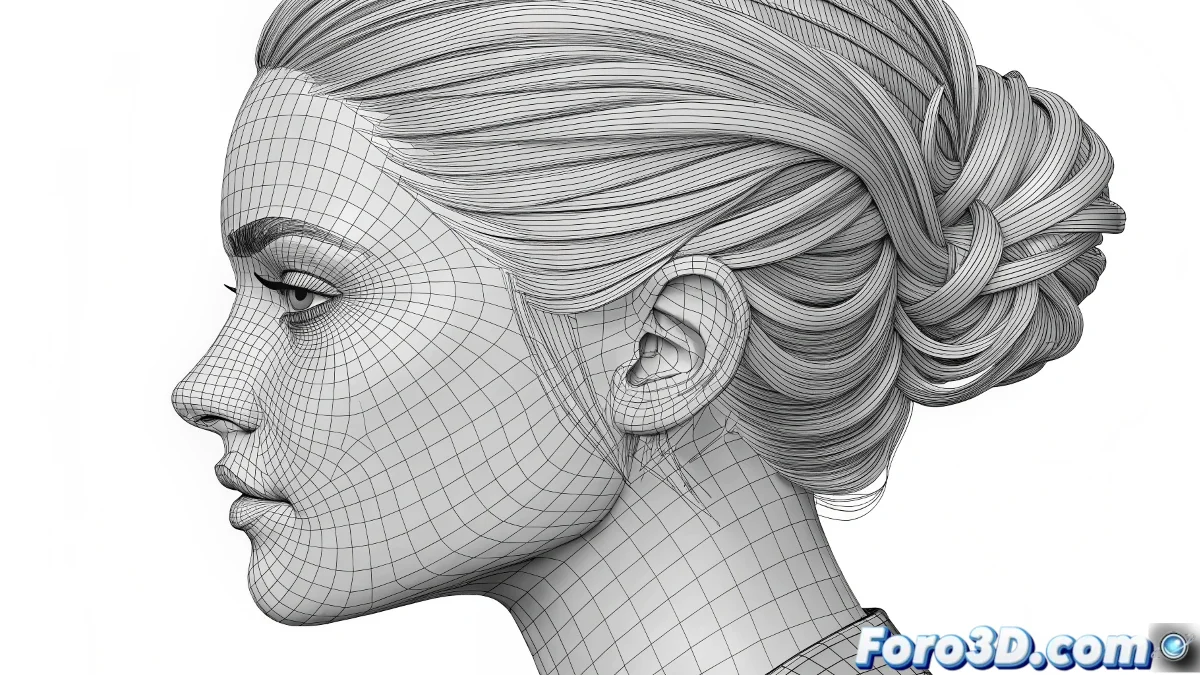
When Hair Decides to Live in Its Own Physical Reality
The problem of collisions that don't work in spline hair is more common than you think, and it's usually due to a combination of misconfigured settings rather than a single error. The frustration is understandable when you've followed all the apparently correct steps but the hair still passes through the body like a ghost. The second problem of single-core rendering is equally annoying, especially with a powerful system like yours with two Opterons.
Both problems have solutions, but they require understanding the specific logic behind the hair system and 3ds Max's render configuration. You're not alone in this battle against rebellious physics and wasted performance.
Definitive Solution to Ignored Collisions
The main problem is usually in the collision geometry setup. The Hair and Fur modifier is extremely demanding with the collision mesh. First, check that the body has a clean and uniform topology - excessively large or irregular polygons can cause collisions to fail silently.
Then, in the Hair and Fur properties, go to the Collisions section and make sure the Polygon option is selected instead of None. Also, enable Use Growth Object if you want the hair to collide with the head itself, not just external objects. The Collision Margin parameter should be between 0.5 and 2.0 for most cases.
- Clean topology collision geometry
- Select Polygon in Collision Type
- Enable Use Growth Object
- Collision Margin between 0.5 and 2.0
Perfect collision hair is like a good haircut: it requires the right base and lots of fine-tuning
Advanced Dynamics Setup
If basic collisions still don't work, you need to enable the full dynamics system. In the Dynamics section of Hair and Fur, enable Mode > Live for real-time preview. Then, in Collisions, specifically add the body using the Add button and selecting the mesh from the viewport.
The Stiffness, Dampen, and Gravity parameters affect how the hair reacts to collisions. For realistic behavior, use medium-high Stiffness (0.7-0.9), low Dampen (0.1-0.3), and standard Gravity (1.0). This prevents the hair from behaving like an overexcited spring.
- Enable Mode > Live for dynamics
- Specifically add collision objects
- Medium-high Stiffness for control
- Balanced Gravity and Dampen
Solution to the Single-Core Rendering Problem
The render using only one core problem is usually in the Backburner configuration or system preferences settings. Go to Preferences > Rendering and check that Use All Available Processors is enabled. If using Backburner, ensure the service is configured to use multiple cores.
For Hair and Fur specifically, rendering can be single-threaded in certain operations, but you can optimize other aspects. Enable Multi-threading in the render options and use Bucket rendering instead of Scanline for better load distribution across cores.
- Enable Use All Available Processors
- Check Backburner configuration
- Use Bucket rendering for better distribution
- Multi-threading enabled in render settings
System Optimization for Maximum Performance
To make the most of your two Opterons, consider splitting the render into passes. Render the hair in a separate pass from the rest of the scene. This not only improves CPU usage but also gives you more control in post-production. Use Render Elements to separate the hair into its own layer.
Another effective technique is to use proxy objects for complex geometry during testing. Reduce Hair Count and Hair Segments during development, and only use the final values for the definitive render. This greatly speeds up testing cycles.
- Render in separate passes
- Use Render Elements for hair
- Proxy objects for quick testing
- Reduce quality during development
Solving these problems will make you the absolute master of digital hair systems, capable of creating hairstyles that obey the laws of physics and renders that leverage all the power of your hardware. Because in the 3D world, even the most rebellious hair can learn to behave when it knows the right parameters 😏