When virtual hair resists staying in place
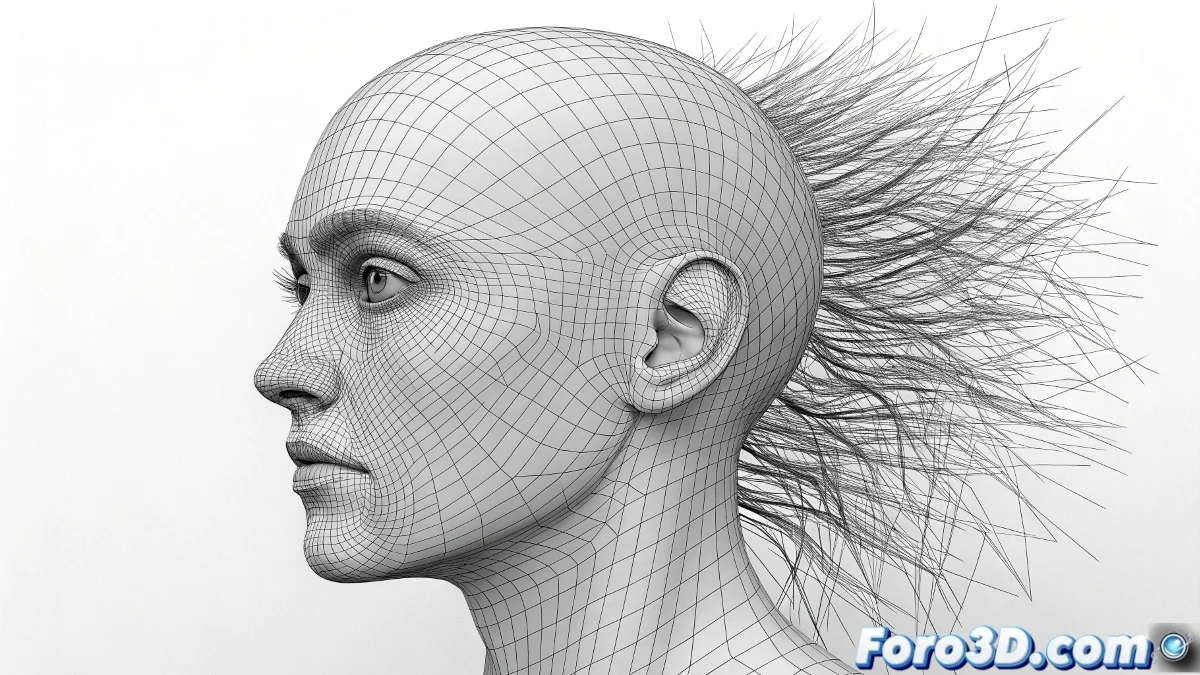
The world of digital hair in 3ds Max has its particularities, especially when working with splines that seem to have a life of their own. Many artists discover that creating perfect strands is only half the battle, as making them stay attached to the head during animations is a completely different challenge. Hair that mysteriously floats around the head like a hair aura is a common but undesirable spectacle.
Hair and Fur is the most well-known native system, but when it comes to custom splines and complex animation, solutions may require creative approaches or specialized plugins. The key is understanding which tool to use for each specific situation.
Sticking splines to organic surfaces
To attach hair created with splines to a head, there are several strategies depending on the level of control needed. The most direct method uses the Hair and Fur modifier on the splines, followed by Surface Snap to adhere them to the head mesh. However, this approach can be temperamental with complex geometries.
A more robust alternative involves using the PathDeform modifier, which allows splines to follow the surface of the mesh. This provides precise control over how the hair adapts to the curvature of the head, especially useful for bangs or specific strands that must maintain their relative position.
- Surface Snap for basic adherence
- PathDeform for curvature control
- Skin modifier for vertex deformation
- Attach to Surface for permanent connection
Good digital hair goes unnoticed, bad hair looks like a living helmet
Hair animation and its secrets
The native Hair and Fur system is animatable, but with significant limitations. It can respond to forces like wind and gravity, and offers basic dynamics options. However, for cinematic-quality animation where each strand has specific movement, it falls short. Native dynamics tend to be spring-based and unstable in fast movements.
For advanced animation, the Ornatrix plugin becomes the professional solution. It offers exceptional control over hair behavior, allowing everything from realistic collision simulations to strand-by-strand animation. Its integration with 3ds Max's modifier stack makes it versatile for complex pipelines.
- Hair and Fur: basic dynamics and forces
- Ornatrix: professional animation and collisions
- HairFarm: render and simulation solution
- XGen: alternative for Maya users
Recommended workflow
For projects requiring high-quality animated hair, the most effective approach combines base splines with dynamics systems. Starting with splines provides initial artistic control, while dynamics add natural movement afterward. The key is establishing a proper hierarchy of modifiers that preserves the base shape while adding dynamic behavior.
The ideal process involves creating guides with splines, converting them to dynamic hair, and then using cache to optimize performance. This allows iterative adjustments without recalculating full simulations on every change, saving considerable production time.
- Splines for initial design and guides
- Conversion to dynamic system for animation
- Cache for performance optimization
- Fine adjustments in post-production
Mastering the art of digital hair is like learning advanced hairdressing: it requires patience, the right tools, and accepting that some days the hair will simply decide to have a life of its own. But when everything works, the results can be so realistic that they almost ask for shampoo and conditioner 😏