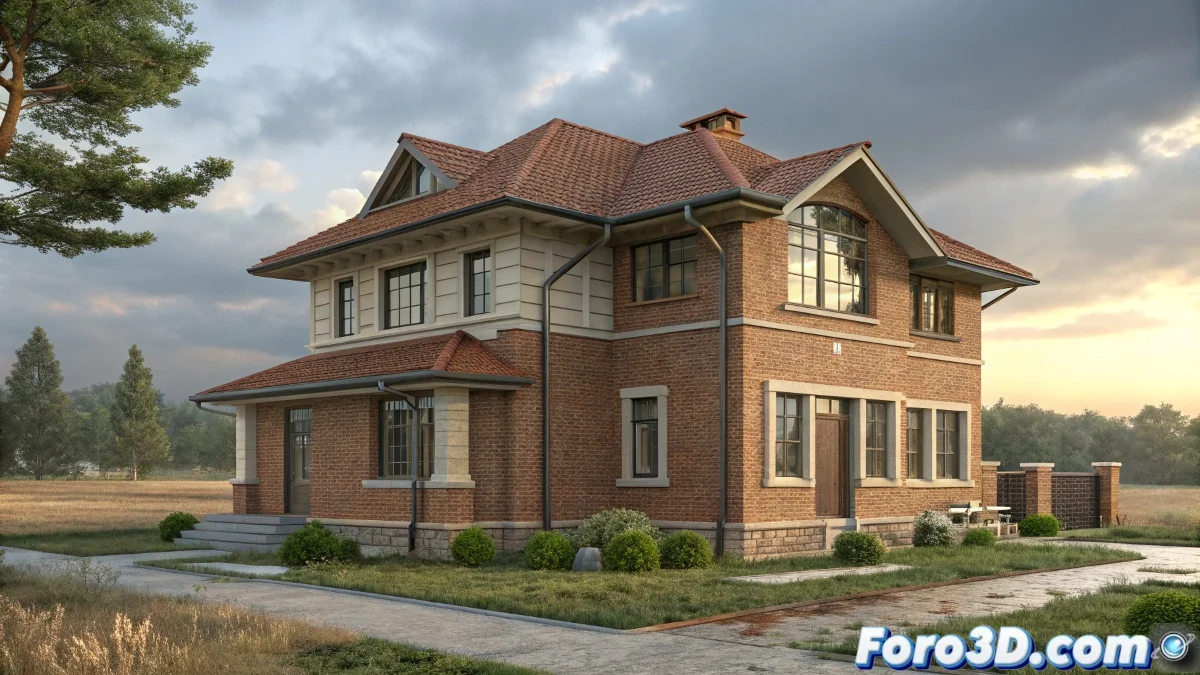
Step-by-Step Guide to Animate Walls and Windows Growing in 3D
To animate a house growing from the floor to the roof in 3ds Max, the most straightforward way is to use geometry animation modifiers like the Slice modifier combined with keyframe animation. The idea is to gradually slice the house at the height you want to show and animate that slice so it looks like the walls are growing. Like the house is alive! 🏡
Using the Slice Modifier
First, apply the Slice modifier in the vertical direction to define the visible limit of the wall. Then, on the timeline, animate the Slice position from the base to the roof, gradually revealing all the geometry. This works for walls and also for windows if they are modeled within the same object or in separate objects, animating them together. It's like the house is being built right before your eyes!
- Apply Slice: Use the Slice modifier in the vertical direction.
- Animate position: Animate the Slice position from the base to the roof.
- Reveal geometry: Gradually, all the house geometry is revealed.
Animating Segments or Panels
Another option is to separate the walls into segments or panels and animate their vertical position with keyframes, lifting them one by one as if they were stacking blocks. This technique is simpler for beginners and offers more visual control. Perfect for those starting out in the 3D world! 🧱
- Separate walls: Divide the walls into segments or panels.
- Animate position: Use keyframes to animate the vertical position.
- Stack blocks: Lift the panels one by one as if they were blocks.
What About the Windows?
If the windows are modeled as independent objects, simply animate their vertical position in sync with the corresponding wall. If they are within the same mesh, the Slice will also reveal that part. The windows can grow too! 🪟
- Independent windows: Animate their vertical position synced with the wall.
- Windows in the same mesh: The Slice will reveal the windows too.
Final Tip
The key is to use simple keyframe animations and modifiers like Slice so the house grows in a smooth and easy-to-control way. This way, you don't have to complicate things with simulations or complex rigging. Less is more! 🎯
And that's it, with these simple steps, your 3D house will grow like magic. Who said building a house couldn't be fun and hassle-free! 🏗️