Solution for Using Morpher with Symmetry in 3ds Max Without Deformations
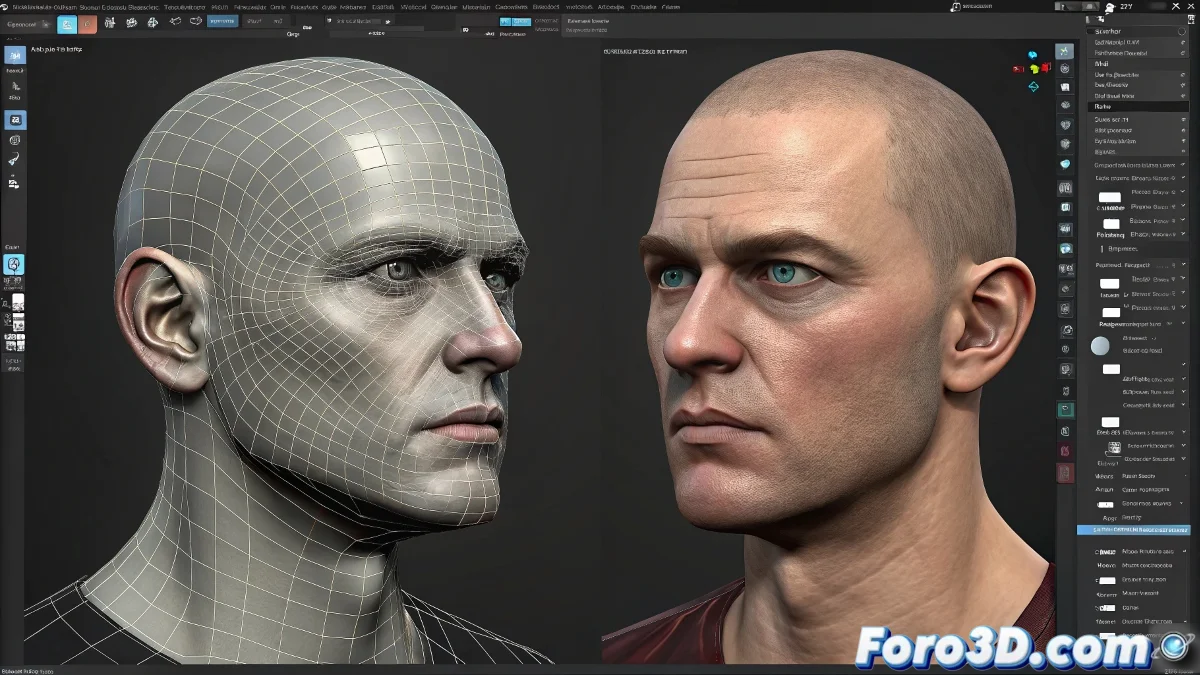
Using the Morpher modifier together with Symmetry in 3ds Max can result in unwanted deformations, especially in the head of your models. This happens because Morpher requires vertices to match exactly in number, order, and position. Symmetry, by duplicating the geometry, can alter the internal order of the vertices, causing problems. Don't let your character end up needing emergency surgery! 🏥
Preparation of the Base Model
To avoid these errors, it is crucial to properly prepare the morph targets. Start by creating your base model with symmetry applied and then collapse the stack by right-clicking on the Symmetry modifier and selecting Collapse To. This will ensure the geometry is consistent.
Creation of Morph Targets
Duplicate the collapsed mesh and create the morph targets with this version, without reapplying Symmetry. It is important not to modify the order or topology of the vertices in any target. Consistency is key! 🔑
Application of the Morpher Modifier
On the main mesh, apply the Morpher modifier and load the targets directly. Make sure Morpher is above Edit Mesh in the stack, but always after collapsing Symmetry. If you leave Symmetry active, Morpher will read duplicated geometry and will no longer match the targets.
Working with Symmetry
If you prefer to continue using Symmetry for convenience, you can work with half the model and apply Symmetry only at the end, when you no longer need more morphs. This will allow you to maintain the integrity of the vertices during the blendshapes creation process.
By following these steps, you will be able to use Morpher with Symmetry in 3ds Max without unwanted deformations. The idea that everything is symmetrical sounds good, until Morpher decides otherwise. Have fun modeling! 🎨