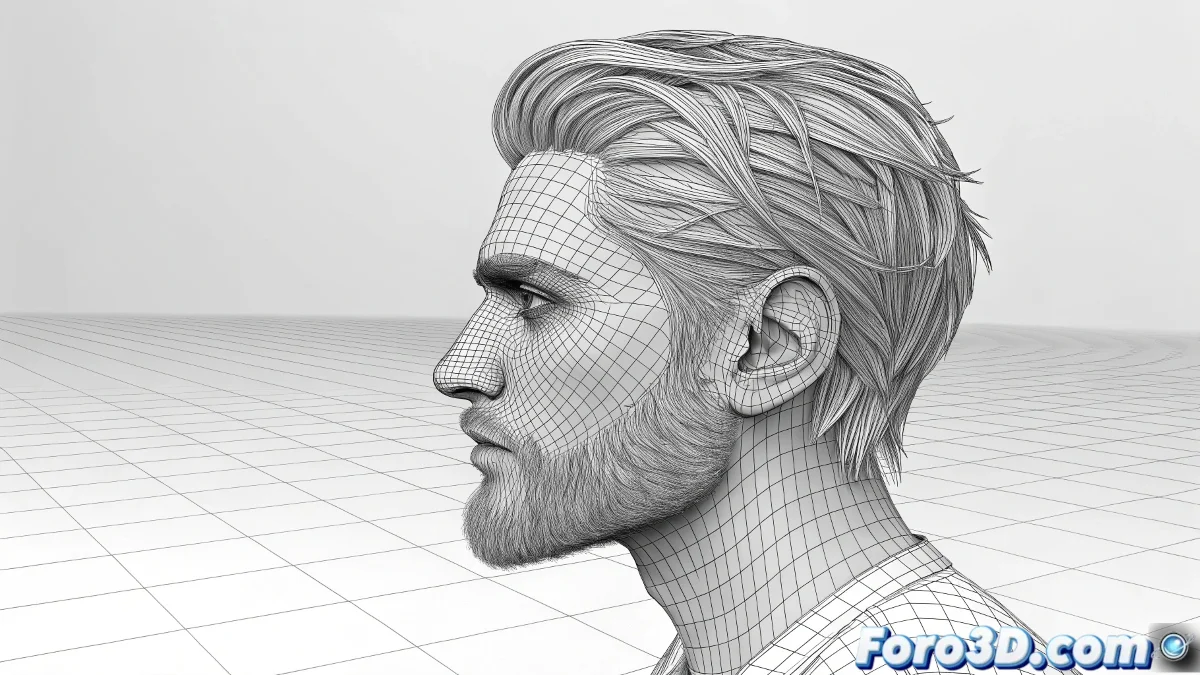
When Shadows Decide to Ignore the Hair
The issue of interaction between shadows and Hair and Fur in 3ds Max is one of those topics that can drive any artist crazy. The frustration is understandable when you've carefully set up your lighting, only to discover that the shadows seem to magically pass through the hair or not affect it as expected. Your observation about the similar behavior between Scanline and Mental Ray, even with Final Gather enabled, indicates that you've encountered a fundamental system limitation rather than a specific configuration error.
You've correctly identified that the problem persists regardless of the render engine, suggesting it's an inherent feature of how Hair and Fur calculates its interaction with lighting.
Shadow Behavior in Scanline
In Scanline, Hair and Fur has limited interaction with traditional shadows. Shadow Map type shadows may not correctly affect the hair because the hair system is rendered in a phase after the main shadow calculations. This explains why you can see shadows that appear to ignore the presence of the hair.
The solution for Scanline is to use Ray Traced Shadows instead of Shadow Maps. Ray traced shadows are calculated differently and usually interact better with Hair and Fur. However, even with this setting, there may be limitations in how shadows are projected onto the hair itself.
- Use Ray Traced Shadows in Scanline
- Avoid Shadow Maps for scenes with hair
- Adjust shadow Bias for better contact
- Check lighting angles
Perfect shadows on hair are like well-mannered ghosts: they settle softly without trespassing what they should respect
Setup for Mental Ray
In Mental Ray, the situation is similar but with nuances. The fact that Final Gather doesn't affect the result as expected is normal, because Final Gather handles global indirect illumination, not direct shadows. Hair in Mental Ray is rendered as a special primitive that may not fully participate in all shadow calculations.
To improve results in Mental Ray, enable All Objects Generate & Receive Caustics in the render options, even if you're not using caustics explicitly. This can improve the interaction between the hair and lighting. Also verify that Hair Light Attenuation is configured correctly.
- Enable caustics for better interaction
- Use mental ray shadows instead of native ones
- Adjust Hair Light Attenuation
- Test with different light types
Solution with Compositing Techniques
Given the limitations of both engines, the most reliable solution is often rendering in separate passes. Render the hair in an independent pass and composite it in post-production. This gives you absolute control over how it interacts with shadows and lighting.
In the hair pass, enable Occlusion and Shadow in the Render Elements. This will generate separate channels that you can use in compositing to perfectly integrate the hair with the rest of the scene, applying shadows more precisely and controllably.
- Render in separate passes: hair and scene
- Use Render Elements for shadows and occlusion
- Post-production compositing for total control
- Fine-tune opacity and blend modes
Specific Hair and Fur Settings
Within the Hair and Fur modifier properties, there are parameters that affect light interaction. Adjust Specular, Glossy, and Shadow Density to improve how the hair responds to lighting. Higher Shadow Density values can help make the hair cast more visible shadows.
The Hair Cuticles parameter also influences light interaction. Enable it and adjust the angle to control how light reflects on individual strands. This doesn't directly solve the shadow problem, but it improves overall visual integration.
- Adjust Shadow Density in hair properties
- Enable and configure Hair Cuticles
- Specular and Glossy for better light response
- Occlusion settings for self-shadowing
Alternatives and Workarounds
If the previous methods don't yield the desired results, consider converting the hair to geometry for the final render. Use the Convert to Geometry option in the Hair and Fur modifier, then apply materials and render as a normal mesh. This ensures full interaction with the shadow system.
Another alternative is to use specialized plugins like Ornatrix or Hair Farm, which can offer better integration with 3ds Max's shadow systems, although this goes against your preference to avoid additional plugins.
- Convert to geometry for final render
- Specialized plugins for better integration
- Lighting techniques that minimize the problem
- Creative adjustments in post-production
Solving this challenge will allow you to create perfect integrations between hair and lighting that truly seal the illusion of realism. Because in 3D rendering, even the most rebellious shadow can learn to settle correctly on the hair with the right techniques 😏
Recommended Setup
For better shadow interaction:
Engine: Mental Ray with Ray Traced Shadows
Render: Separate passes for hair and scene
Hair: Shadow Density 80-100%
Compositing: Use Shadow and Occlusion passes