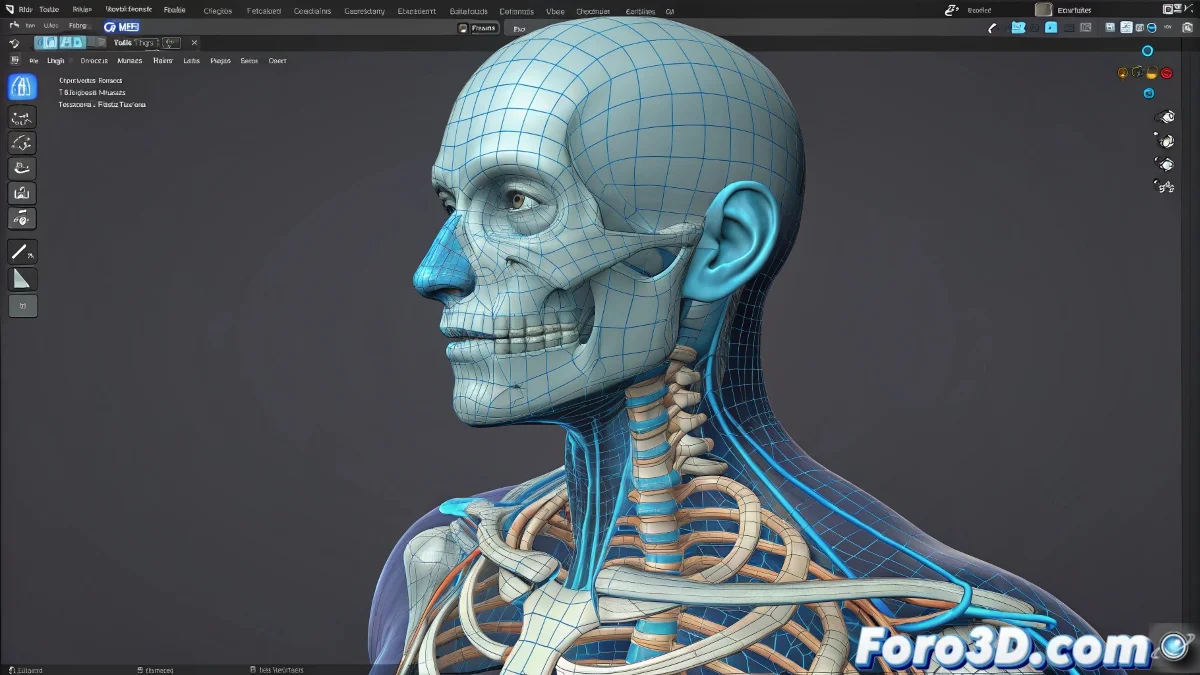
The Challenge of Expanding an Already Skinned Skeleton
Adding new bones to a character already rigged and skinned in Maya is like trying to add extra bones to a living body—it requires precise surgery 🏥. Maya's Smooth Bind system records a known state called Bind Pose at the time of the initial application. Any bone added later is outside this digital contract, appearing in generic blue and with no influence over the mesh. To integrate them, it's not enough to just add them to the influence list; a complete reset of the skinning contract is required.
The Detach Skin Preparation and Influence Cleanup
The first step is a clean separation. Select the mesh and navigate to Skin > Edit Smooth Skin > Detach Skin. In the dialog box, crucially, check the Delete History and Remove Influence Objects options. This not only detaches the mesh from the skin but also cleans up any residual connections with the old bones, preparing the ground for a new bind. It's important to do this to prevent old data from corrupting the new process.
Detaching the skin without cleaning the influences is like disassembling an engine without cleaning the old grease; the new installation will fail.
The Critical Step: Removing the Ghost Bind Pose
Here lies the secret that many overlook: the Bind Pose. This is a hidden transform node that stores the transformation of each bone at the time of the original bind. Select all the bones in your rig—the old and the new—and go to Skeleton > Remove Bind Pose. This command tells Maya to forget the previously recorded pose and allows all bones to be treated equally in the next bind. Without this step, Maya will continue to see the old bones as "special" and the new ones as intruders.
Reapplying Smooth Bind: The Final Ceremony
With the field clean, it's time to put it all back together. First select the mesh, then all the bones (old and new). Go to Skin > Bind Skin > Smooth Bind. In the options, adjust the parameters as necessary—Max influences and Dropoff rate are key for clean deformation. Upon applying, Maya will calculate the influences for all bones from scratch. The bones should now appear colored according to their influence (red for high influence, blue for low), indicating that they are active and participating in the deformation.
Workflow for Flawless Integration
Follow these steps meticulously to avoid issues:
- Preparation: have your new bone(s) created, parented correctly in the hierarchy, and in T-pose position.
- Clean Detach: use Detach Skin with the cleanup options activated.
- Complete Reset: run Remove Bind Pose on all bones without exception.
- New Bind: apply Smooth Bind to the mesh and the full bone selection.
- Weight Painting: since the bind is new, you'll likely need to manually adjust the weights with the Paint Skin Weights tool to correct the influences of the new and old bones.
By following this ritual, your new bones will integrate perfectly into the existing rig, ready to be animated. And if the deformation isn't perfect on the first try, remember: weight painting is where the real magic happens 😉.