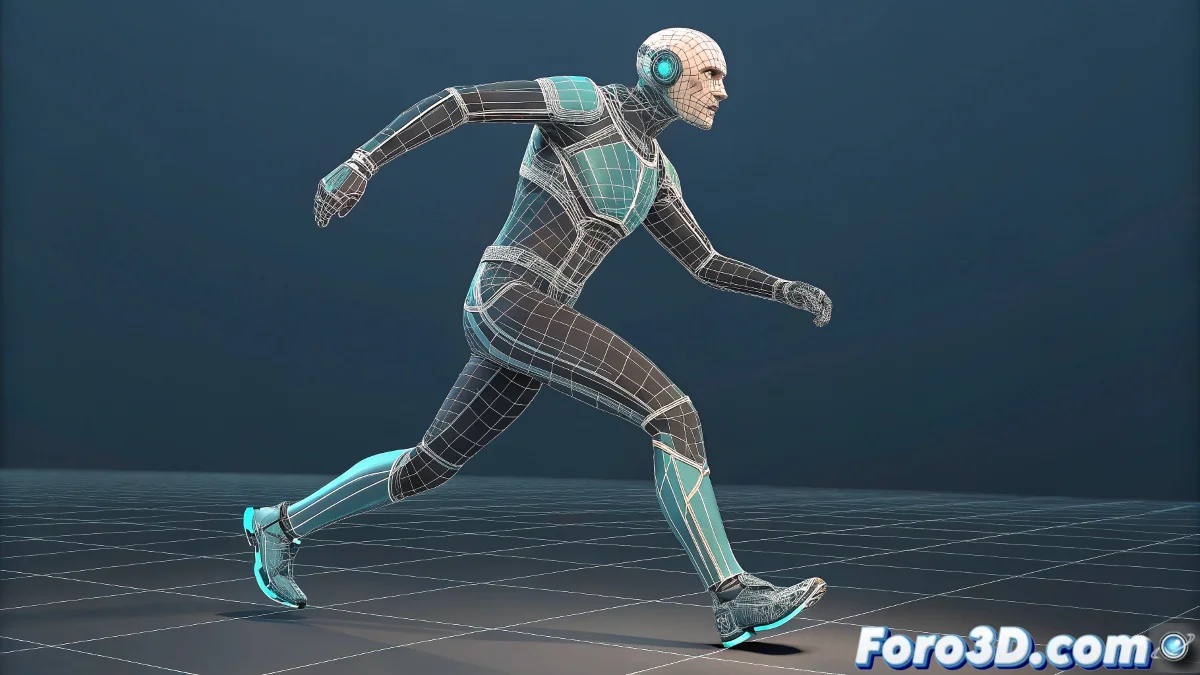
When you need a rig yesterday
Biped is like that friend who always arrives late but at least shows up: it's not the most sophisticated system, but when you need a functional rig in record time, there it is. 🦸♂️ Perfect for when the deadline is looming and the client keeps asking "is it ready to animate yet?"
The ABC of Biped: express rigging
- Create your Biped from Create > Systems (it's like doing magic, but with more clicks)
- Adjust the scale in Figure Mode until it looks like the character is using the Biped as a skeleton
- Apply Physique or Skin (spoiler: Skin gives more control but Physique is faster)
- Time to animate! Because that's what we're here for, right?
A well-adjusted Biped rig can save more projects than 5 years of Python programming experience.
Advantages that will make purists cry
- Automatic IK on legs and arms (goodbye to hours of setting up IK chains)
- Predefined controls for basic poses
- Compatible with .bip mocap files (the ultimate shortcut)
Limitations you should know (before cursing)
Biped isn't perfect, and that's okay:
- Little flexibility for non-humanoid characters (goodbye, quadruped centaurs)
- Skinning needs manual adjustments (especially on shoulders and hips)
- Not the most up-to-date system (but still useful)
Fun fact: 90% of professional animators used Biped in their first projects. The remaining 10% are lying. 😉
And when you finally have your character animated, you'll remember that Biped, like garlic in the kitchen: it's not gourmet, but it saves almost any dish. That said, if you need to rig something more complex than a basic humanoid... better start learning CAT or custom systems. 🚀
Bonus tip: Always save a version of the Biped in T-pose before animating. You'll thank this advice when the client requests changes mid-project.