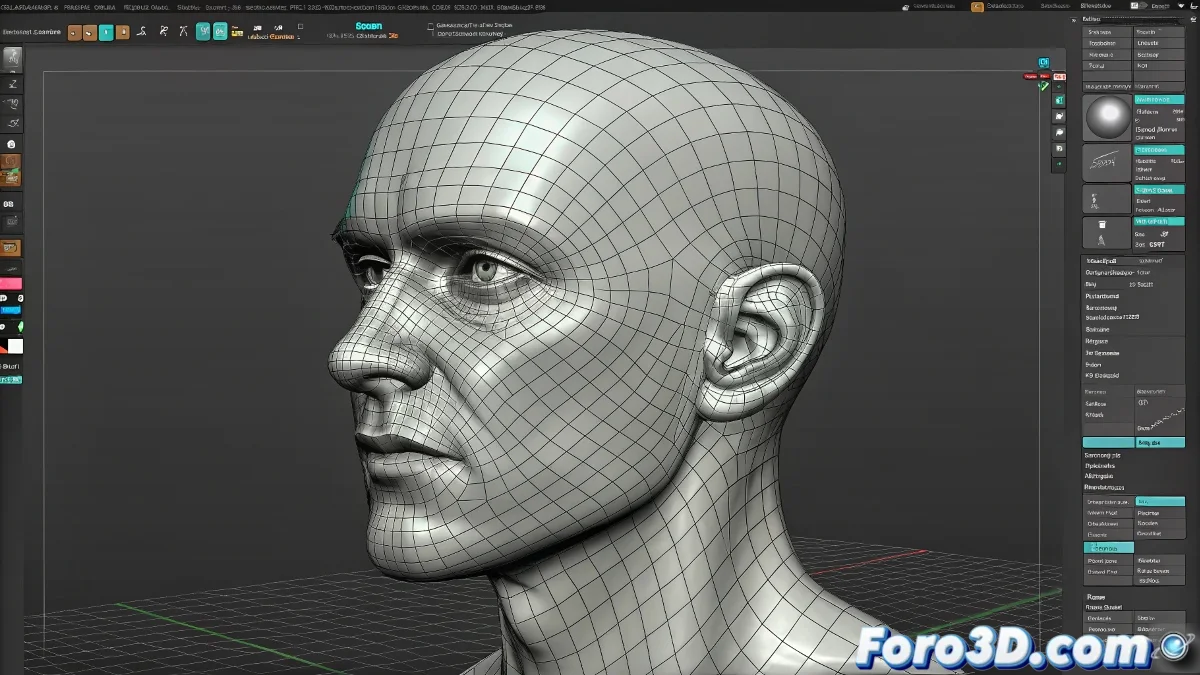
Morphing Issues When Importing Heads from ZBrush to 3ds Max
Did you export your beautifully sculpted head from ZBrush only for it to behave like it has a mind of its own in 3ds Max when applying Morpher? 😱 Don't worry, this classic problem has a solution, although it requires a bit of transformation magic. And no, it's not the fault of the rebellious polygons... well, not entirely. 👀
The Drama of Hidden Transformations
ZBrush and 3ds Max have different philosophies on how to handle object positions:
- ZBrush does not save global position data like Max
- The Morpher modifier requires same position/rotation/scale in base and targets
- An off-center OBJ/FBX = crazy deformations
Result: your character may end up with expressions that not even in nightmares. 😨
Professional Solution in 3 Steps
- Apply XForm to the base model and all morph targets
- Collapse to Editable Poly BEFORE using Morpher
- Verify that all are aligned with the grid
In the 3D world, a forgotten XForm is like going out without pants: the error is noticed immediately.
Prevention from ZBrush
To minimize problems:
- Use Unify on SubTools before exporting
- Prefer GoZ for cleaner transfer
- Export all targets in the same position
With these adjustments, your Morpher will work as it should: transforming expressions, not relocating the head in space like a gravity-less astronaut. 🚀
Ironic Bonus: The funniest thing is when you spend hours sculpting microscopic details in the pores... and then the problem is that the nose wants to live 15 units to the right. Priorities, right? 😅