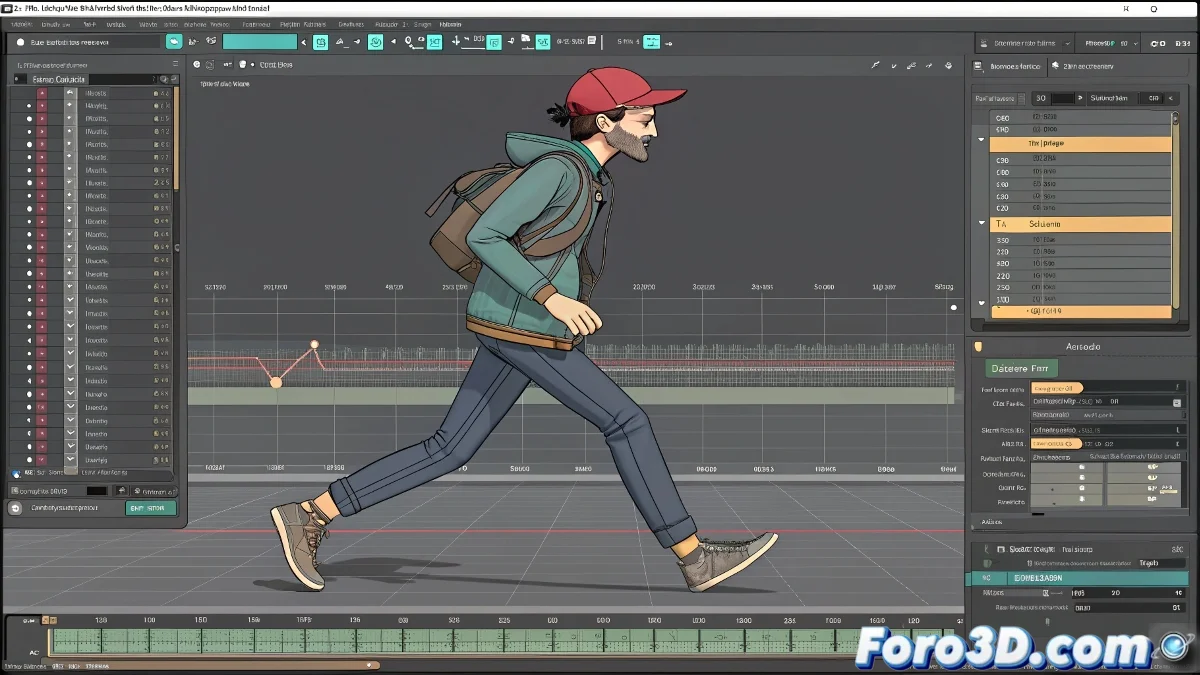
The Orchestra of Animations in Motion Mixer
Imagine being able to conduct an orchestra where each musician is a different animation of your character: one plays the walking melody, another the head movement solo, and you decide how they combine to create a harmonious symphony of movement 🎻. That's exactly what Motion Mixer in 3ds Max allows. This powerful tool is designed to take multiple BIP files and blend them in non-destructive layers, allowing you to overlay and combine animated behaviors in a flexible and creative way, without damaging the original data.
Setting the Stage by Importing BIP Clips
The first step is to gather your "musicians." Open Motion Mixer from the Graph Editors menu. Within its interface, you'll create a track for your Biped character. This is where you'll import the BIP files. Right-click on the track, select Add Clips > From File, and load your first animation, for example, the walking one. Repeat the process to add the second clip, the head movement. Now you'll see two blocks representing each animation on the mixer's timeline.
Motion Mixer is the DJ of your animations, mixing BIP tracks to create unique remixes.
The Magic of Layers by Overlaying Movements
The true power is unleashed with Animation Layers. Instead of having both animations on the same track, create separate layers for them. Drag the walking clip to a base layer, and the head clip to a new upper layer. By default, the upper layer will have priority, but you can adjust its influence with the Weight control. By reducing the weight of the head layer, for example, you'll achieve a more subtle integration of the head movement over the walking base, instead of completely overriding it.
Synchronization and Adjustments for Naturalness
It's unlikely that both clips are perfectly aligned in time. Use Motion Mixer's editing tools to trim and position the clips. Want the character to turn its head right on the third step? Move the head clip on the timeline until its start matches that precise frame. Use the Blend In and Blend Out options to smooth the start and end of the overlap, avoiding abrupt changes that reveal the blend.
Workflow for a Successful Merge
For the best results, follow this methodical process:
- Preparation: ensure all BIP clips come from the same base rig to guarantee compatibility.
- Layered Import: don't pile everything into a single track; use layers to organize and control the influence of each animation.
- Weight Adjustment: use each layer's weight control to find the perfect balance between overlaid movements.
- Timing Editing: trim and reposition clips on the timeline for precise narrative synchronization.
- Preview and Bake: constantly review the result in the viewport and, once satisfied, bake the final animation to a new track for export or further editing.
With Motion Mixer, you'll stop seeing animations as isolated clips and start treating them as ingredients that can be combined to create complex and rich behaviors. And once you master it, your characters won't just walk; they'll live, react, and look at the world around them 😉.