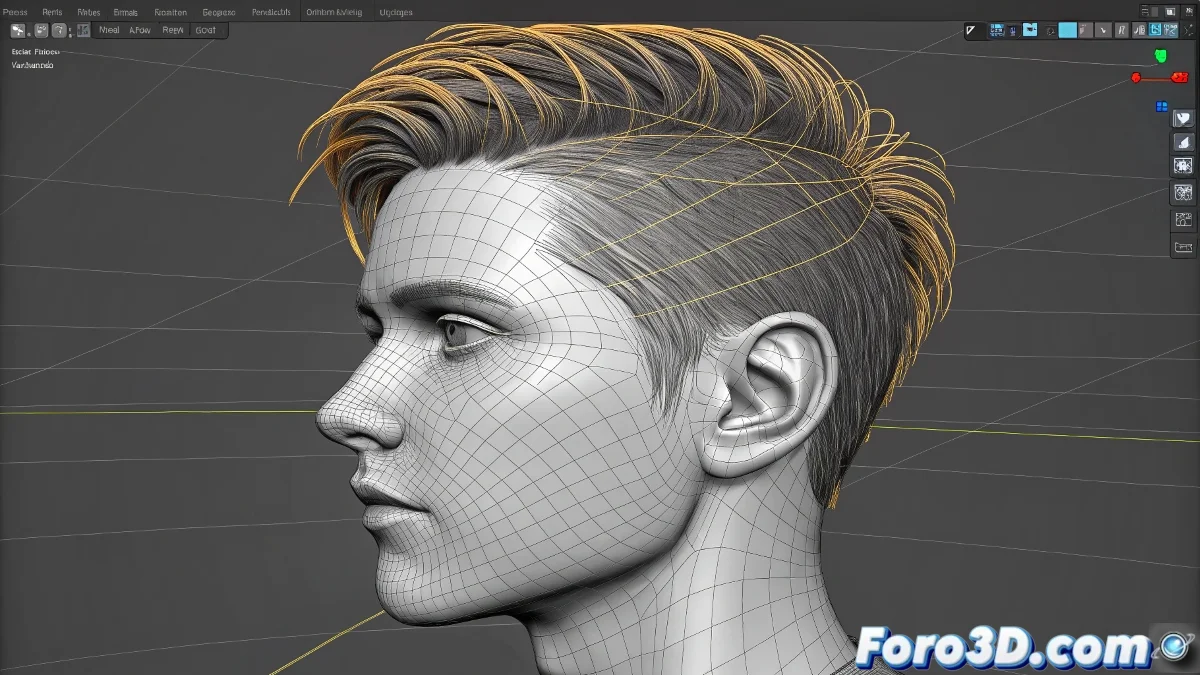
The Art of Taming Rebellious Splines
Tired of your hair strands passing through heads like ghosts in 3ds Max? The solution isn't just in Flex, but in a strategic combination of techniques. Imagine your spline is a snake: it needs flexibility, but also to know where it can't go. 🐍
Magical Combination of Modifiers
For hair that respects boundaries:
- Flex provides natural wavy movement
- Collision Modifier acts as a geometric bodyguard
- Skin organically links the root to the head
- Noise adds that controlled chaos that's needed
Well-simulated hair is like a good friend: it moves with you but doesn't pass through you when you dance.
Step-by-Step Setup
- First apply Flex with moderate values (between 0.4-0.7)
- Add a Deflector in the shape of a sphere around the head
- Convert the spline to bones with Spline IK Control
- Link the initial bones to the head's Skin modifier
- Test with MassFX for more realistic simulations
Veterans' Secrets
- Use 2-3% margin on colliders to avoid the "floating" effect
- For long hair, divide the simulation into 3 zones (root/mid/tips)
- Bake the final simulation to save resources
Crucial tip: 90% of penetration problems are solved by adjusting the modifier order. Flex must be before collision systems in the stack. The remaining 10%... well, sometimes you have to pray to the 3D god. 🙏
Now your characters can shake their mane without fear of strands piercing the skull like needles. And when that client demands "more realism," you can confidently adjust collisions instead of hiding errors with camera tricks. Time to animate!
Bonus: For modern layered cuts, duplicate the splines and slightly vary the Flex parameters in each group. Salon-quality hair without leaving 3ds Max. ✂️