Animated Loft in 3ds Max: How to Make It Grow Along the Spline
The Loft modifier is like that friend who promises to help you move and then gets tangled up with the boxes. It seems easy until you try to animate it. But if you want your object to grow or advance along a spline—like a tube coming out of the ground or a digital snake—the solution is right where it's not usually looked 🐍.
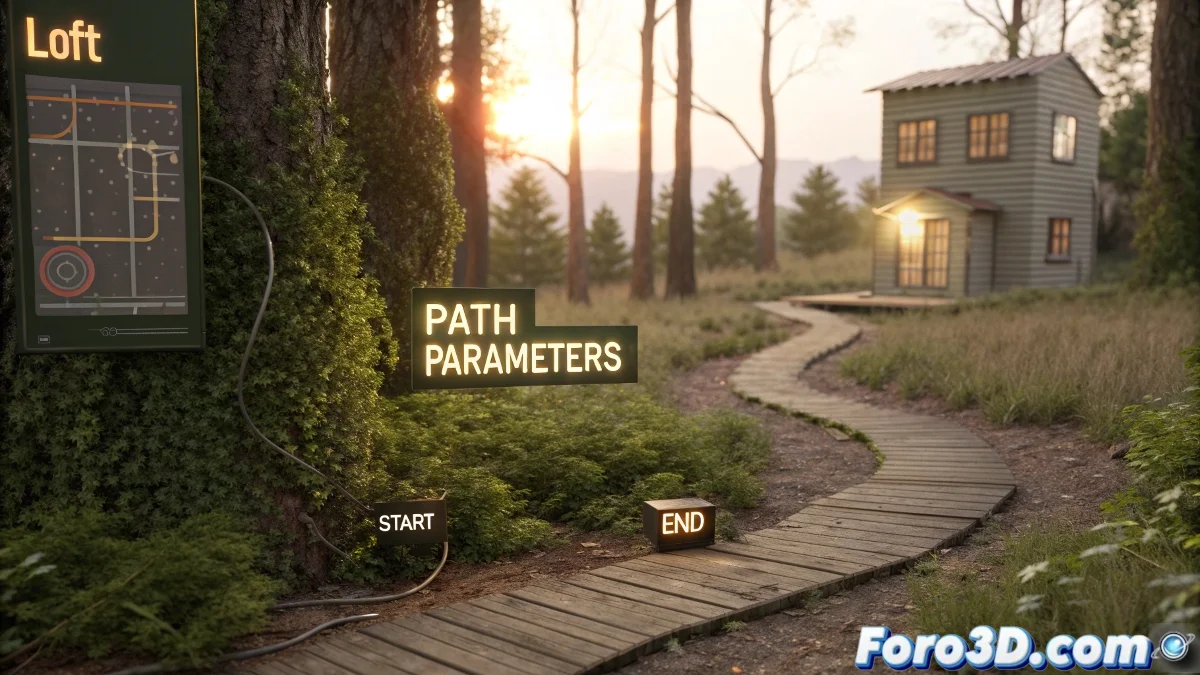
🎯 The Magic Key: Path Parameters and Path %
Once the Loft is created, go to the Modify panel and look for Path Parameters. There you'll find the famous Path %, which defines how much of the path is covered by the object.
- Activate the Animate option from that same panel.
- In the first frame, set Path % End to 0.
- In the last frame, raise it to 100.
And done! Your shape now appears to extend progressively along the spline. You can also use Path % Start to make it advance like a wave that enters and exits 🌀.
👀 Visual Improvements and Alternatives for Complex Shapes
If you're looking for more control or a more versatile animation, you can try:
- Sweep Modifier: ideal for simple and quick shapes.
- RailClone Lite: more powerful for complex distributions or with instances.
- TyFlow: if you need physical interaction or advanced dynamics.
That said, Loft does not work with physics or collisions automatically. If you need interaction with other objects, collapse the geometry to Editable Mesh or Poly before moving on to other simulations.
💡 Remembering It Was Possible Is 50% of the Work
The best part? This animation requires no scripts, strange plugins, or impossible setups. It's native to 3ds Max and surprisingly effective for showing growing structures, extending cables, or even magical creatures taking shape 🧙♂️.
“Half of 3D is remembering that it could be done… and the other half is not giving up before finding the button”
With Path %, you master the Loft effortlessly, and most importantly: you didn't have to install a 2004 Japanese plugin that only worked on Tuesdays 😅