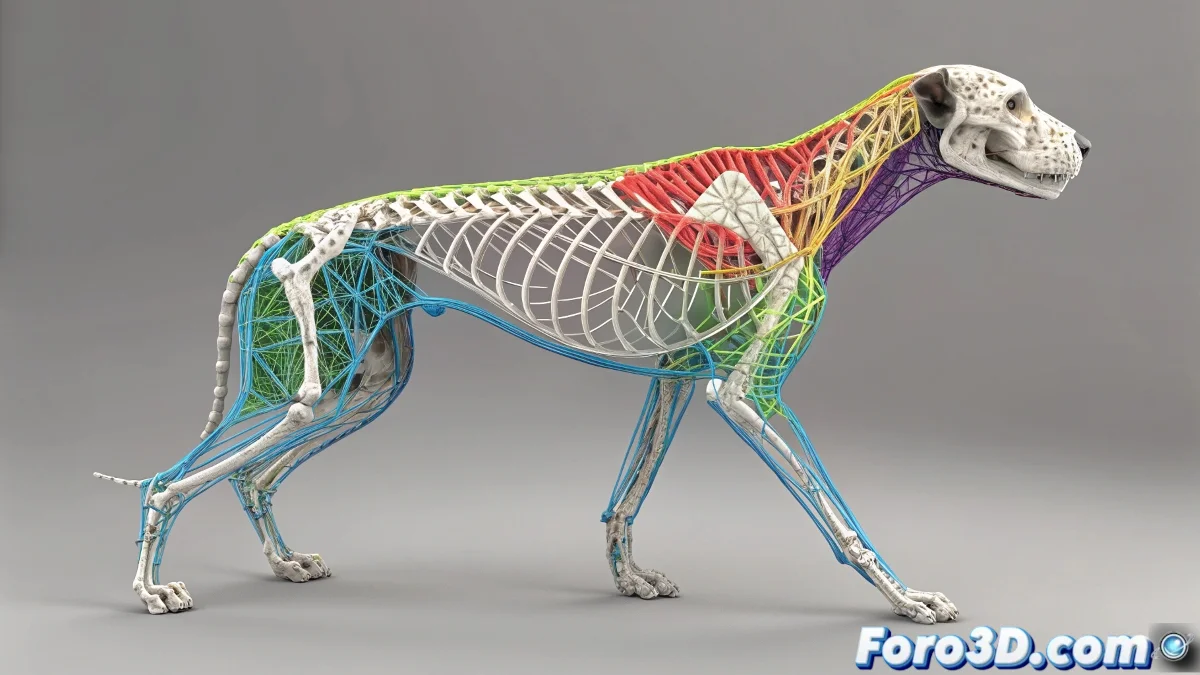
Control Bone Influence in 3ds Max
The Skin modifier in 3ds Max is like a conductor 🎻 that decides which bones move each vertex. By default, a vertex can obey too many bones, causing weird deformations. Limiting the influence to 2 or 3 main bones makes the rig more predictable and less rebellious.
Manual Adjustment via Weight Table
The most direct way to bring order is with the Weight Table. Select the vertices and check which bones dominate them. Remove those with little weight to keep only the main ones. It can be tedious for large models, but the precision is absolute 🧐.
Skin Tools to Automate
3ds Max includes options like Remove Unused Bones and Normalize All that help keep vertices under control. Enabling Envelopes Visible allows you to see which bones affect each vertex and visually adjust the influences.
Visualization and Vertex Exclusion
To identify vertices with little influence, activate Vertices Selection and Vertex Weight Display modes. The colors clearly show which vertices need adjustment. Some plugins even automatically color vertices that exceed a bone limit, making weight cleanup easier 🖌️.
Tips for Complex Rigs
Limiting influence to 2 or 3 bones not only improves deformation but also makes animation much smoother. Combine Weight Table, weight visualization, and normalization to keep a consistent rig. And if the model is huge, a small MaxScript can automate the filtering task 🤖.
In the end, even the most rebellious rigs yield to a bit of order and patience, and if not, you can always blame the software 😅.