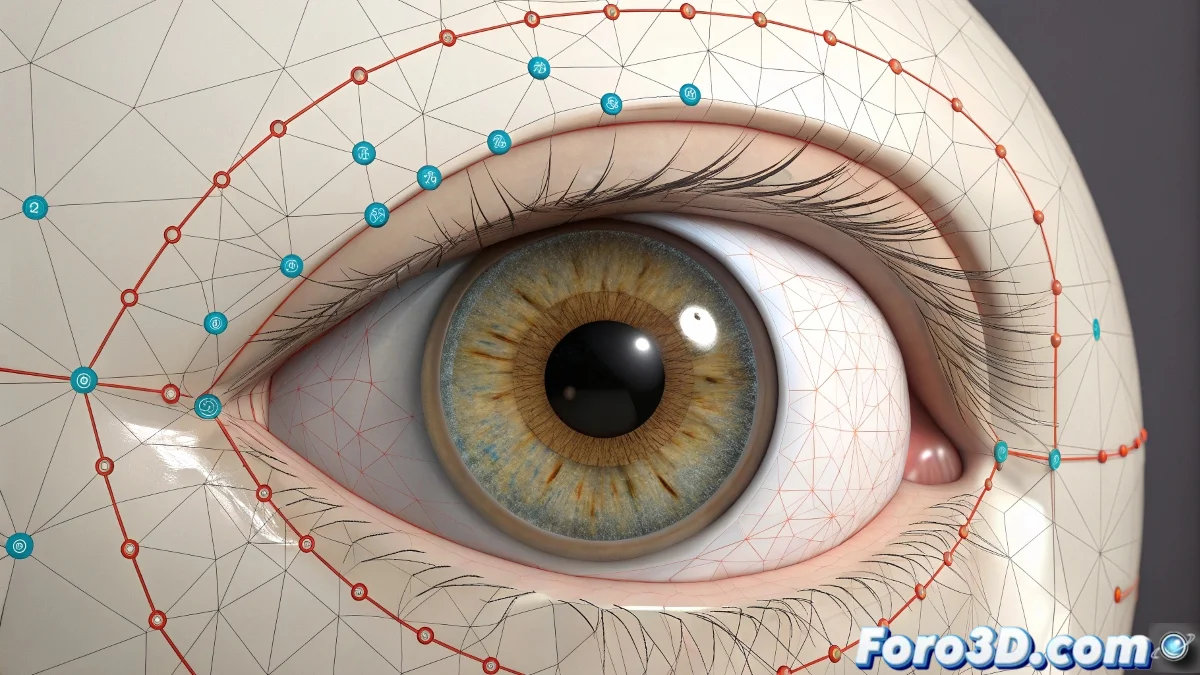
The Challenge of Making Eyelids Hug the Eyeball
Rigging eyelids that close and open realistically is one of those details that separates a good character from an excellent one 👁️. The biggest challenge is ensuring that the control points animating the eyelid slide perfectly over the spherical surface of the eyeball, without sinking into it or floating apart. Achieving this curvilinear movement requires an intelligent strategy of constraints and spatial references, as no software offers a native "Surface Constraint" for this specific purpose.
The Strategy of the Central Helper and Constraints
The most common and effective solution is to use a central anchor point. Create a helper or bone located exactly at the center of the eyeball. This point will act as the sun around which the eyelid control points will orbit. Then, for each eyelid control point, apply a Point Constraint toward this central helper. However, a simple Point Constraint would pull the point directly to the center. The magic happens by combining this with a distance limitation via an expression or script that keeps the point at a fixed distance (the eye radius) from the center, forcing it to move along the surface of an invisible sphere.
An unconstrained control point is like a balloon without a string; it will float away anywhere but where you need it.
Implementation with Expressions and Scripts
In 3ds Max, you can use MaxScript or Wire Parameters to create this limitation. Connect the control point's position to a formula that normalizes its vector from the center and then multiplies it by the desired radius. In Maya, the Expression Editor or Utility Nodes like Distance Between and Vector Product are your best friends. Create an expression that essentially says:
final_position = eye_center + (normalized_vector * radius)
This will recalculate the point's position every frame, keeping it stuck to the spherical surface.
The Spline IK Alternative for Artistic Control
For more artistic-direct control, Spline IK is an excellent alternative. Draw a circular spline that matches the curvature of the eyeball in the area where the eyelid moves. Then, apply a Spline IK that has this spline as its goal. The eyelid control points become the controllers for this IK. By animating the position of these points along the spline, they will slide naturally over the curve, ensuring they always follow the eye surface. It's less technical and more visual, ideal for animators who prefer to manipulate curves.
Workflow for Robust Rigging
Follow these steps for a reliable eyelid system:
- Preparation: model the eyeball as a perfect sphere and place a helper at its pivot center.
- Creation of Control Points: place the eyelid control points around the eye, in their neutral open position.
- Point Constraint: apply a Point Constraint from each point to the central helper.
- Distance Expression: add an expression or script that forces each point to maintain an exact distance (the eye radius) from the helper.
- Movement Test: animate the points to ensure they slide over the surface without detaching or sinking.
- Rotation Control: add an Orient Constraint so the points maintain their tangential orientation to the eye, avoiding strange rotations.
Final Adjustments and Edge Case Handling
Even with a perfect spherical constraint, the ends of the eyelid (the inner and outer canthus) often need manual adjustments to avoid intersections with the sclera or surrounding skin. For these areas, allow some manual translation outside the spherical restriction or create blendshapes/morph targets corrective that activate in extreme poses. The goal is not 100% physical adherence, but a visually convincing illusion.
By mastering these techniques, your characters will be able to blink, squint, and express subtle emotions with a realism that will instantly connect with your audience. And that, in the end, is the true power of good facial rigging 😉.