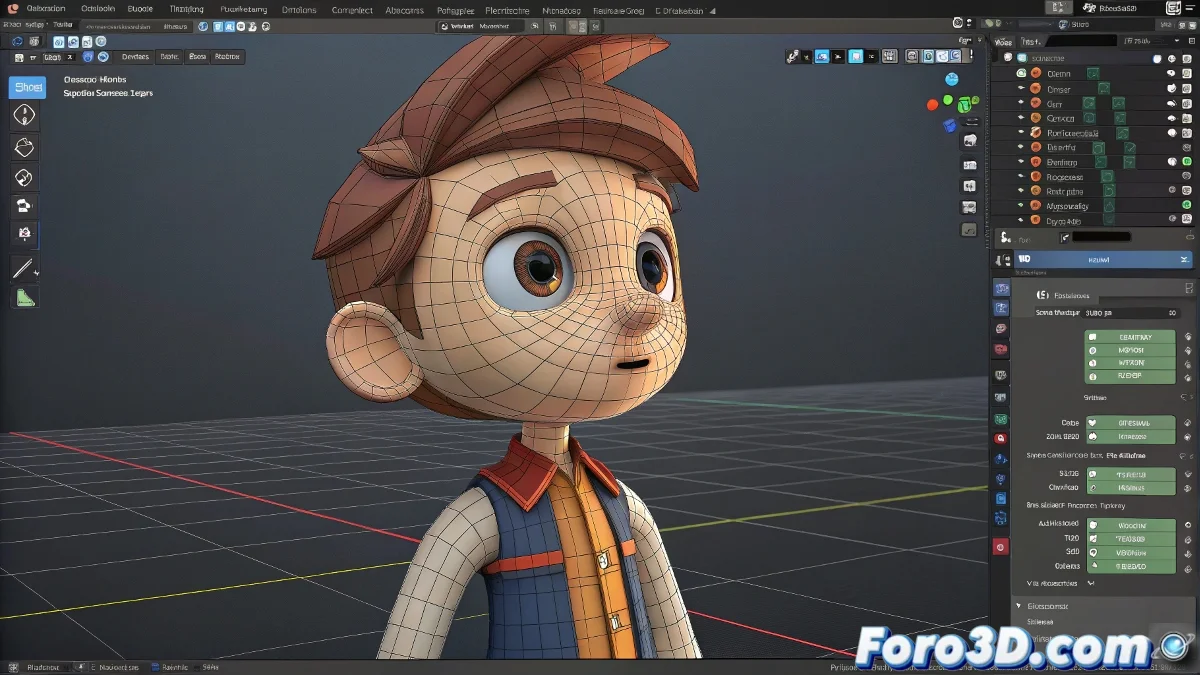
The Art of Digital Decapitation... and Rejoining Without Scars 🧠✂️
In the world of 3D animation, sometimes we need to separate the head from the body like a modern Dr. Frankenstein. But unlike the good doctor, we want everything to work perfectly again afterwards. Here we explain how to do it without your character ending up with nervous tics.
The Surgical Process Step by Step
- Preoperative Preparation: Create backups of your shape keys and verify the topology in the cutting area
- Clean Separation: Use P to separate by selection, keeping the vertex groups intact
- Facial Work: Animate your shape keys on the isolated head without fear
- Careful Reunion: When joining, use Data Transfer to migrate shape keys correctly
Separating head and body in Blender is like a healthy marriage: it needs temporary spaces but good communication to reunite well.
3 Tools That Will Save Your Life
- Shape Key Transfer: Essential add-on for migrating morphs between meshes
- Mesh Cache: To save temporary states of your geometry
- Weight Proximity: Repairs vertex weights in problematic areas
Mistakes That Will Turn Your Animation Into a Nightmare
- Modifying the topology after creating shape keys
- Forgetting to do Join as Shapes when reuniting the parts
- Not verifying the vertex order before and after the join
If everything goes wrong, remember: you can always say it's a artistic style of surreal animation. But if you do the process correctly, not even the character will notice you temporarily decapitated them... although you might, when you see how much easier it is to animate facial expressions this way. 😉
Final Tip: If when joining everything your character makes demonic faces, it's not possession... it's that you forgot to apply the transforms. Happy rigging!