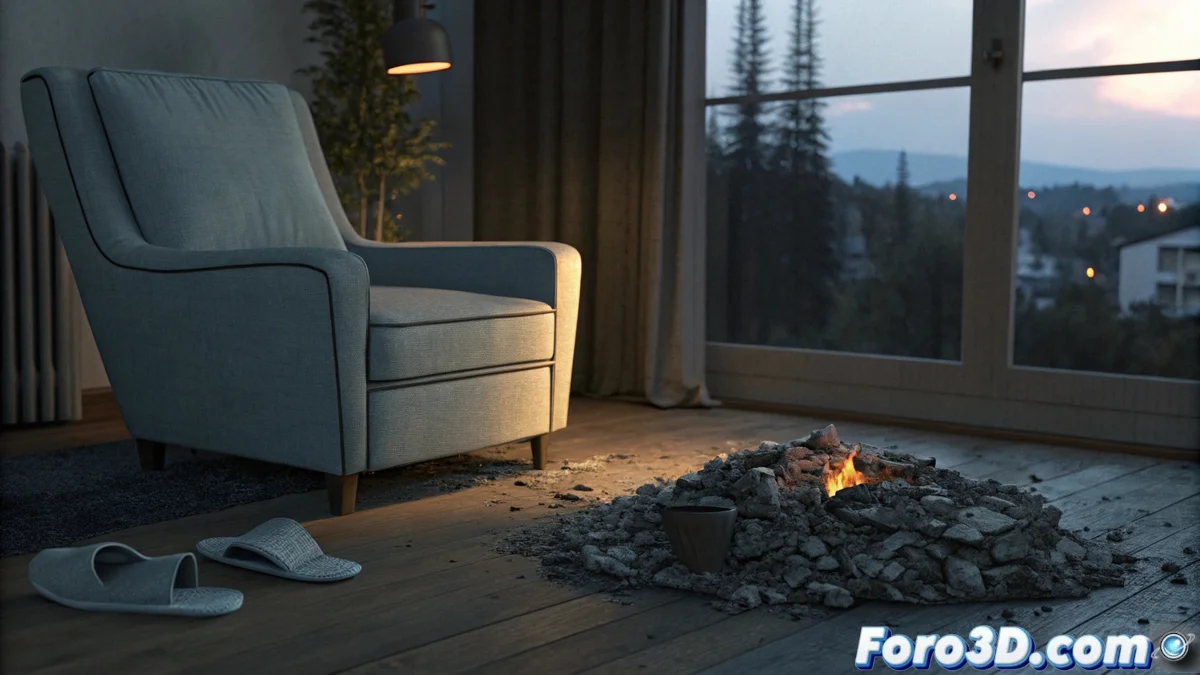
How to Represent Spontaneous Human Combustion in Blender
The phenomenon of spontaneous human combustion describes a body fire without a clear external source. Visually, it is disturbing because it reduces the torso to ashes while leaving limbs and nearby objects almost intact. This tutorial guides you to recreate this macabre scene using Blender and exploit its visual impact. 🔥
Prepare the Base Scene and Atmosphere
The first step is to build an environment that conveys mystery. Model a simple room with an armchair as the focal point. On it, place basic geometry to serve as the base for the pile of ashes. Add contrasting elements, like a pair of sneakers on the floor, which will remain undamaged. Set up dim sidelighting, similar to sunset light entering through a window, to cast elongated shadows and create a gloomy atmosphere. Position the camera with a low angle to accentuate the scale and sense of strangeness.
Key Scene Elements:- Ash Geometry: Use a subdivided and deformed cube or sphere on the armchair.
- Intact Objects: Model or import simple sneakers near the furniture.
- Dramatic Lighting: Use a sun or directional light with a soft orange tone and low angle.
- Camera Angle: Position it near the floor pointing slightly upward at the armchair.
The visual paradox of the phenomenon lies in the fire's selectivity: it chars a body but leaves the fabric of sneakers intact beside it.
Apply Drawing Style and Simulate Damage
To achieve an illustrated look, go to the render properties and select the Eevee engine. Activate the Freestyle option in the Render Layers tab. Adjust the line thickness and color (dark brown or black) to mimic a pencil drawing outline. The magic is in the selectivity: do not apply Freestyle to objects representing ashes or burned areas of the armchair.
Process to Simulate Burns and Ashes:- Textured Materials: For the ashes, apply a Shader | Principled BSDF mixed with a Noise texture via a ColorRamp to control grayish color gradients.
- Vertex Weight Painting: On the armchair, paint a weight map to isolate areas that will appear scorched. Mix a burned material (using distortion textures) with the armchair's original material based on this weight.
- Selective Rendering: Ensure Freestyle only affects edges of undamaged objects, like the sneakers and walls.
Conclusion and Final Render
By combining an atmospheric scene, the Freestyle effect for a drawn style, and textured materials to simulate localized damage, you can produce a powerful image that captures the unsettling essence of this phenomenon. Render the final image and observe how the contrast between destruction and preservation challenges logic, generating a strong reaction in the viewer. 🎨