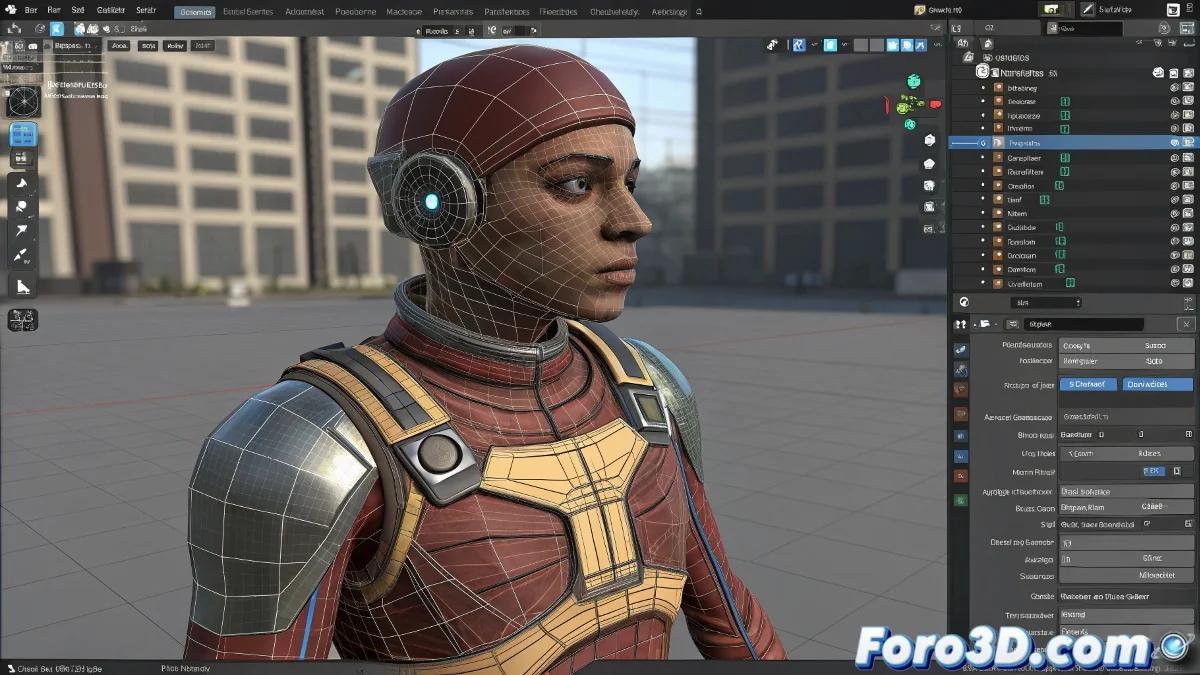
The Art of Moving Characters Between Scenes Without Trauma
Moving an animated character from one scene to another in 3ds Max should be as simple as cut and paste, but any artist who has seen their mesh go stiff in a corner while the skeleton dances alone elsewhere knows the reality is very different 💃. The heart of the problem lies in the fragile relationship between the mesh and the Biped system, a digital marriage that, if not handled carefully during the move, ends in a painful separation. The key to a successful transfer is understanding and respecting these dependencies.
The Safe Method Using Merge with Awareness
The Merge function is your main tool for this task, but it requires precision. First of all, in the original scene, verify that the Skin (or Physique) modifier is correctly applied to the mesh and that the bone list points to the Biped you want to move. Once confirmed, in the destination scene, don't use Merge recklessly. When selecting the elements to import, it is crucial to select the Biped first and then the mesh. This order tells 3ds Max the hierarchy and dependencies, ensuring that the mesh recognizes its skeleton in its new home.
Merging without order is like going to a party with your best friend and introducing yourself first; he'll be left there lost and confused.
The FBX Export Route: The Bomb-Proof Option
For those who prefer to avoid risks altogether, exporting to FBX is the most robust path. This format is designed precisely for this: preserving hierarchies, animations, and most importantly, deformation links like Skin. Export the entire character (Biped + mesh) as a single FBX file from the original scene. Then, in the new scene, simply import that FBX. It's much harder for something to break, as the format acts like a time capsule that keeps all relationships intact. 🚀
Common Errors and How to Avoid Them
Disaster usually occurs due to small oversights. The most common is trying to use a .fig file to move the complete character. This format only saves the base pose of the Biped in Figure Mode, not the mesh or its skinning. Another error is not checking resource paths or having duplicate names in the destination scene, which can confuse the Skin modifier. Always do a quick post-merge check to ensure the Skin modifier is still pointing to the correct Biped and not to a ghost bone from another life.
Recommended Workflow for a Clean Transfer
Follow these steps to guarantee a smooth move:
- Preparation in the source scene: collapse the mesh's modifier stack as far as is safe, leaving the Skin intact.
- Method choice: to move between max scenes, use Merge with the correct order. To move to other software or as a backup, use FBX.
- Verification in the destination scene: after the merge or import, select the mesh and open the Skin modifier panel to confirm that all bones are present and correct.
- Animation test: move the timeline or manipulate the Biped to ensure the deformation works immediately.
With this knowledge, moving your characters will be a smooth and hassle-free process. And if something ever goes wrong, remember: even in the digital world, moving is stressful for everyone 😉.