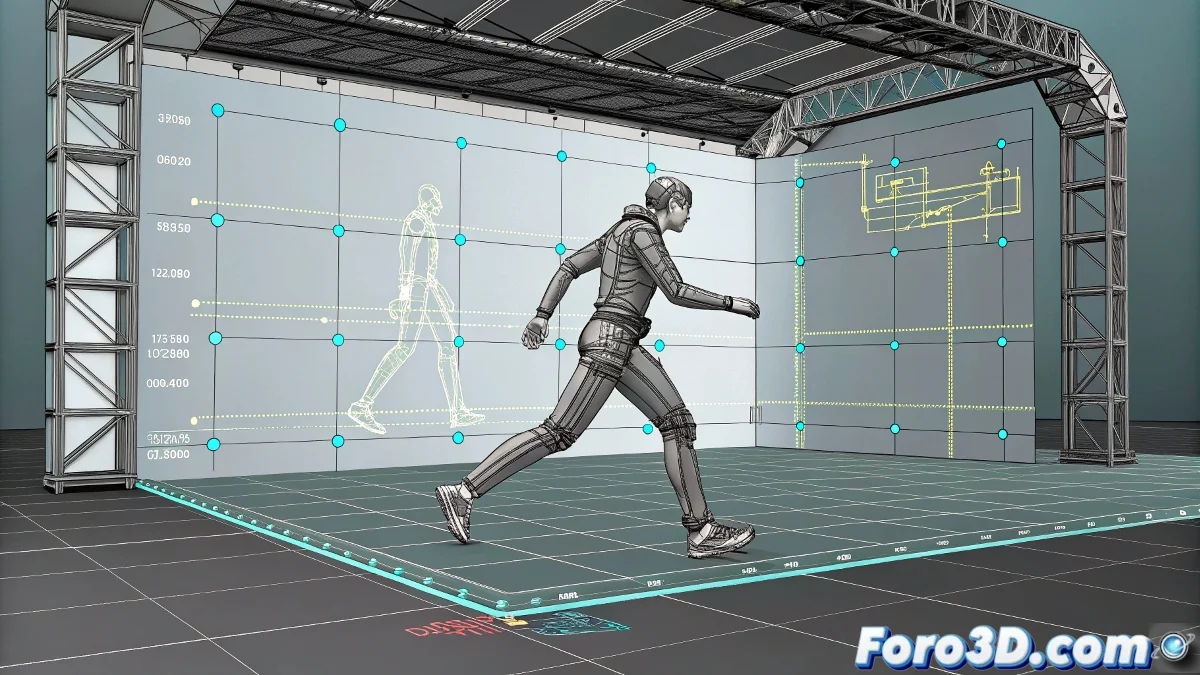
The Professional Secret for Perfect Walk Cycles
Creating a fluid walk cycle in Biped seems simple until you try to make the poses perfectly symmetrical. The real trick is using Mirror Pose correctly, not just to mirror poses but to ensure flawless interpolation.
Foolproof Step-by-Step:
- Prepare your initial pose (Frame 0):
- Left leg forward, right arm back
- Right knee naturally bent
- Hip with subtle but visible sway
- Use Set Key (not manual transforms)
- Apply Mirror Pose (Frame 16):
- Select the ENTIRE Biped (Ctrl+A)
- Go to Motion panel → Biped → Copy/Paste
- Click Mirror Pose (mirror icon)
- Verify that the pelvis is also mirrored
- Close the cycle (Frame 32):
- Exact copy of Frame 0
- Use Paste Pose (not manual copy)
- Compare with Frame 16 to verify symmetry
"A well-applied Mirror Pose transforms your animation from a 'zombie walk' to a 'professional model's stroll' in one click"
Advanced Adjustments in Curve Editor:
- Select all controls and apply Linear Tangents
- Manually adjust hip curves to smooth transitions
- Verify there are no jumps in ankle rotations
- Test with TCB Rotation for more organic movements
Key Configuration:
In Key Filters activate ONLY: - Rotation - Position - Body Vertical
Deactivate everything else to avoid ghost parameters that ruin your interpolation.
Errors That Ruin Your Cycle:
- Using Mirror In Place instead of Mirror Pose
- Forgetting to include the pelvis in the selection
- Not checking interpolation curves
- Performing manual transforms outside the Biped system
With this technique, your walk cycles will go from clumsy to professional in minutes. Let's get animating!