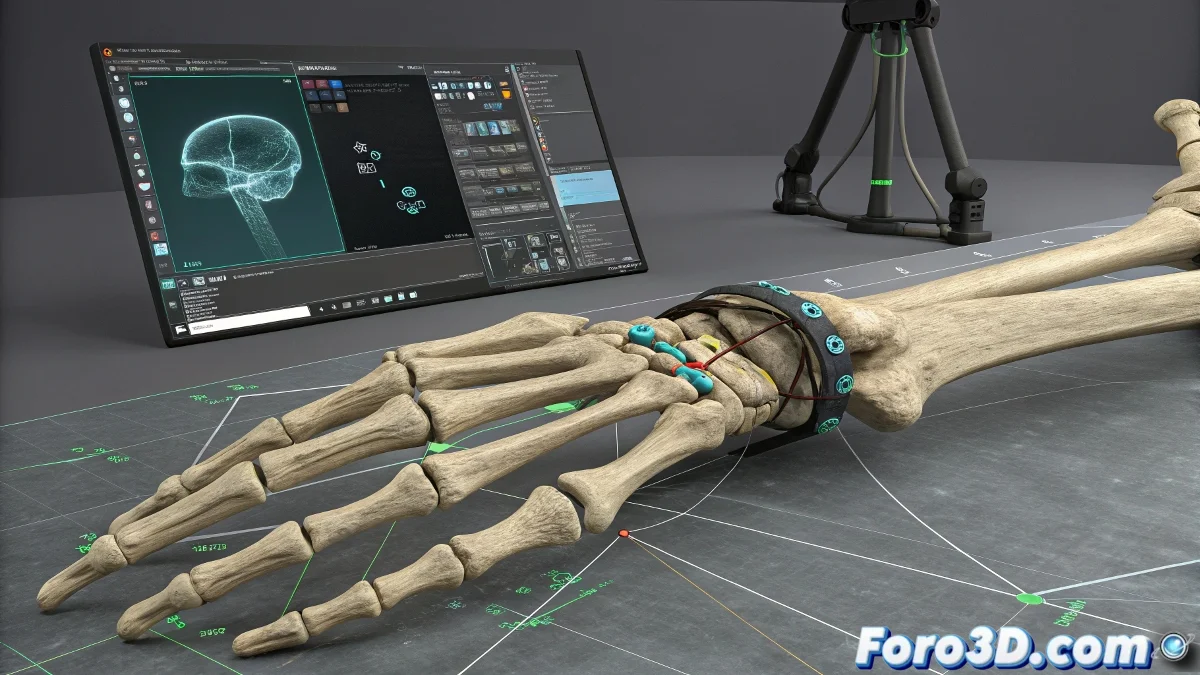
How to Lock Gizmos in 3ds Max for Precise Rotation
When you rotate a part of a rig in 3ds Max or any other 3D software like Blender or Maya, the gizmo (the rotation or transformation manipulator) usually appears in its default global or local orientation, which sometimes makes precise movement difficult. To make the gizmo always adapt to the orientation of the bone or part you are moving, it is essential to use local or custom coordinate systems. And no, you don't need to be a 3D expert to do it! 🔄
Changing the Coordinate System in 3ds Max
In 3ds Max, the most efficient way to adjust the gizmo is:
- Change the gizmo's coordinate system to Local or Gimbal from the top bar. This makes the gizmo orient itself according to the orientation of the bone or rig part you select, not the world.
Manual Gizmo Adjustment
If you use rigs with custom controllers, many already have gizmos configured to adapt automatically. However, if not, you can manually adjust the gizmo with the Adjust Gizmo tool in the Hierarchy > Affect Pivot Only panel.
Configuration in Other 3D Software
In Blender, you select the bone in Pose mode and use the gizmo in Local mode, and the gizmo adapts automatically. In Maya, it is common to use the Local manipulation mode or even set up custom orientations for the rig controllers.
The key is to always work with the local coordinate system or a custom controller system so the gizmo adapts and you can rotate precisely. This way you avoid the gizmo being stuck in a rigid and hard-to-use orientation. And remember, if the gizmo doesn't behave as expected, you can always blame the global orientation! 😉
With these tips, you will be able to adjust the gizmos in 3ds Max for more precise and efficient rotation. And remember, if something doesn't turn out as expected, you can always review your settings! 🔍