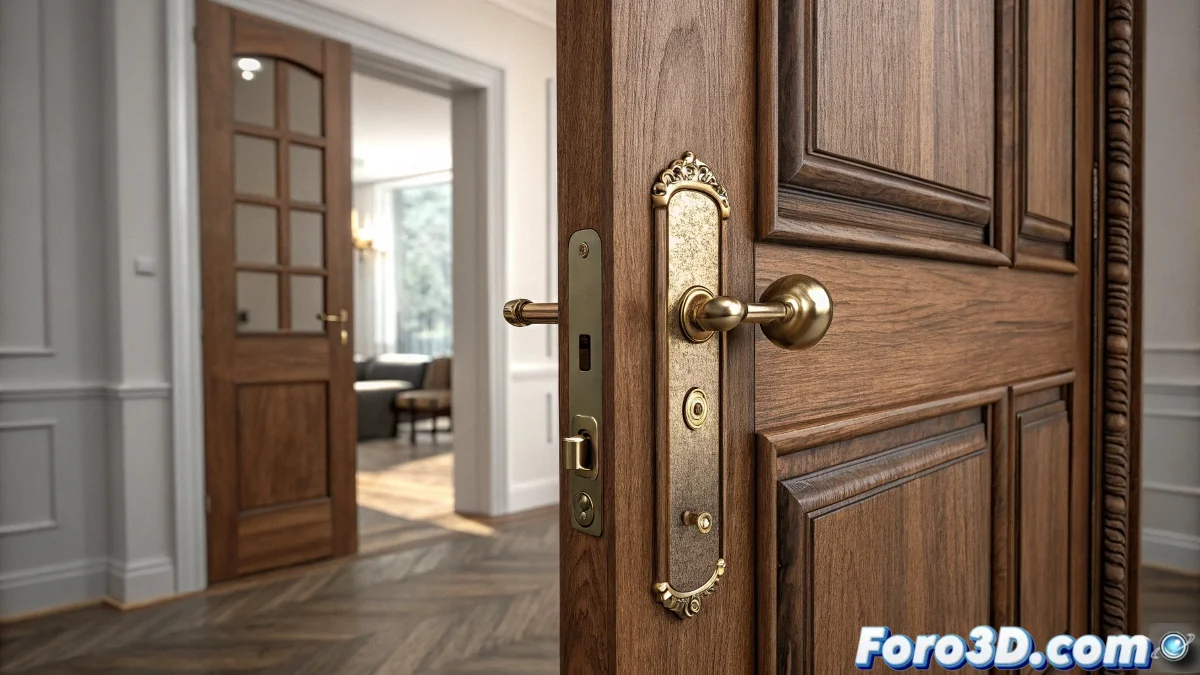
How to Link Accessories When Animating Doors in 3ds Max
When you animate a door in 3ds Max using the Open parameter, it's common for accessories like the handle or lock not to move with it, as if they wanted to escape the render. To avoid this, the simplest thing is to link those objects directly to the door. And no, you don't need to be an animation expert to do it! 🚪
Using the Link Tool
This is done using the Link tool, which is found at the top of the interface or in the hierarchy panel. Follow these steps:
- Select the handle or the lock.
- Click on Link.
- Then, click on the door to link them.
This way, any transformation applied to the door will also affect those elements, maintaining consistency in the animation.
Using Groupings and Constraints
This is especially useful if you are using predefined rigs or custom controllers. You can also group the objects with Group > Group, but it's usually more practical and cleaner to use hierarchical linking, especially if you later want to have individual control to move or change details of the lock without taking everything apart.
In more advanced cases, if you are using a system with bones or controllers like CAT, you can also use constraints such as Position Constraint or Parent Constraint to maintain total control. But for a simple door, Link is your best friend.
Remember that if you are animating in a complex scene with V-Ray, Corona, or Arnold, it's better to check that you aren't accidentally moving things when using instances or proxies. A flying lock might seem funny, but not so much after 4 hours of rendering! 😄
With these tips, you will be able to link accessories when animating doors in 3ds Max effectively. And remember, if something doesn't turn out as expected, you can always blame the animation! 🎬