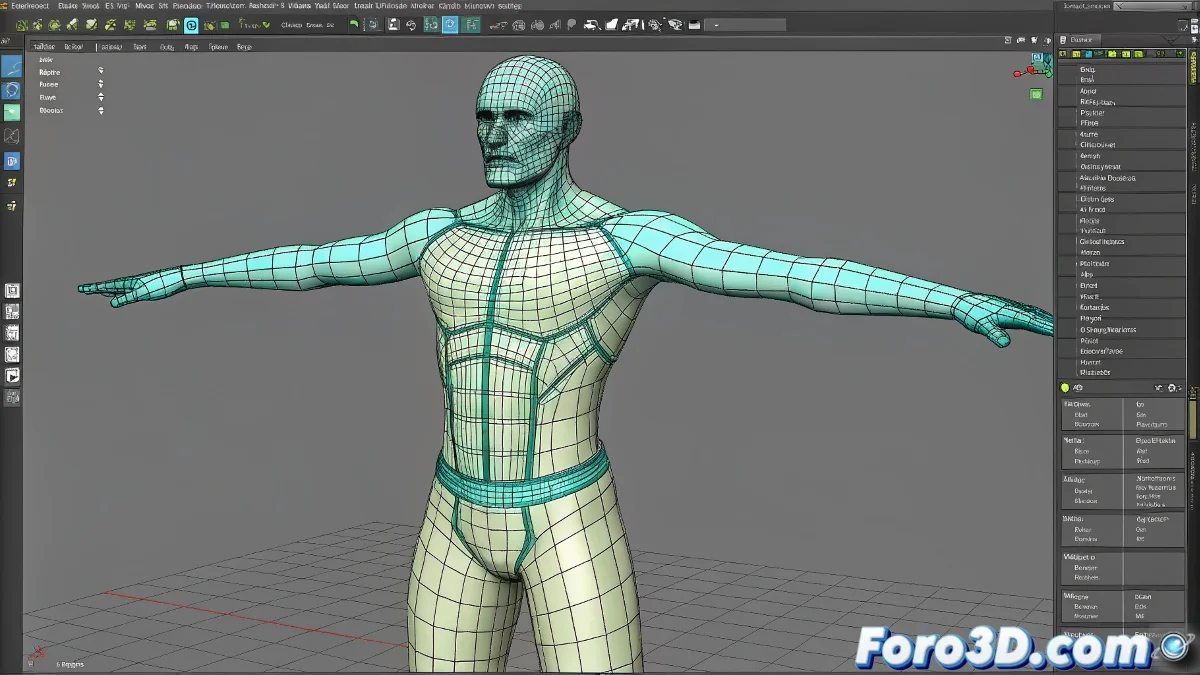
When Your Biped Turns Your Character into a Failed Experiment 🧪👾
You've placed the Biped, animated with enthusiasm... and now your character looks like it's melting. Don't worry, it's not black magic, you just need to master the art of weights and envelopes.
🔍 Quick Diagnosis: Why Does This Happen?
- Bones poorly aligned with the mesh
- Envelopes too large/small
- Weights assigned to incorrect bones
- Lack of secondary bones for deformation
🛠️ Step-by-Step Solution:
- Perfect Alignment Pre-Animation:
- Place the Biped in a T-pose (arms extended)
- Ensure each bone is inside the corresponding mesh
- Don't skip this step! It's 50% of the success
- Properly Configured Skin/Physique:
- Apply the Skin modifier to your mesh
- Add all bones from the Biped
- Alternative: Use Physique with Attach to Node
- Fine-Tuning Envelopes:
- Activate Envelope Properties
- Adjust Inner and Outer radii
- Try using Rigid Falloff for clean transitions
"A well-adjusted envelope is like a good hug: not so loose it falls off, nor so tight it suffocates"
🎨 Painting Weights Like an Artist (With Suffering)
- Use the Weight Tool for precise values
- Try Paint Weights for organic areas
- Focus on problematic areas:
- Shoulders and armpits
- Groin and knees
- Neck and collarbones
🚨 Express Solutions for Disasters:
- 🧨 "Everything deforms badly": Check initial alignment
- 🦾 "Arm stuck to torso": Adjust weights on deltoids
- 🦵 "Legs in zigzag": Correct femur envelopes
- 📉 "Loss of volume": Add secondary bones
💡 Professional Tip:
Before complex animation, test with:
- Simple arm flexion
- Head turn
- Torso bend
This way you detect problems early.
Remember: even the best artists spent hours adjusting weights. Your character will stop looking like a lab experiment... eventually. 🧟➡️🕺