How to Enable and Configure Motion Blur in 3ds Max
The motion blur replicates how the sensors of a physical camera record elements moving at high speed. To simulate this phenomenon convincingly in your renders, it is necessary to enable the function in two different locations within 3ds Max. 🎬
Enable the Effect in the Rendering System
The first crucial step is performed in the Render Setup window. Go to the Renderer tab and locate the checkbox named Motion Blur. By checking it, you can select a calculation method, with the most common being Object (Object) and Image (Image). This global setting allows the rendering engine to process the effect.
Steps to enable globally:- Open the Render Setup dialog (F10).
- Navigate to the Renderer tab.
- Check the Motion Blur checkbox.
- Choose the method, such as Object or Image.
Without enabling this per-object property, the element will appear completely sharp, breaking the illusion of movement in the scene.
Adjust the Main Parameters
From Render Setup, the values that define the intensity and fidelity of the blur are also controlled. The Duration (Frames) parameter is fundamental, as it determines how many frames overlap to create the motion trail; increasing this number makes the effect longer and more noticeable. The choice between Object and Image affects performance and accuracy: the first calculates the blur per geometry during rendering, offering greater precision, while the second applies it as a post-process filter, generally being faster. ⚙️
Key differences between methods:- Object: Processes the blur during rendering, manipulating the geometry. It is more accurate but consumes more resources.
- Image: Applies the blur after rendering, as an image filter. It is usually faster, but may lose detail.
Enable the Effect on Each Object
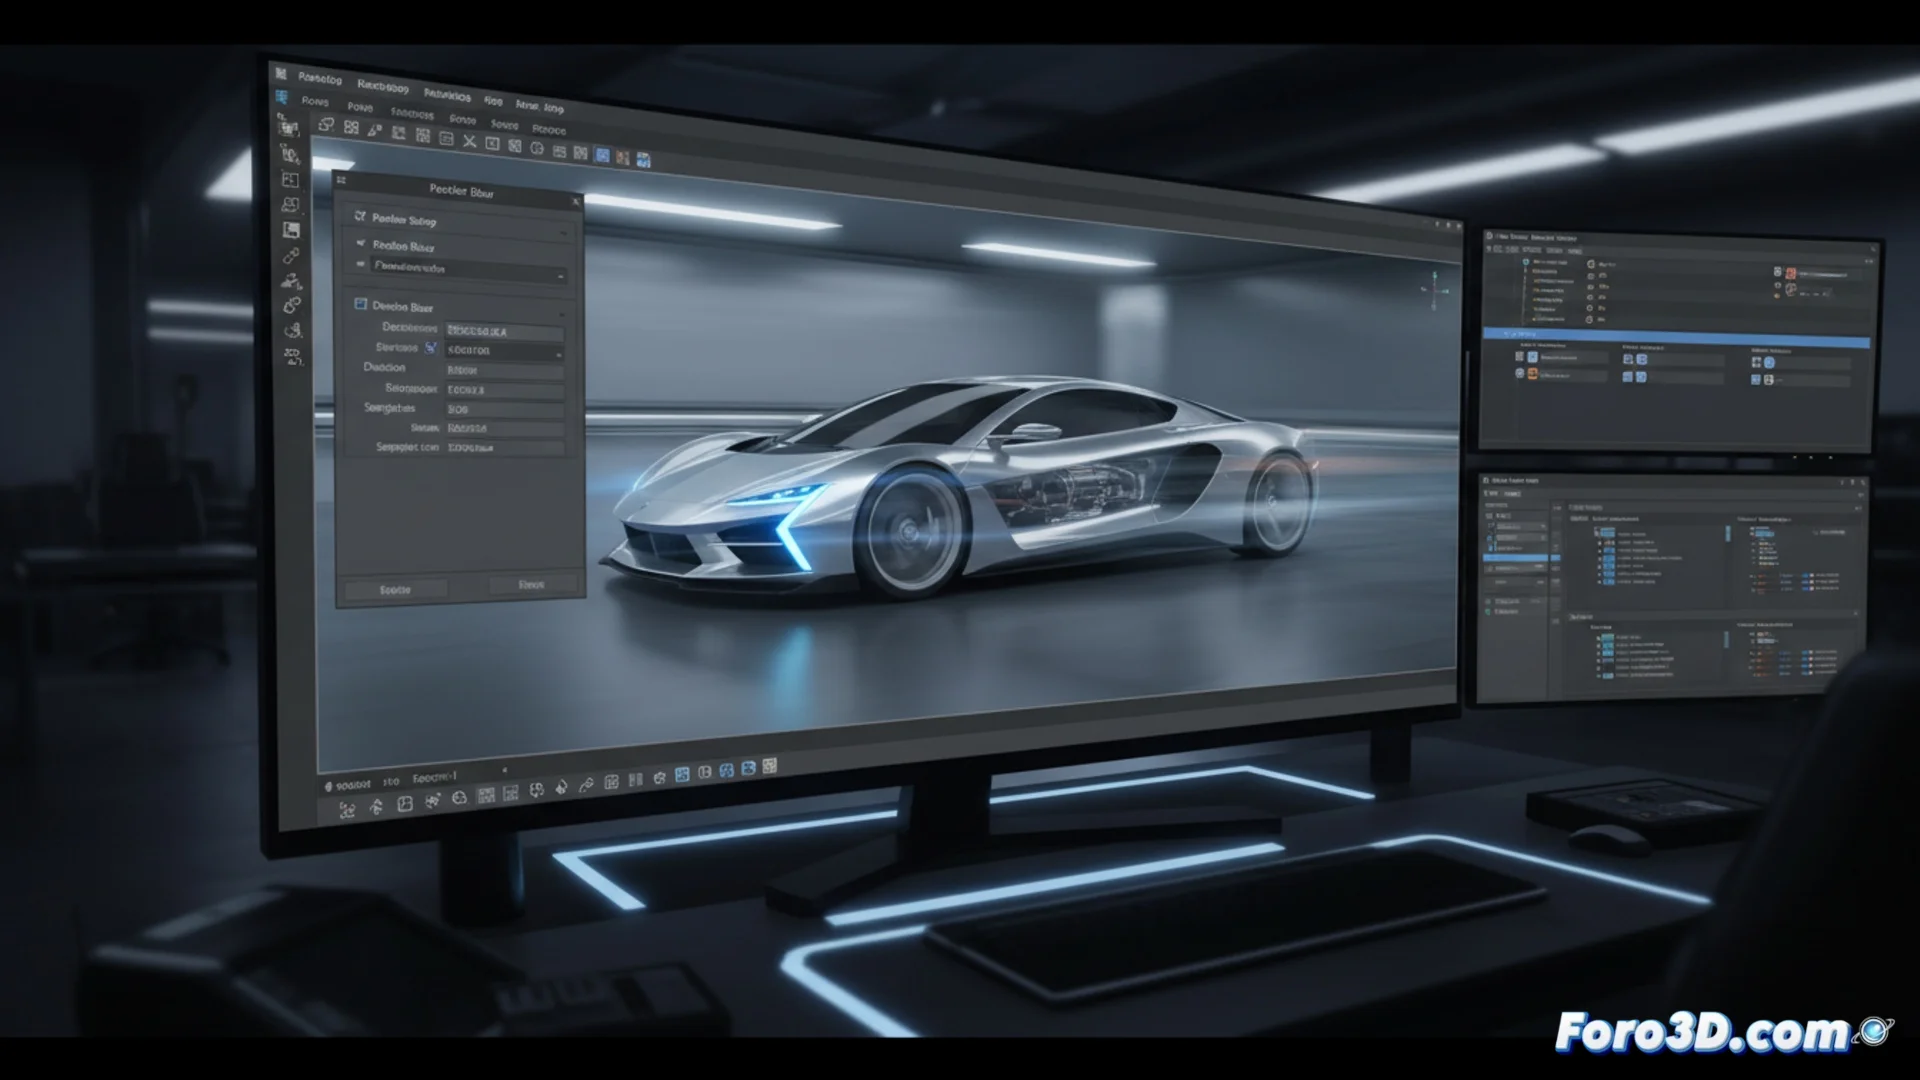
Configuring the render is not enough. Each mesh, light, or helper that should show blur needs to have its individual property enabled. To do this, select the object, right-click, and choose Object Properties. In the window that appears, look for the Motion Blur section and select the same mode (Object or Image) configured in the render. This step is mandatory; otherwise, the object will appear frozen in time. 🚗💨
A render without this effect can make a race car look parked, not speeding across the track. Mastering the blur duration and its application per object is key to producing animations and renders with striking cinematic realism.