How to Split Bones in Maya to Create Skeletons with Precision
Splitting bones in Maya is an essential technique for anyone venturing into the world of rigging. Although Maya doesn't have a button that says "Split Bone," the process is simple and very useful for maintaining consistency in bone chains, especially in spines, tails, or tentacles.
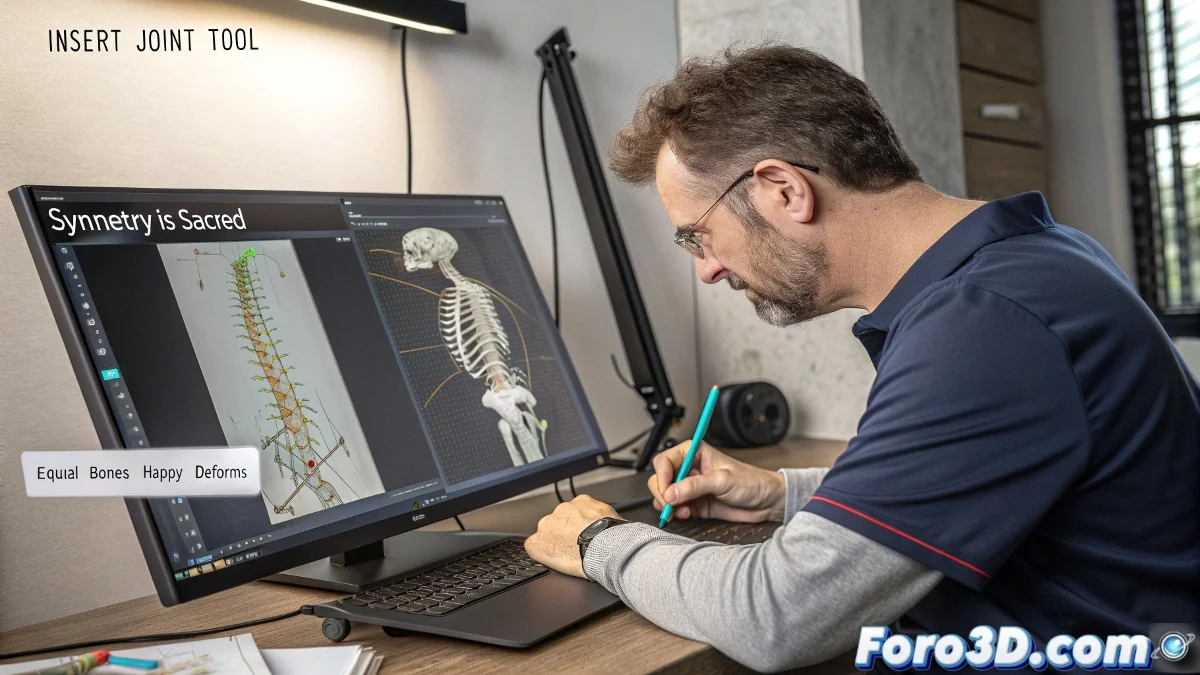
How do you split a bone in Maya in a practical way?
Follow these steps to split a bone in Maya:
- Select the bone you want to split, for example, Spine1.
- Go to the Skeleton > Insert Joint Tool menu.
- Click on the bone where you want to insert new joints.
- Depending on how many you need, make several clicks along the bone.
- Press Enter to confirm.
This will add new joints between the start and end point, splitting the bone into smaller segments and providing more controllers for complex rigs.
How to ensure all bones have the same length?
To distribute the joints at equal distances, follow these steps:
- After inserting the joints, go to the Component Editor or the Channel Box.
- Take note of the position of the first and last joint.
- Calculate the total distance and divide it by the number of desired segments.
- Position each joint manually or use a script to distribute them evenly.
You can also use MEL or Python scripts to automate this task, or tools like Advanced Skeleton or mGear to split bones evenly with ease.
And why do it?
Having bones of the same size helps to:
- Achieve more uniform deformations in the skinned mesh.
- Simplify the distribution of controls in complex rigs.
- Avoid surprises when using automatic skinning or weight painting tools.
Splitting a bone in Maya is easy. Splitting your attention between 25 controllers, 3 pole vectors, and a client asking for just one small change... now that's advanced rigging. 😅