How to Diagnose and Troubleshoot Issues with Axes and Limit Switches
When a print stops abruptly, the origin is often in the mechanical movement or the limit sensors. An axis that does not slide freely or a limit switch that sends an incorrect signal can cause homing failures or collisions, forcing an emergency stop. Identifying and resolving these issues quickly is key to protecting your equipment. 🔧
Analyze and Free a Blocked Axis
The first step is always to disconnect the power supply. Then, try manually moving each of the axes (X, Y, Z) to detect any unusual resistance or jamming. Typical causes include accumulated dirt in the bearings, a drive belt with excessive tension, a bent guide rod, or a motor pulley that is too tight.
Steps to restore smooth movement:- Clean the linear guides with a lint-free cloth and apply a lubricant specific to these components.
- Check the belt tension; they should be firm but allow a slight deflection when pressed.
- Secure all screws on the carriages and supports, ensuring they are properly tightened without deforming the parts.
A rubbing or friction noise is a clear indicator that something is not working correctly in the mechanical assembly.
Check the Status of Limit Sensors
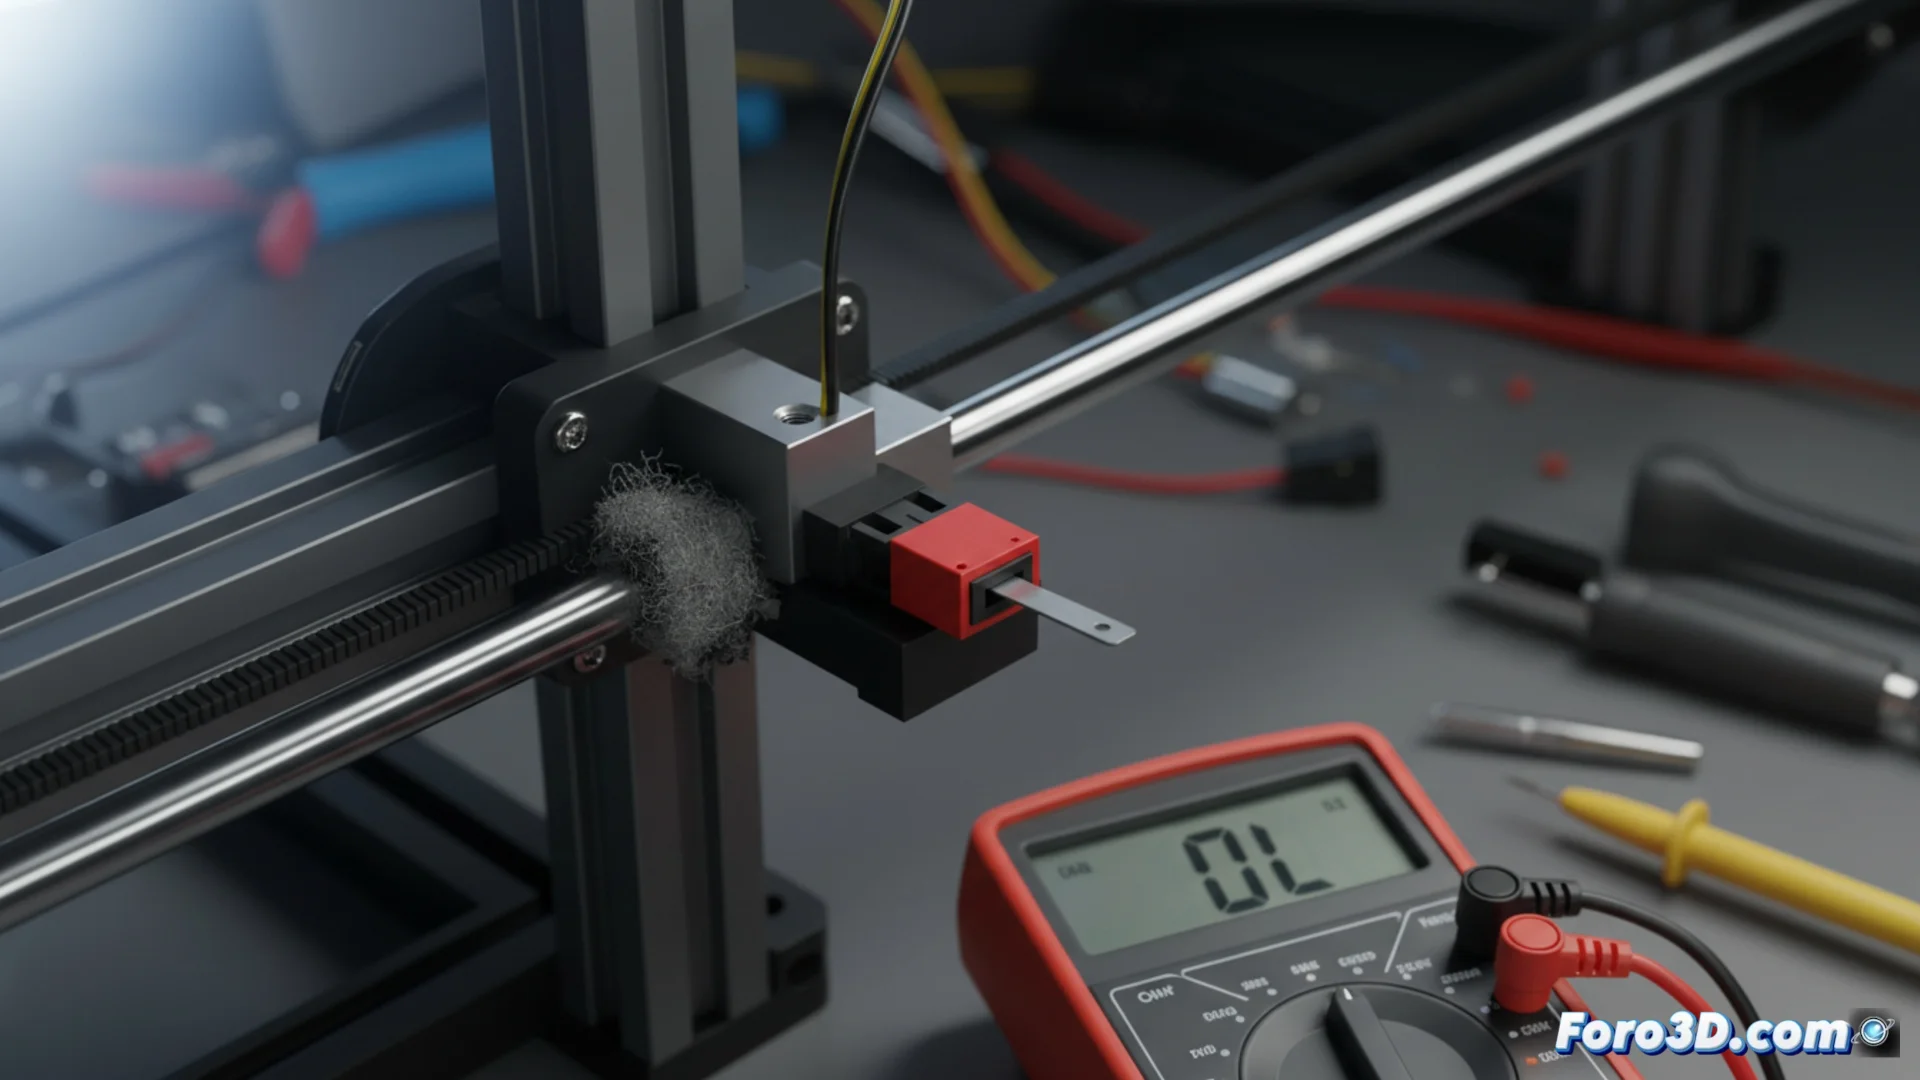
A damaged limit switch can behave as if it is always activated or always deactivated, deceiving the control electronics. To check it, you will need a multimeter set to continuity test mode.
Electrical diagnostic process:- Connect the tester probes to the sensor terminals. When pressing its lever, the circuit must close (indicated by a beep or value change). If there is no response, the sensor is broken.
- Inspect the wiring from the sensor to the mainboard, looking for cuts, loose connections, or oxidized pins.
- Check the physical alignment of the sensor lever. Sometimes it gets stuck or is not reached by the moving carriage or hot bed.
Consequences and Immediate Action
If the machine interprets that a limit switch is constantly pressed, it may refuse to move in that direction to avoid a supposed collision, a safety behavior that halts the print. Conversely, a sensor that does not activate causes the head or bed to try to move beyond their physical limits, risking damage to the structure. Acting methodically in the diagnosis allows isolating the real problem and applying the correct solution, whether cleaning, adjusting, realigning, or replacing the affected component. 🛠️