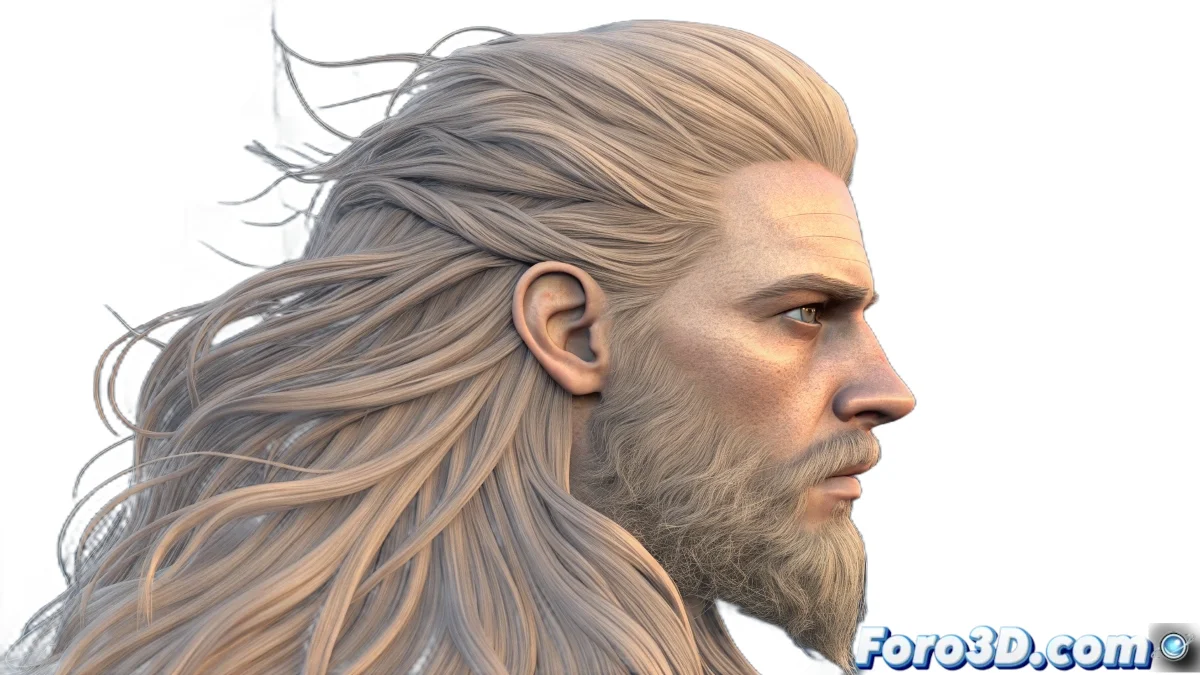
The Virtual Hair Journey for Beginners
Learning Blender from scratch can feel like trying to read a book in an unknown language, but with patience and proper guidance, you'll soon discover it's more intuitive than it seems. The hair particle system is one of Blender's most powerful features, and while it initially appears complex, it follows a logic you'll soon master.
To create realistic hair on a sphere and export it correctly to Photoshop, you need to master three basic aspects: the particle system to generate the hair, the materials to give it a realistic appearance, and the render settings to get an image with a transparent background.
In Blender, creating hair is like being a virtual hairdresser: you need patience, a good eye, and the right tools
Initial Setup Step by Step
Follow these steps in exact order. Don't skip any and you'll see how everything starts to make sense. Blender has a logical interface once you understand its structure.
- Open Blender and delete the default cube: select the cube and press X or Delete
- Create a sphere: go to Add > Mesh > UV Sphere or use Shift + A
- Open the particle panel: look for the icon with dots in the right panel
- Add a particle system: click the + New button to create a new one
Hair System Configuration
Once you have the particle system created, you need to change its behavior so it acts like hair instead of loose particles. The default values are not optimal, so follow these adjustments.
The number 1000 for the count is a good starting point. Too many particles can slow down your computer, too few won't give the necessary density 😊
- Change to Hair: in Emission, change from Emitter to Hair
- Adjust count: 1000 particles to start
- Hair length: 0.2 meters is a good starting point
- Enable render view: in Viewport Display select Render
Materials for Realistic Hair
The default gray hair isn't very attractive. To make it realistic, you need to create a specific material. Blender has a special shader for hair that simplifies the process a lot.
Go to the materials panel (red sphere icon) and create a new material. Then change the main shader to Hair BSDF instead of the default Principled BSDF.
- Create new material: in Material Properties click New
- Select Hair BSDF: change the main shader
- Base color: choose a natural hair color
- Roughness: 0.3 for hair that isn't too shiny
Render Settings for Exporting to Photoshop
To export without a background, you need to configure the render to have transparency. This is done in the render and film properties.
The PNG format with an alpha channel is perfect for Photoshop because it preserves transparency and maintains good quality without files being too heavy.
- Open render properties: camera icon in the right panel
- Select Transparent: in Film, check Transparent
- PNG format: in Output Properties choose PNG
- Enable RGBA: make sure it saves the alpha channel
Final Render and Export
Once everything is configured, it's time to render. For a simple furry sphere, you don't need advanced lighting or camera settings.
You can use the default camera view (press 0 on the numeric keypad) or adjust the angle as