How to Create Bokeh with Custom Shapes in Your Portraits
Shape bokeh, also known as aperture bokeh, is a technique that alters the aesthetics of the out-of-focus areas. Instead of the usual blurry circles, the light points in the background turn into sharp silhouettes with the shape you choose, adding a unique and creative touch to your images. ✨
Understanding the Effect Principle
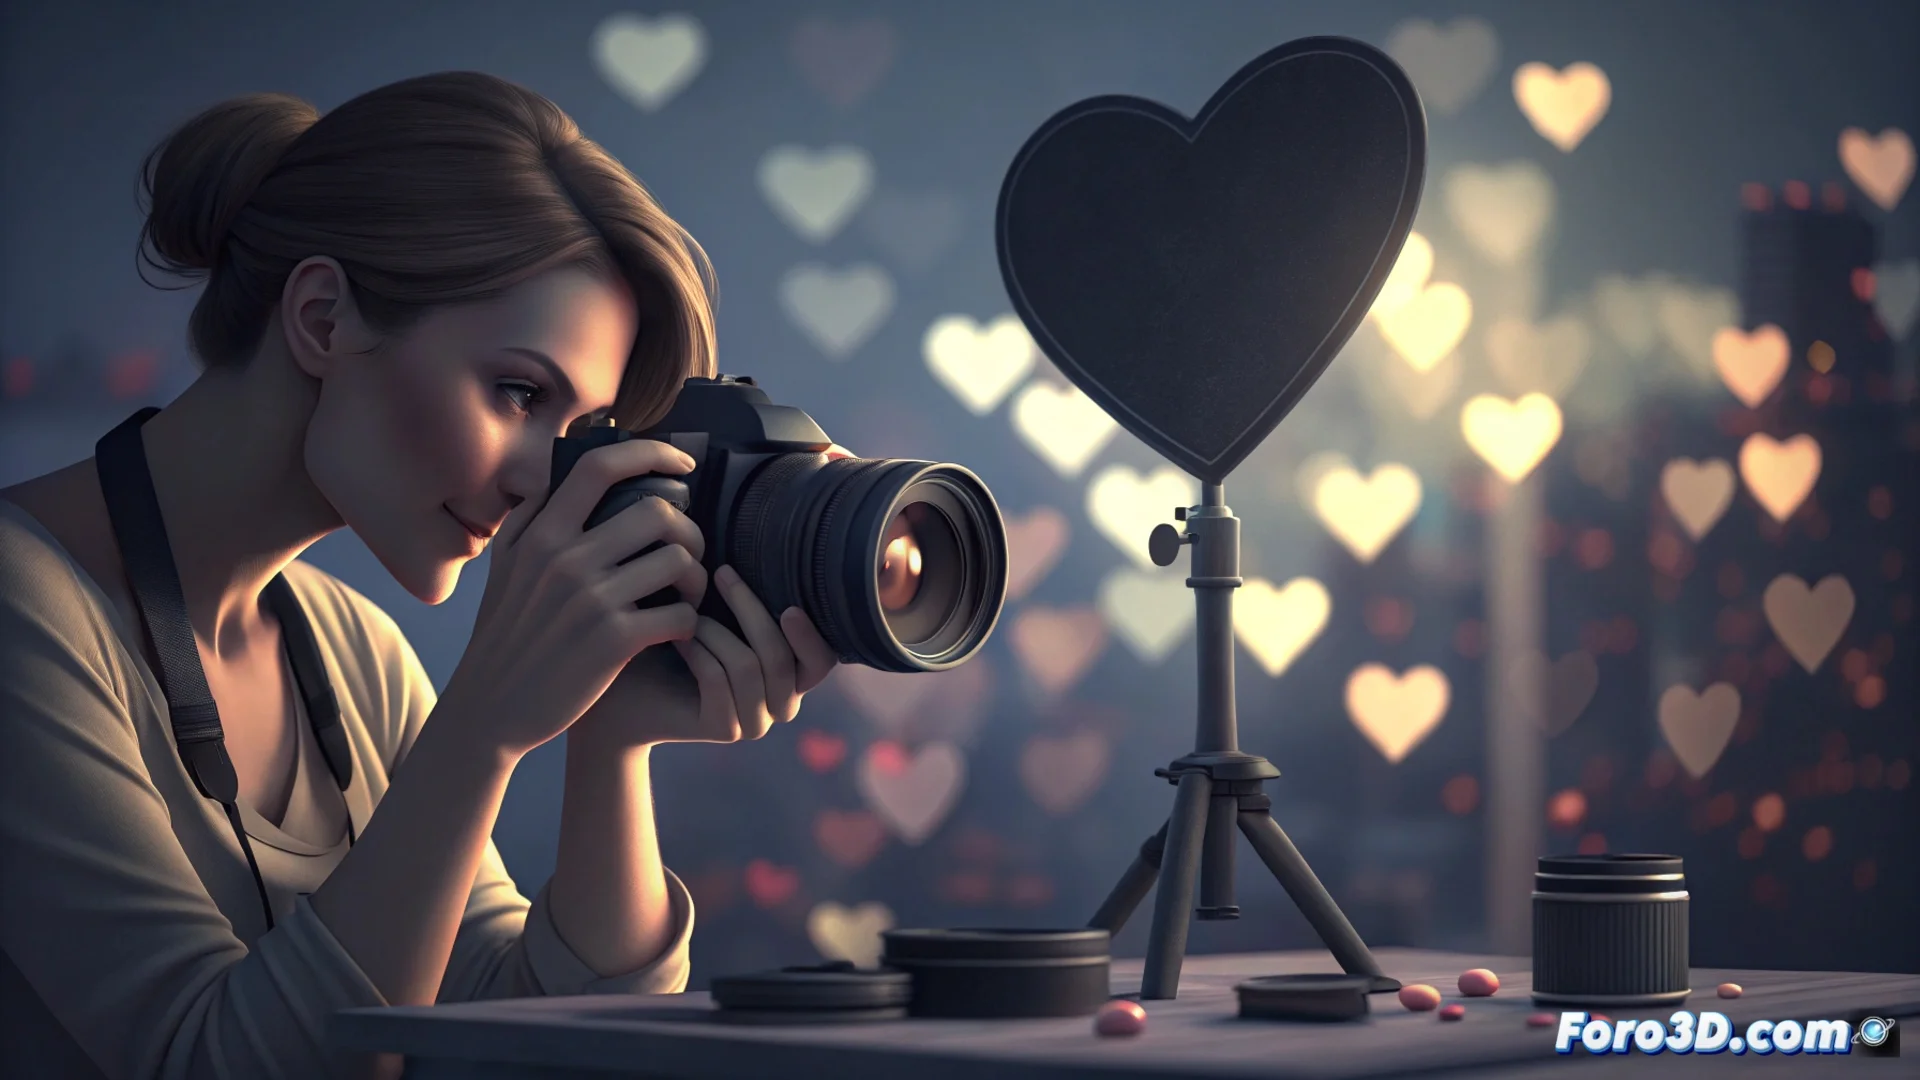
This phenomenon occurs because the diaphragm aperture projects its shape onto the camera sensor. By placing a filter with a specific cutout in front of the lens, you modify that projection. Each point light source in the blurred background will adopt the silhouette you have designed, such as hearts, stars, or any other figure. The effect is more powerful with very wide apertures and backgrounds with small, well-separated lights.
Basic Materials to Get Started:- Neutral density filter or opaque black cardboard: Serves as the base to create your own accessory.
- Cutting tools: To cut a circle the size of your lens and the central shape with precision.
- Adhesive tape or elastic band: To securely attach the homemade filter to the lens without light leaks.
The key is that the central cutout defining the shape is clean and with sharp edges so that the pattern looks defined in the photo.
Prepare and Place the Shape Filter
First, cut a circle in the base material that matches the diameter of the front part of your lens. Then, in the center of that circle, make a second cutout with the custom shape you want for your bokeh. This central opening will become the new effective aperture of your optical system. Make sure there are no burrs and secure it firmly, avoiding light entering from the sides that could fog the image.
Adjust the Camera to Capture the Effect
To maximize the result, follow these setup steps. Use a fast lens, preferably with a maximum aperture of f/2.8 or wider. Select aperture priority mode (A/Av) or manual mode.
Recommended Settings:- Open the diaphragm to the maximum: This increases the background blur and makes the bokeh shape more visible.
- Focus precisely on the subject: Use portrait mode or manual focus assisted by magnification for sharpness in the eyes.
- Separate the subject from the luminous background: A greater distance between them accentuates the blur and improves the definition of the shapes.
Final Tips and Considerations
Look for scenes with point and isolated lights, such as those from a Christmas tree or the sky at dusk. Avoid backgrounds with large or very close lights, as the shapes will overlap and lose definition. Some purists believe this effect can distract from the main subject, but it is an accessible and creative way to personalize a portrait directly in the camera, without the need to edit the image afterward. 🎭