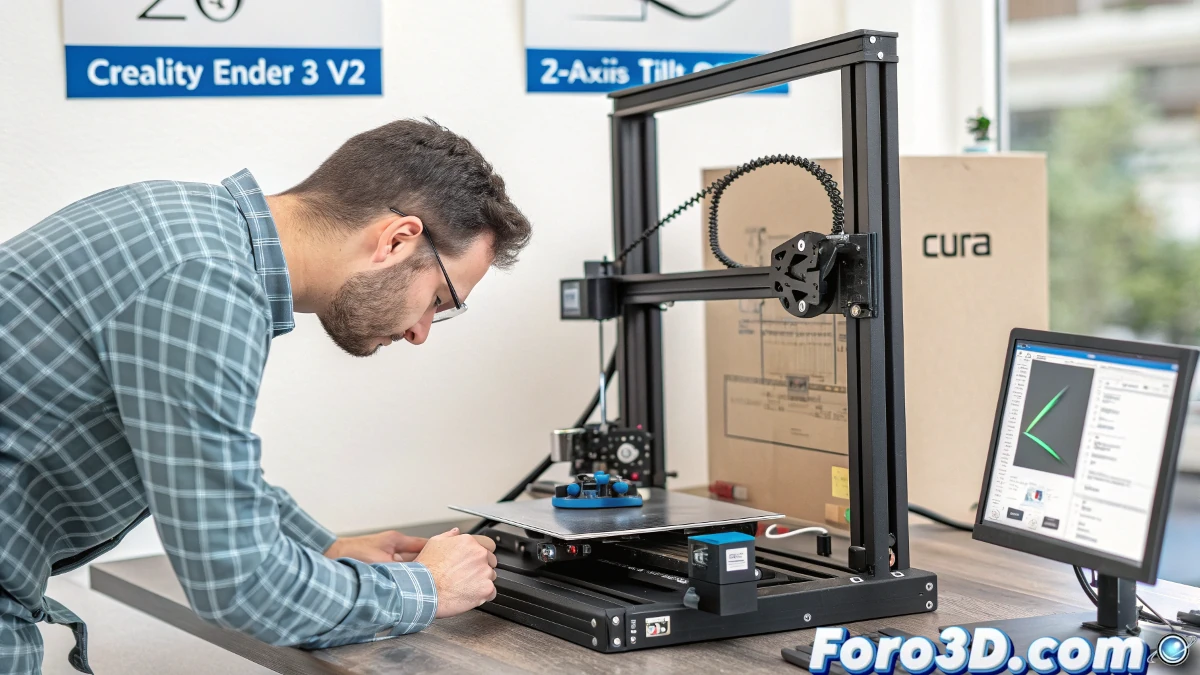
If you own a Creality Ender 3 V2 printer and have noticed your prints tilting backward, you are not alone. This is a common problem that affects print accuracy and Z-axis leveling. Below, we show you how to fix it using software and slicer adjustments.
Why Does the Z-Axis Tilt?
Z-axis tilt can be caused by several factors, including calibration issues, incorrect machine adjustments, or wear on mechanical components. In many cases, a small software adjustment can solve the problem without the need to physically intervene with the printer.
How to Adjust Z-Axis Tilt via Software?
The simplest and quickest solution to correct Z-axis tilt is through the slicer. In programs like Cura, there is an option to adjust Z-axis tilt. Here's how to do it:
Steps to Adjust Tilt in Cura
- Open the slicer: Open Cura and load the model you want to print.
- Access printer settings: Go to your printer's settings section within the slicer.
- Activate the Z tilt option: Look for the "Z-Axis Tilt" option in the advanced settings.
- Adjust the values: Enter the tilt value you calculated previously.
- Generate the G-code: Save the changes and generate the G-code for printing.
Remember that some slicers, like PrusaSlicer, also have this option to adjust Z-axis tilt, so you can use the tool you prefer.
Is It Possible to Make Adjustments Without Software?
If you prefer not to touch the software, you can try to correct the tilt through manual adjustments on the printer, such as leveling the bed or adjusting the Z-axis screws. However, this can be more complicated and less precise than software adjustments.
Conclusion
Correcting the Z-axis tilt on your Creality Ender 3 V2 doesn't have to be a difficult task. If you use the adjustment options in the slicer, you can save time and effort while improving the accuracy of your prints. If the problem persists, it may be helpful to review the printer's mechanics or even perform a full recalibration.