When Your Cube Decides to Develop Existential Holes
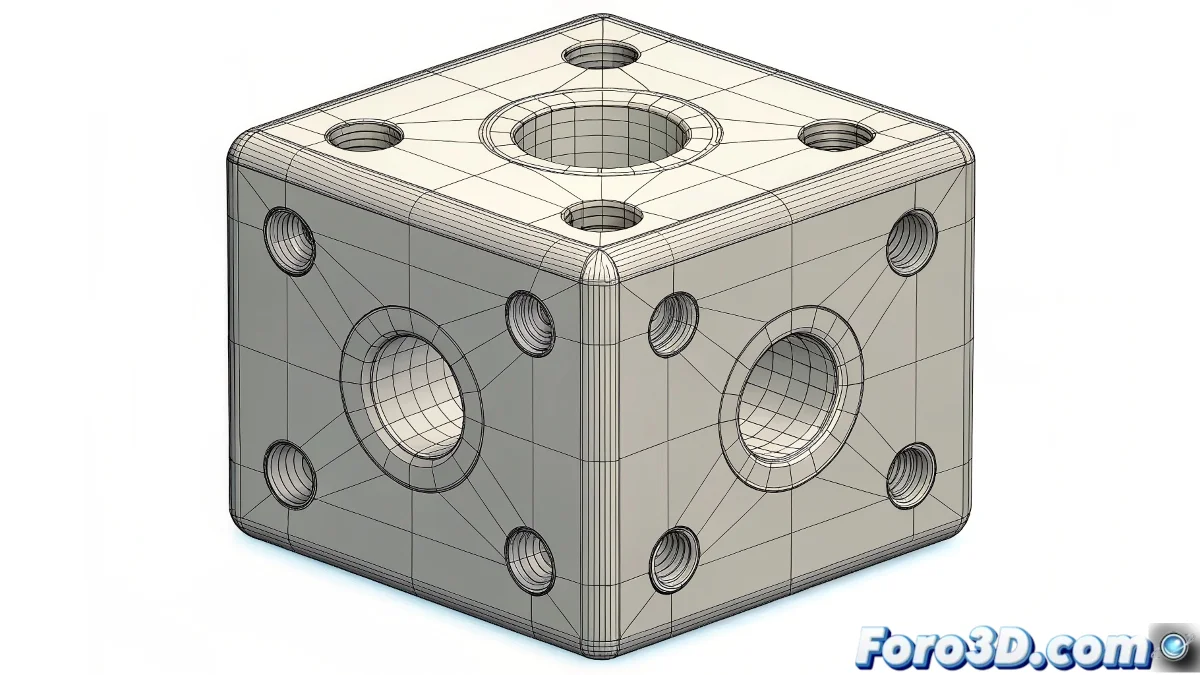
One of the most common problems when modeling in 3D is the appearance of unwanted gaps when applying smoothing to polygonal cubes. This phenomenon does not represent a software error, but rather a natural response of the topology when it encounters geometry incompatible with subdivision. Both in Maya and Blender, the key lies in properly preparing the mesh before requesting that seductive but treacherous smoothing. 🕳️
Understanding the Origin of the Problem
Gaps appear because smoothing, whether through Smooth Proxy or Subdivision Surface, tries to redistribute the vertices according to predefined mathematical patterns. When the original mesh contains non-planar faces, hidden triangles, or vertices not properly merged, the subdivision algorithm generates inconsistencies that manifest as holes or distortions in the resulting surface.
Essential Techniques in Maya
To avoid these frustrating gaps, Maya offers several specific tools that every modeler should master.
- Geometry Cleanup: Use Mesh > Cleanup to remove non-planar faces and triangles.
- Precise Merging: Edit Mesh > Merge with low values to join duplicate vertices.
- Consistent Normals: Normals > Soften Edge to smooth transitions.
- Edge Flow: Maintain continuous edge loops around corners.
A clean topology is like the foundations of a house: if they are solid, everything you build on them will be stable.
Preventive Workflow
The best strategy is to prevent rather than correct. Before applying any smoothing, systematically review your mesh using the following checks in Maya:
Basic Topology Verification
Select the entire model and run Mesh > Cleanup with the options "Faces with more than 4 sides" and "Lamina faces" activated. This tool will automatically identify problematic areas that could cause gaps during smoothing. Manually correct any detected irregularities before proceeding. 🔧
Vertex and Edge Management
Use Edit Mesh > Merge with a threshold of 0.001 to merge vertices that appear joined but are actually duplicated. Pay special attention to areas where you have performed multiple extrusions or boolean operations, as these operations often leave residual geometry that affects smoothing.
Preparation for Subdivision
Instead of using the obsolete Smooth Proxy, migrate to Subdivision Surface which offers more precise control over subdivision levels. Adjust the "Division Levels" progressively while observing how the mesh responds, stopping at the first sign of distortion to correct the underlying topology.
Modern Approach in Blender
Blender handles smoothing in a particularly elegant way through its Subdivision Surface modifier. The philosophy is similar but with slightly different tools.
Subdivision Surface Modifier
Add the Subdivision Surface modifier to your mesh and adjust the viewport and render levels. Blender shows in real time how the smoothed mesh will look, allowing you to make iterative topological corrections while observing the final result. This immediate feedback is invaluable for preventing gaps.
Cleanup Tools in Blender
Use Mesh > Clean Up > Merge By Distance to merge duplicate vertices, and Face > Tris to Quads to convert triangles to quads whenever possible. Blender also offers excellent retopology tools like Shrinkwrap that can help restructure problematic meshes.
Native Support for High Polygonization
A significant advantage of Blender is its efficient handling of dense geometry, allowing you to work with higher subdivision levels during modeling without excessively slowing down the viewport. This facilitates early detection of problematic areas before the final render.
Advanced Troubleshooting
When gaps persist despite basic corrections, it's time for more advanced techniques.
Normals and Face Direction Analysis
In Maya, enable Display > Polygons > Face Normals to visualize the direction of each face. Inconsistent normals often cause smoothing problems. Use Normals > Conform or Normals > Reverse as necessary to uniformize their direction.
Strategic Use of Hard Edges
Sometimes the solution is not to smooth everything equally. Mark strategic edges as "hard edges" (Maya) or add additional edge loops (Blender) to control where and how smoothing is applied, creating defined transitions where needed instead of global smoothing.
In the end, these mysterious gaps are like the ghosts of 3D modeling: they only appear when you haven't properly cleaned your geometric scene. But with the right tools, you can become a true topology ghost hunter. 👻