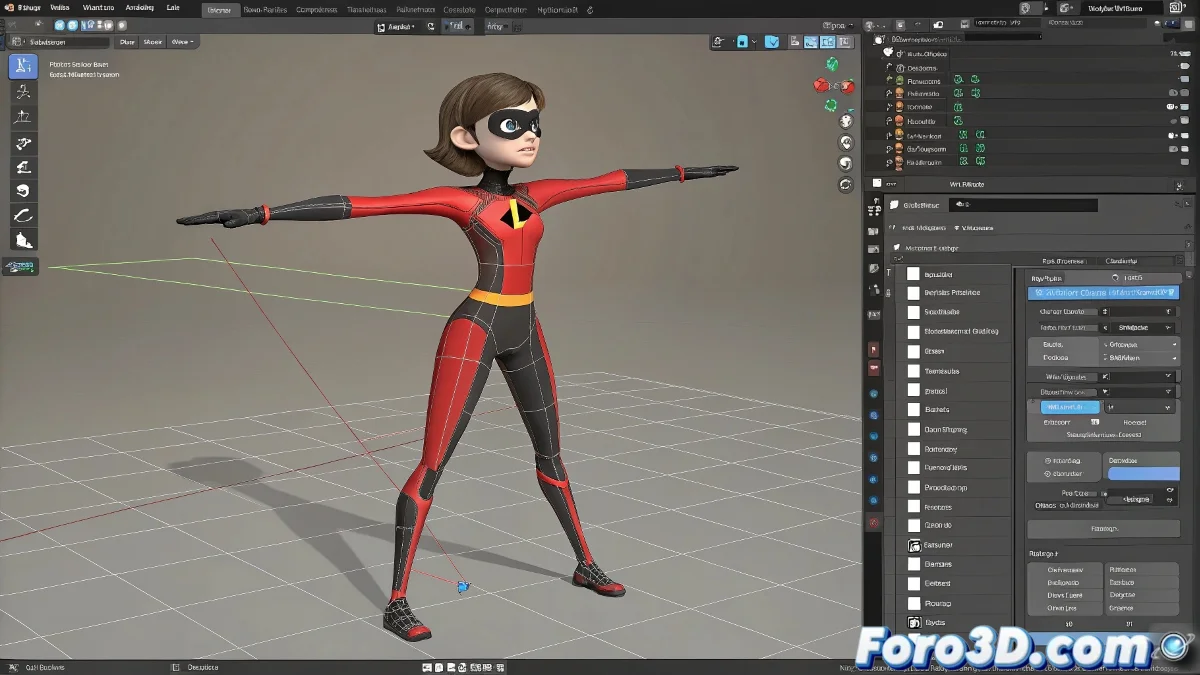
The Art of Stretching Bones Like The Incredibles in 3ds Max
You want to make your character stretchy like the famous superheroine! 🦸♀️💪 In 3ds Max there are several tricks to achieve this effect, even if you're using Biped (though as you've rightly noticed, it has its limitations). Let's get into it.
Methods for Animating Bone Scaling
- Use the Stretch modifier (the simplest for loose objects)
- Create standard bones instead of Biped for more control
- Use expressions or wire parameters to link scales
- Try Morph targets for drastic changes
"A well-animated stretchy character is like good chewing gum: it stretches but always returns to its shape"
Specific Solution for Biped
Although Biped doesn't allow you to animate scale directly, you can cheat:
- Add standard bones as children of the Biped bones
- Animate the scale of these additional bones
- Use the Biped only for the base animation
- Combine with Skin Wrap to transfer the deformation
For the most convincing "stretchy woman" effect, add secondary morph targets that simulate the stretching of clothing and details. And remember: physics is your friend - a little noise controller in the animation will make the movement seem more organic. 🌈
Now go and stretch those bones as if there were no tomorrow (but in moderation, digital injuries come later). Let's get animating! ✨