How to Achieve a Bullet Time Effect in 3ds Max
The famous Bullet Time effect, popularized by movies like The Matrix, is one of those visual resources every animator wants to try at least once. In 3ds Max, while there is no magic button that says Cinematic Slow Motion God Level, there are several methods to control the scene's timing and create that feeling of frozen or extremely slowed-down time.
Methods for Manipulating Time in 3ds Max
The most common way to achieve a Bullet Time-type effect is by playing with the interpolation speed of animation keys and manipulating the retiming from the curve editor (Track View – Curve Editor). Here is a summary of some approaches you can combine depending on the case:
- Adjust Animation Tangents: You can slow down specific sections of your animation by stretching the position, rotation, or scaling curves in the Curve Editor.
- Use Time Configuration: If you need more frame resolution, increase the FPS of your scene before doing the retiming.
- Try the Time Warp Modifier: If you have 3ds Max 2024 or later, the Time Warp modifier allows you to modify an object's execution time without altering the global timeline.
Export to After Effects or Nuke: You can create a camera or particle pass and then do the Bullet Time at the post-production level by applying Retime or Time Remapping. External plugins: If you want to go further, there are scripts or plugins like TyFlow that allow you to manipulate time at the particle or physical simulation level.
Tip for Bullet Time Cameras
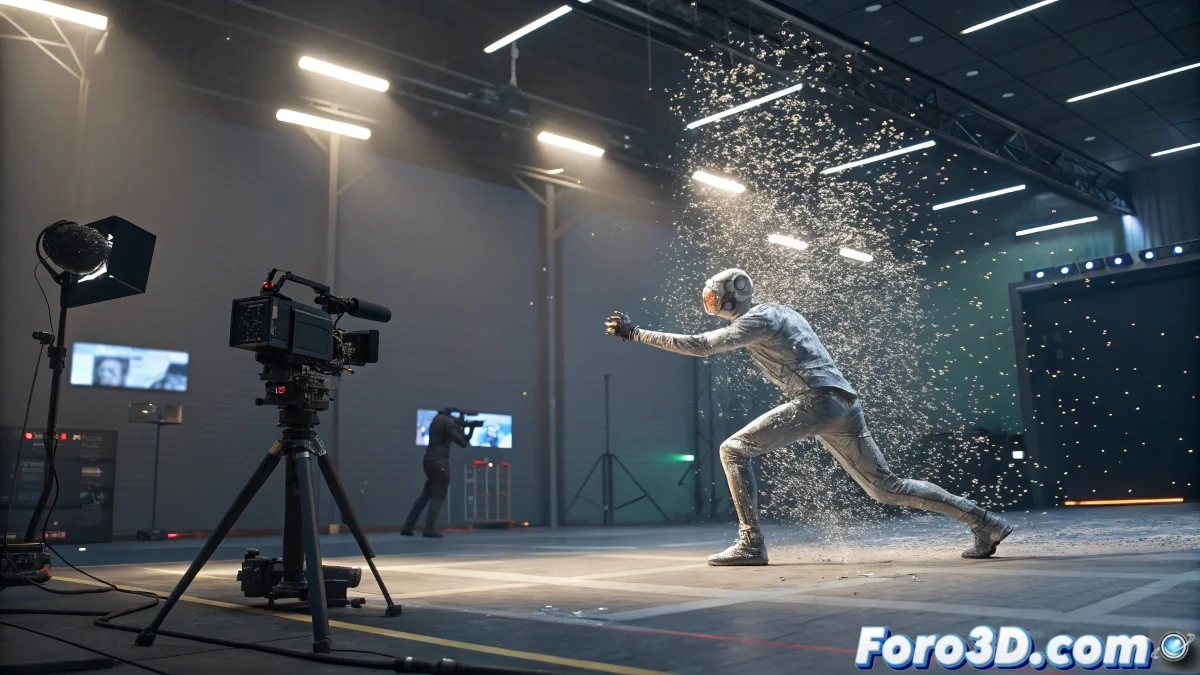
If what you want is that classic camera sweep while time seems frozen, remember to use duplicated cameras with small position offsets, or a camera that moves in slow motion while the rest of the scene remains static. You can do this by adjusting camera keys independently.
However, be prepared for endless renders. Because if there's one thing the Bullet Time effect in 3ds Max has, it's that besides slowing down time... it also slows down your CPU to infinity and beyond. But the result is worth it! 🚀