Guide to Attaching an Animated BIP to Your 3D Model Without Losing the Bones
Attaching an animated BIP to your 3D model is like trying to assemble a puzzle where the pieces move on their own. But don't worry, with the right steps, you can make the skeleton fit perfectly to your model. This process, known as skinning or rigging, is essential for bringing your 3D characters to life.
Steps to Attach the BIP to the Character Model
If you're using 3ds Max, follow these steps to link your model to the Biped skeleton:
- Make sure your model is properly aligned with the BIP skeleton, adjusting position, scale, and rotation from the front and side views.
- Select your model and add the Skin or Physique modifier. Skin is more modern and offers better control.
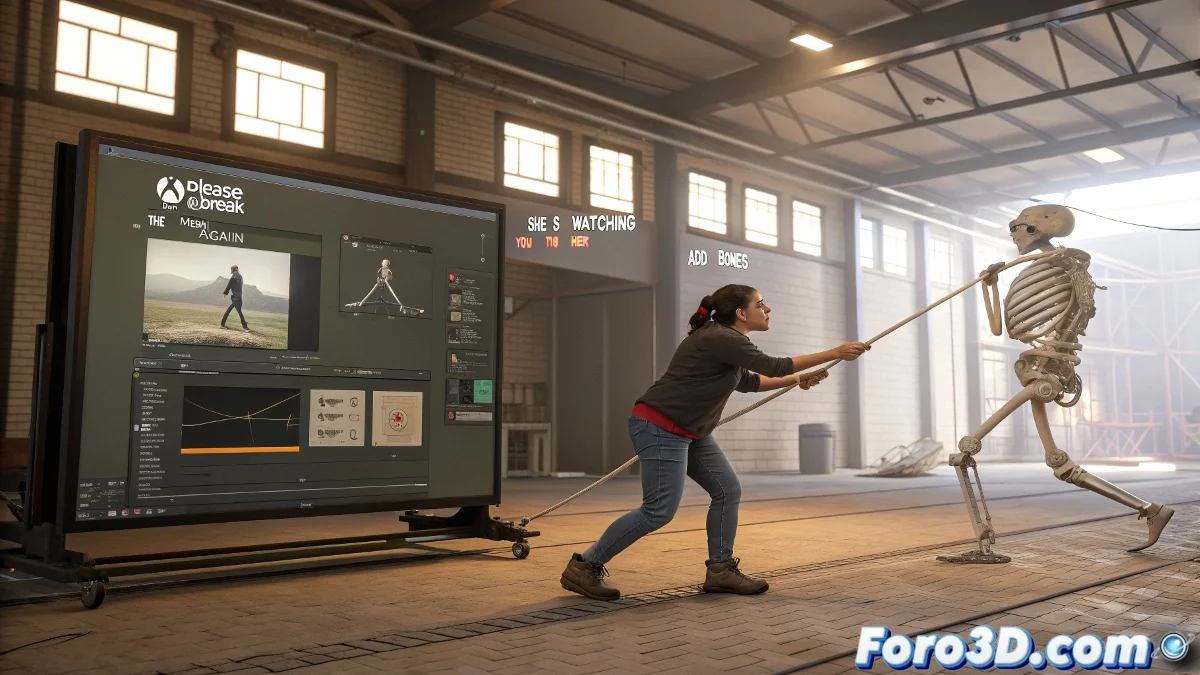
- Within the Skin modifier, click Add Bones and select all the Biped bones.
Once added, your model is technically attached to the skeleton, but now comes the fine-tuning. Use Weight Paint or Envelope editing to correct deformations and ensure each body part moves naturally.
What if I'm not using 3ds Max?
If you made your model in Blender, Maya, or Cinema 4D, the best option is to export the Biped as FBX from 3ds Max, including the animation. Then, in your software, you can do retargeting or use tools like Mixamo or Rokoko Studio. In Cinema 4D, for example, you can use the Character Object and its retargeting system to map the BIP bones to your rig.
If when attaching your model to the BIP the head flies off or the arms do breakdance, don't worry... it's just your character rebelling for not having given it enough weight on the shoulders. Literally. 💃