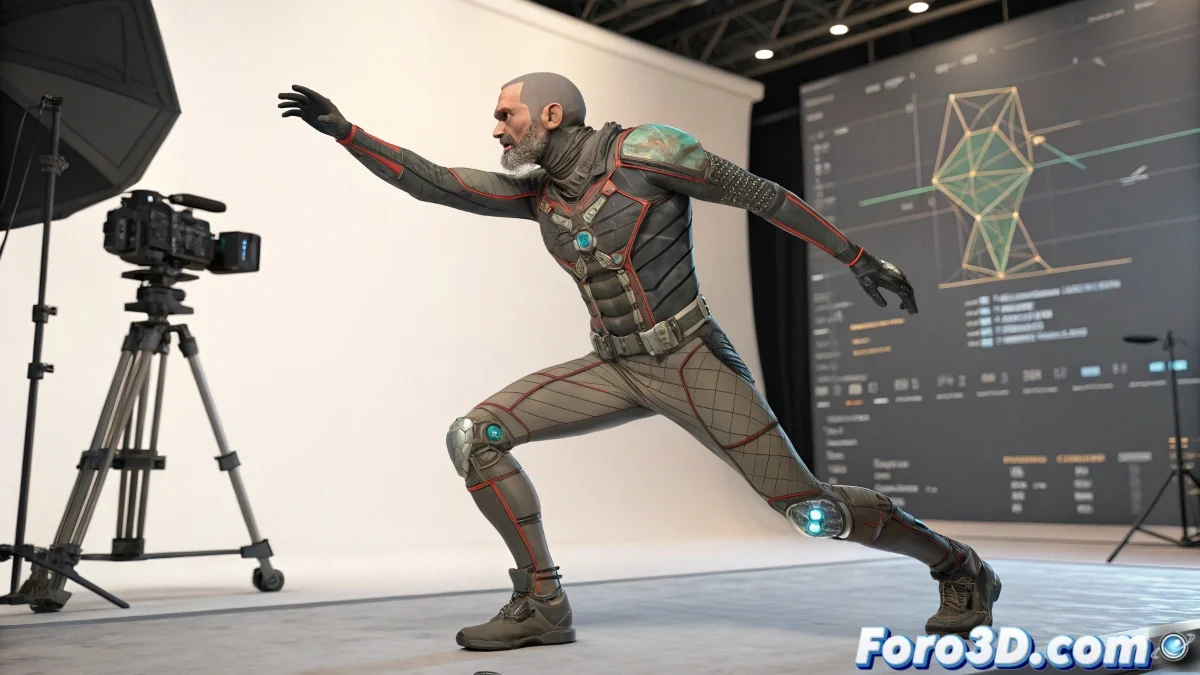
From Sculpture to Movement: Your Character's Journey
When an artist finishes their masterpiece in ZBrush, it's like giving birth to a digital baby. But what's the use of a baby that doesn't move? 🎨 This is where 3ds Max comes in, the playground where your character learns to walk... or at least tries to.
Steps to Turn a Statue into a 3D Puppet
First, you have to take the character out of its comfort zone (ZBrush) and bring it to a new world (3ds Max). The FBX or OBJ format will be its passport. Once there, it's time to build it a skeleton, because without bones, it's just a wax doll. 💀
- Import the model from ZBrush carefully, as if it were a dragon egg.
- Create the bones using the Bones tool, because even superheroes need a good skeleton.
- Apply the Skin modifier so that the mesh and bones get along as well as Batman and Robin.
Tools That Do the Heavy Lifting for You
For those who prefer shortcuts (and who doesn't), CAT Rig and Biped are like those 5-minute cooking tutorials: not always perfect, but they save dinner. 🍳
Rigging is like a first date: if the influence weights aren't properly adjusted, the deformation will be a disaster.
And if you feel lost, on foro3d.com there are more tutorials than memes on the internet. From how to place a bone to how to make your character do the moonwalk. 🕺
Remember: even rock stars started with musical scales. Your character might only move a finger today, but tomorrow it could be dancing flamenco. Or at least that's what the contract says. 😆