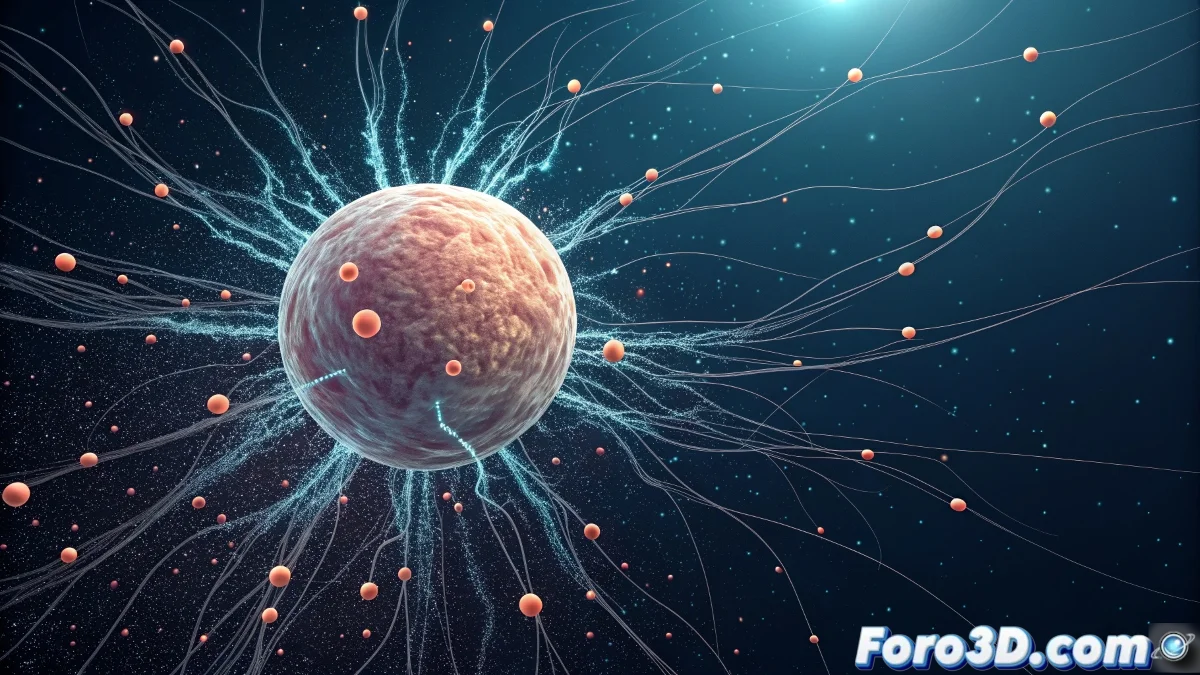
The Mystery of Particles Imprisoned in PArray
Setting up an epic explosion in 3ds Max with PArray should be straightforward: you choose an emitter object, like a sphere, and the particles shoot out in all directions. But sometimes, instead of a cataclysmic release, you get a strange confinement where the particles seem trapped inside the emitter, as if an invisible force is keeping them prisoner 🚀. This baffling phenomenon is not an esoteric bug, but a classic issue of inverted surface normals.
The Invisible Culprit: Inverted Normals
Every face of a mesh in 3ds Max has a normal, an invisible vector that defines its "front side" or outward direction. The PArray system, when emitting particles from Faces or Vertices, uses the direction of these normals to determine the particles' initial trajectory. If your emitter sphere's normals are pointing inward, PArray will obediently shoot the particles in that direction—toward the center of the sphere—causing them to collide with each other and get trapped inside, creating a dense, static mass.
Inverted normals on an emitter are like having the prison door swing inward; the particles can't find the way out.
The Solution: Flip and Reorient
The solution is simple but crucial: flip the normals. Select your emitter object (the sphere) and convert it to an Editable Mesh or Editable Poly. Go to the Polygon or Element sub-level, select all faces, and look for the Flip Normals option in the properties panel. Alternatively, apply the Normal modifier from the stack and check the Flip Normals box. Instantly, you'll see the particles change their behavior, going from confined to erupting outward as they should.
Final Configuration in the PArray Panel
With the normals corrected, it's time to fine-tune the emission in the PArray itself. In the Particle Generation rollout, make sure the direction option is set to Outwards or Along Normals. Also, check that the Speed has a high enough value for the particles to move away from the center. For an explosion, it's often useful to use a By Time distribution with a short lifespan and a high emission rate, creating that violent and sudden release of energy.
Workflow for Perfect Explosions
Follow these steps to avoid future particle imprisonments:
- Pre-inspection: before using an object as an emitter, enable Viewport > Display Normals to visualize the normals' direction.
- Systematic flipping: use the Normal modifier to flip; it's non-destructive and easy to adjust.
- Emission test: do a quick preview in the viewport with a low number of particles to check the behavior.
- Additional forces: for a realistic explosion, add a Wind space warp or a Drag to give more dynamism to the movement.
- Test render: render a few frames to ensure the material and motion blur integrate well with the simulation.
With the normals pointing in the right direction, your explosion, eruption, or dust emission simulations will be as liberating as they were meant to be. And if any particle rebels and goes in another direction, you can always say it was a fragment with a mind of its own 😉.