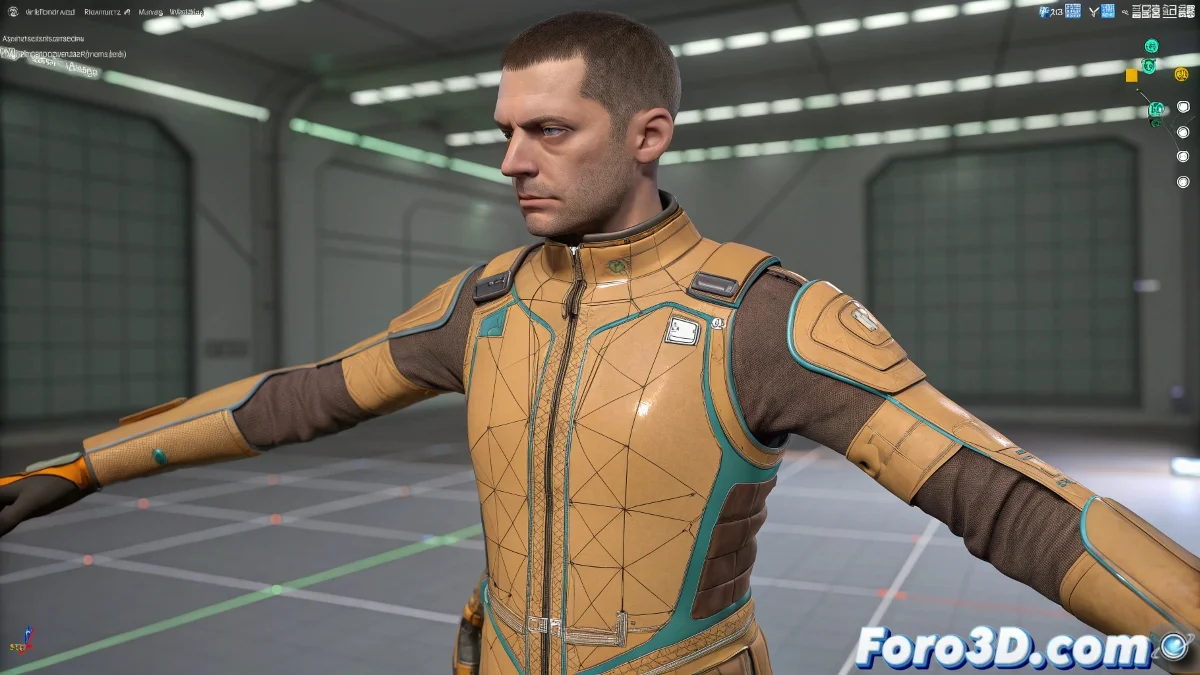
The Mystery of the Immobile Mesh in Skin Modifier
Few things are more disconcerting in rigging than seeing your skeleton move with a life of its own while the character's mesh stays stiff like a block of marble 🗿. This problem, common when using the Skin Modifier in 3ds Max, is usually not a catastrophic failure of the model, but a simple oversight in influence assignment. The mesh doesn't deform because its vertices are not "listening" to the bones' commands; they are disconnected from the system, like deaf listeners at a conference.
Diagnosing Orphan Vertices Without Influence
The root cause is almost always that the vertices in the problematic area (like a shirt sleeve) are not assigned to any bone, or are assigned to an incorrect bone with a weight of 0. The Skin Modifier works like an orchestra conductor: each vertex is a musician who must follow the score of a specific bone. If a group of musicians has no score, they will stay silent while the rest plays. To diagnose it, select the mesh, enter the Skin Modifier, and go to the Vertex sub-level. Select the vertices in the quiet area and check in the Weight Tool panel if they have any assigned influence value.
Vertices without weight in the Skin are like keys without a lock; no matter how much you turn the bone, they won't open the door to deformation.
The Cure: Manual Assignment and Weight Painting
The solution is to manually reconnect those orphan vertices. Inside the Vertex level of the Skin Modifier, select the vertices that don't move. In the parameters panel, you'll find a list of bones. Select the correct bone (for example, Bip01 L UpperArm for the left arm) and click the Add or Assign button. This will assign them a weight of 1.0 to that bone, making them move with it. For finer control, switch to the Weight Paint tool. Select the target bone and paint over the mesh in the perspective view; white color indicates full influence, black indicates no influence.
Separate Geometry: The Case of the Independent Object
If the sleeve is a separate object from the torso, the problem is different. The Skin Modifier is applied per object, so each piece of geometry needs its own instance of the modifier, but assigned to the same bones. Select the sleeve, apply the Skin Modifier, and then add exactly the same bones you used for the torso. Then, assign the sleeve's vertices to the corresponding arm bone. To ensure cohesive deformation, the weights on the edges of the sleeve and torso must match perfectly to avoid tears.
Workflow for Robust Assignment
To avoid this problem in the future, follow a methodical process:
- Geometry Unification: before skinning, join (Attach) all connected pieces of the character into a single mesh object.
- Complete Bone Selection: when applying the Skin Modifier, add all the Biped or skeleton bones at once, even if you don't think they will all influence.
- Initial Global Assignment: before fine-tuning, select all vertices and assign them to a temporary central root bone, then reassign specific areas to their correct bones.
- Progressive Weight Painting: work by areas (left leg, right arm, torso), painting the weights of a complete section before moving to the next.
- Constant Testing: after assigning each main area, move the bone to verify that the mesh follows it immediately.
With this approach, you'll ensure that every vertex of your character is under the spell of the correct bone, ready to dance to the rhythm of your animation. And if a part resists, remember: a bit of persuasive weight painting usually does the trick 😉.